Chapter 2, Wireless 11n access point – Longshine LCS-WA3-50 User Manual
Page 10
Wireless 11n Access Point
9
Chapter 2
Installing and Using Wireless Access Point
This chapter provides a step-by-step guide to the installation and configuration of the Wireless AP.
We suggest you go over the whole chapter and then do more advanced operation.
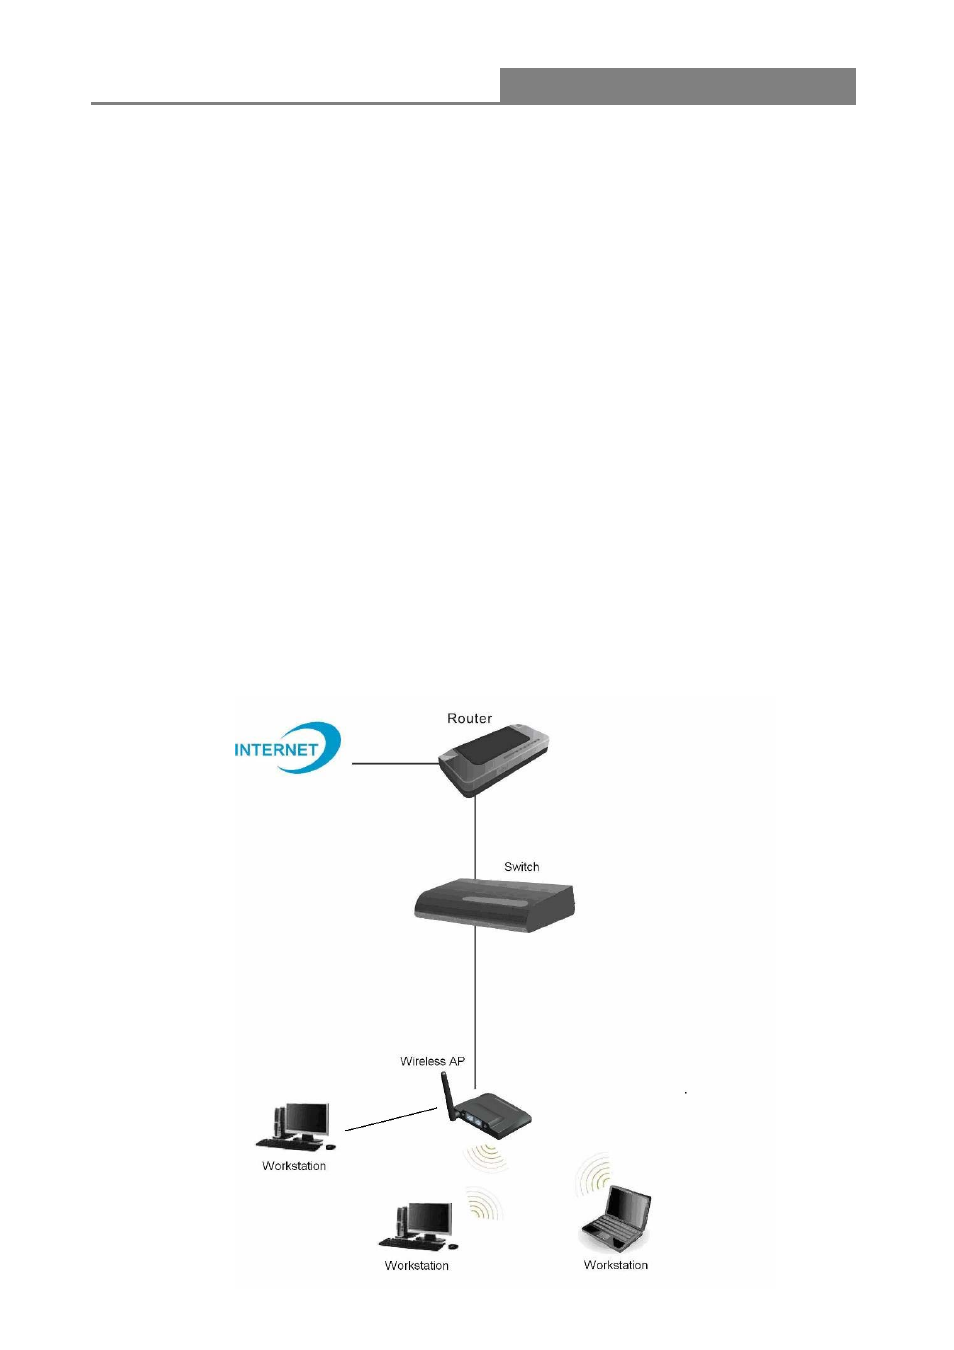
2.1 Connecting this AP to your network
This Chapter provides a step-by-step guide to the installation and configuration of this wireless
access point.
Connect the power adapter with the connector end to the power connector in the rear panel
of the device and the plug end to an appropriate outlet.
Connect the LAN port with RJ-45 cable to:
1.
A broad band router to allow wireless clients to connect to WAN.
2.
A switch to allow wireless clients to communicate with wired LAN.
3.
A computer directly to use the computer configuring this AP.
Note: You have to configure the network settings of this AP to be communicable with your router,
switch or computer first. To change the default network settings of the AP, please refer to “LAN
Interface setup”.