Leslie Controls D Series User Manual
Page 11
CFTIIP-015
Rev.0
__________________________________________________________________________________
This document is the property of Circor Flow Technologies India Pvt Limited should not copied or
reproduced in one form or another.
Page 11 of 15
Plug stem pinning during field assembly
may be divided into two parts:
— Replacing old plug and old stem,
— Replacing only old stem.
Replacing Plug and Stem
The plug (15) and stem (20) assembly
consists of a shaft threaded into the plug and
pinned in place. To replace the stem (20) it is
necessary to drill or drive out the pin (19)
and unscrew the stem (20) from the plug
(15).
If it is necessary to replace the plug, it is
necessary to replace the plug stem at the
same time. Indeed, the original pin hole in an
old stem prevents satisfactory results and
might seriously impair strength of the
assembly.
A. Reference Marking on the Plug Stem
Measure the depth of the pilot recess in the
plug (X in Figure 5) and make a reference
mark to the plug stem at the same distance,
from the thread.
B. Screwing Stem into Plug
1. Hold the plug in a vise.
2. Apply a small amount of grease such as
Gripcott® (or an equivalent compatible with
the fluid process) on the threaded part of the
plug stem.
3. Lock one nut against another one to the
end of the new plug stem and, using a
wrench on the upper nut, screw the stem
solidly into the plug. When properly
assembled, the reference mark should be
flush with the end of the plug shank.
C. Drilling the New Parts
1. Measure the “D” dimension,
(See Table 3).
2. Place the plug shank on a V-block and, by
means of a centre punch, make a centre mark
on the plug shank area.
3. Using a suitable size drill bit, drill the
plug-stem assembly. After drilling, remove
any burrs from the plug shank by making a
slight chamfer.
D. Pinning the Plug-Stem Assembly
1. Select the correct size pin according to
plug shank diameter and stem diameter, (see
Table 3). Apply a small amount of grease
on
it, and hand place the pin to the hole inlet.
2. By means of an hammer, introduce the pin
into the hole. Use a flat-ended punch to
ensure the pin is recessed by the same
amount at both sides, (see Figure 5).
3. After the plug has been pinned, it should
be placed in a lathe to insure it is running
“true.” The stem should be placed in a collet
with the plug shank against it and the plug
should be struck on the non guiding surface
of the plug using a mallet / nylon hammer
without causing mechanical damage to the
surface. Alignment of plug stem can be
performed using appropriate means.
Note: While pinning is being performed, care
must be taken not to damage the seating
surface or plug guide. In holding plug in
order to tightening the plug stem, always
tighten the jaws of the vise on a non-guiding
surface of the parts. Always use a soft metal
vise jaw with a special machining to hold the
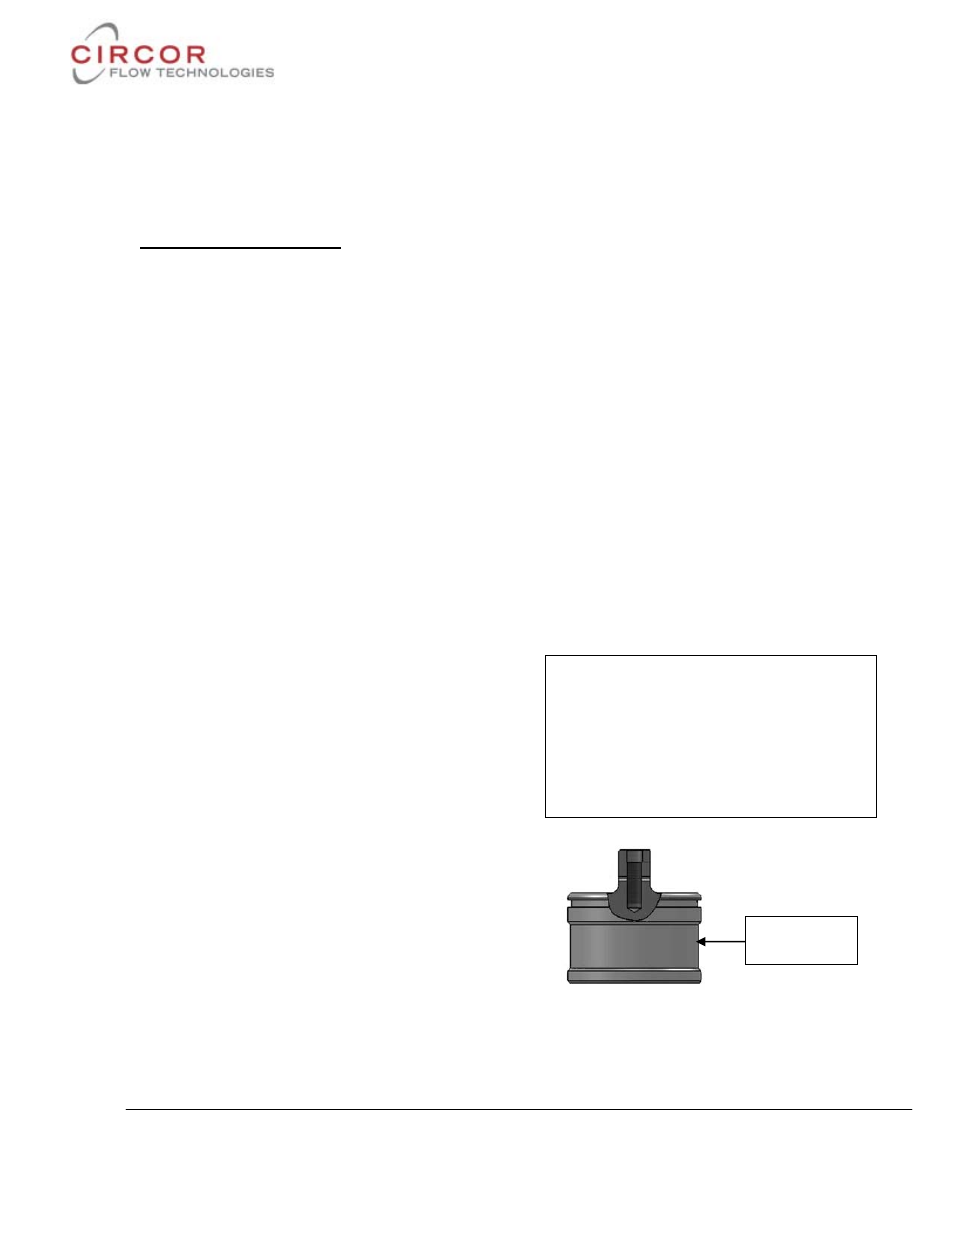
shank of the plug (see Figure 5.1).
Figure 5.1 – Plug
Non-guiding
Surface