Vermont Casting 1920 User Manual
Page 19
19
Aspen Woodburning Stove
30000369
Once the draft is established, open the front door
and light the rest of the fuel bed at the bottom. Do
not light the main bed of fuel until the chimney be-
gins drawing.
Step 4. After the stove has been broken-in using
Steps 1-3, continue to build the fire gradually. Add
larger wood with a diameter of 3-4” (75-102 mm).
Continue adding split logs of this size to the briskly-
burning fire until there is a glowing ember bed at
least 2” (51 mm) deep. A good ember bed is neces-
sary for proper functioning and may take up to an
hour to establish.
Step 5. Adjust the thermostatic air control for the de-
sired heat output.
Refuel While the Embers Are Still Hot
Reload the Aspen while it is still hot and there are plen-
ty of glowing embers to re-kindle the fire. Include some
smaller pieces of wood in the new load of fuel to help
the stove return to its operating temperature quickly.
Wear stove gloves, and follow this procedure when you
reload your stove:
Step 1. Open the thermostat lever.
Step 2. Open the door and check the ash level in the
ash pan. If necessary, dispose of the ashes and
replace the pan.
Step 3. Use a fireplace tool to break up the charcoal
and direct ash through the grate. Pull the charcoal
from the back to the front. This will encourage effi-
cient combustion as the fuel burns from front to rear.
(Fig. 31)
Step 4. Load wood — smaller, split pieces first. Close
the door. Ideal performance will be achieved by oper-
ating with the air control set in the maximum (HIGH)
positon for several minutes after refueling. Reset the
primary air control for the desired heat output after
the fire is re-established.
ST263
starting a fire
12/99
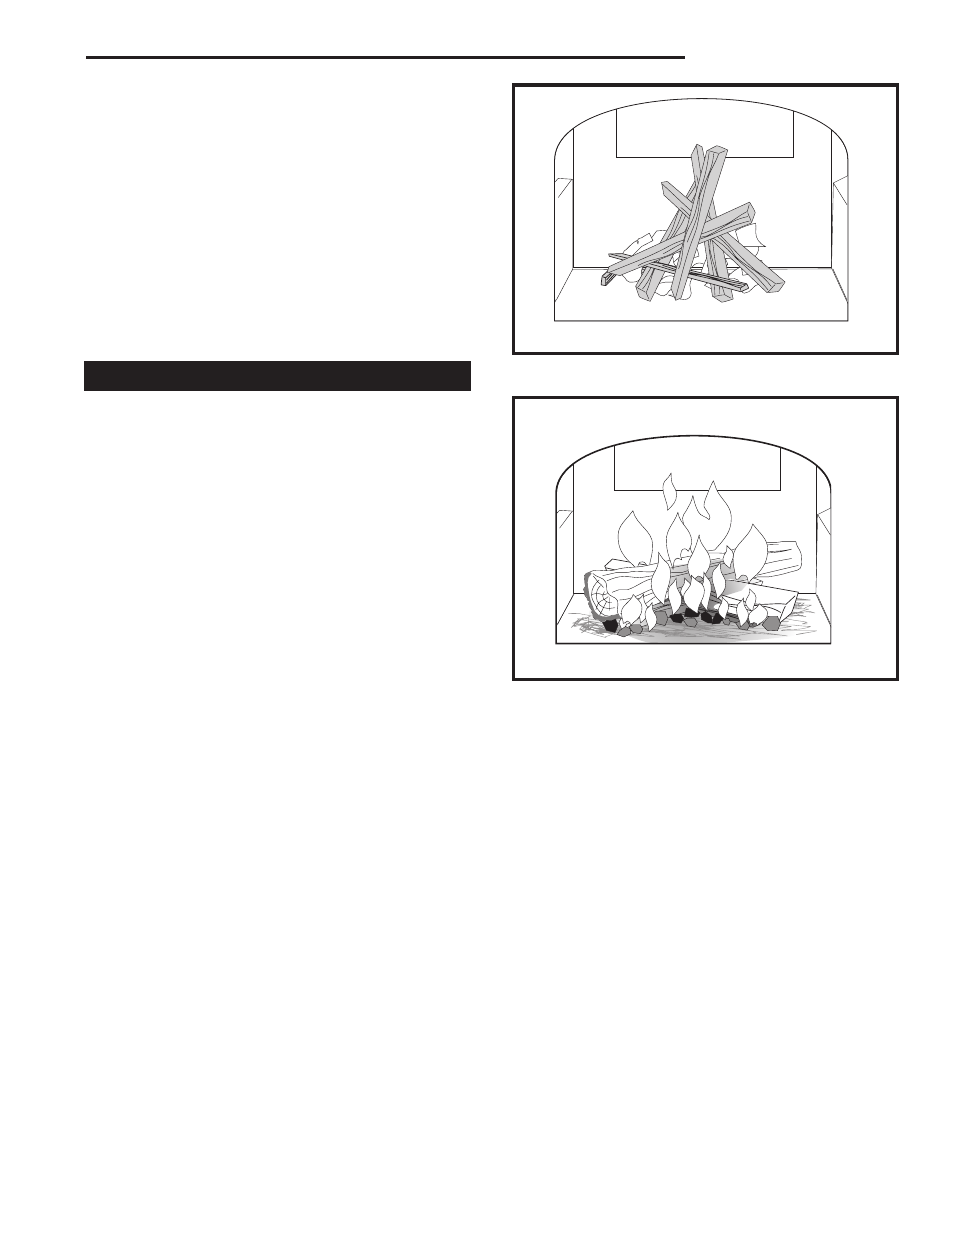
Fig. 29 Start a fire with small, dry kindling.
ST263
ST264
good fire
12/99
Fig. 30 Gradually add larger pieces of wood until all the wood
is burning well.
ST264