Cassette deck, Cassette deck -9, Cd player 7. cassette deck – Philips ND 6600 User Manual
Page 8
Attention! The text in this document has been recognized automatically. To view the original document, you can use the "Original mode".
6. CD PLAYER
7. CASSETTE DECK
REPEATING A TRACK OR CD
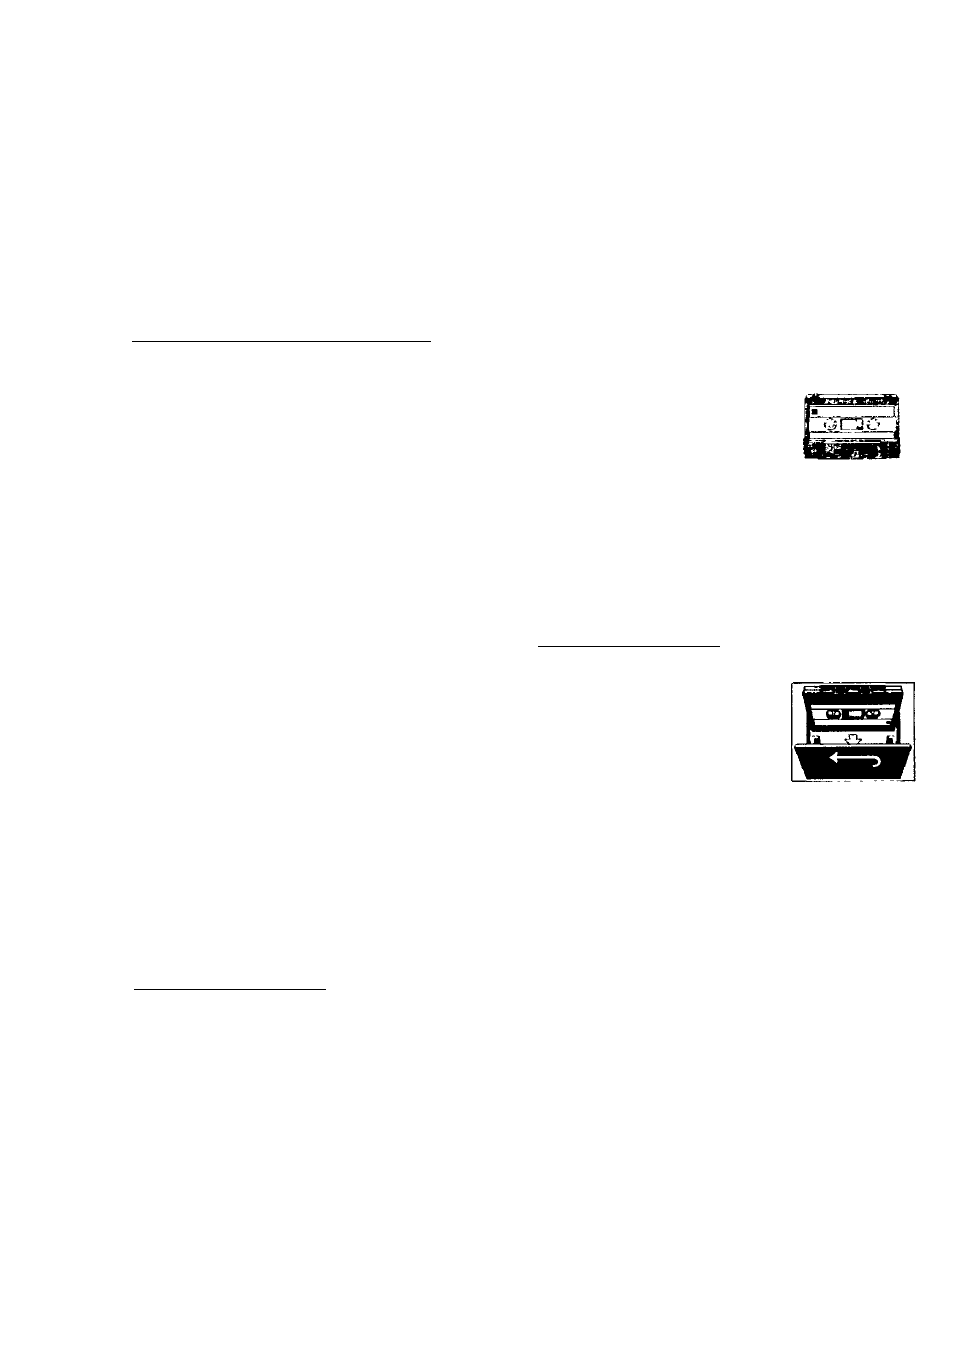
COMPACT CASSETTES
• Press
REPEAT
once during playback.
-
REPEAT
appears in the display.
The track will now be repeated.
• Press
REPEAT
twice to repeat the CD.
-
REPEATis
flashing in the display.
The CD will now be repeated.
• Press
REPEAT
again to stop the repeat
function.
-
REPEAT
will dissappear from the display.
PROGRAMMING TRACK NUMBERS__________
You may store at most 20 tracks in the
memory in the desired sequence. You may
store any track more than once. When playing,
you will only hear the stored titles in the
selected sequence.
Manual selecting
• Press
PROG.
- The display will show
PGM
and 00.
• Select the desired track using the buttons r«
PREVIOUS
and
NEXT
until the display
shows the required track number.
• Store this track by pressing
PROG.
• Select and store in this way all desired titles.
Checking the program
• From the STOP-position, press
PROG
repeatedly: the display shows in sequence
all programmed track numbers.
- After the last track appears in the display,
the total number of tracks programmed will
be appeared again. Then, 00 appears in the
display.
• Press button one more time, the display will
show the first track of the program again.
Notes:
While playing a program, it is possible to use
№< or to select the desired programmed
tracks.
ERASING A PROGRAM_________________________
• Press
STOP
twice or press
OPEN/CLOSE
straight away.
- The program has now been erased.
For recording, use a NORMAL cassette (lEC
type I) on wich the tabs are not broken out.
This deck is not suited for recording on
CHROME (lEC II) or METAL (lEC IV)
cassettes.
For playback, any cassette type may be
inserted.
At the very beginning and end of the tape,
no recording will take place during the 7
seconds when the leader tape passes the
recorder heads.
To prevent the accidental erasure of a
recording, keep the
cassette side to be
safeguarded in front of you
and break out the left tab.
Now, recording on this side
is no longer possible. To render this
safeguard ineffective, cover the aperture
with a piece of adhesive tape.
• Do not expose the cassettes to rain,
moisture, sand, or to excessive heat e.g.
from heating equipment or in motor cars
parked in the sun.
CASSETTE PLAYBACK______________________
• Set the
FUNCTION
selector to TAPE.
• Press
STOP/EJIECT)
to
open the cassette holder.
• Insert a recorded cassette.
• For fast winding, press
F.FWD
or
REW.
To stop,
press
STOP.
• Press
PLAY
and playback will start.
• Adjust the sound using the controls
.VOLUME
and
TONE.
You may connect
stereo headphones with 3.5 mm plug to
socket fi
PHONES.
The loudspeakers are
then muted.
• To stop, press
STOP.
On pressing again, the cassette holder will
open. When the end of the tape is reached,
the recorder buttons are released.
• The set is switched off if the FUNCTION
selector is in TAPE position and no buttons
are pressed. The POWER indicator goes
out.