4 wall mount bracket installation, 1 component installation, 2 wall mount installation steps – IC Realtime 2 Megapixel Mini Network PTZ Dome Camera (ICIPP2012S) User Manual
Page 18
10
4 WALL MOUNT BRACKET INSTALLATION
4.1 Component Installation
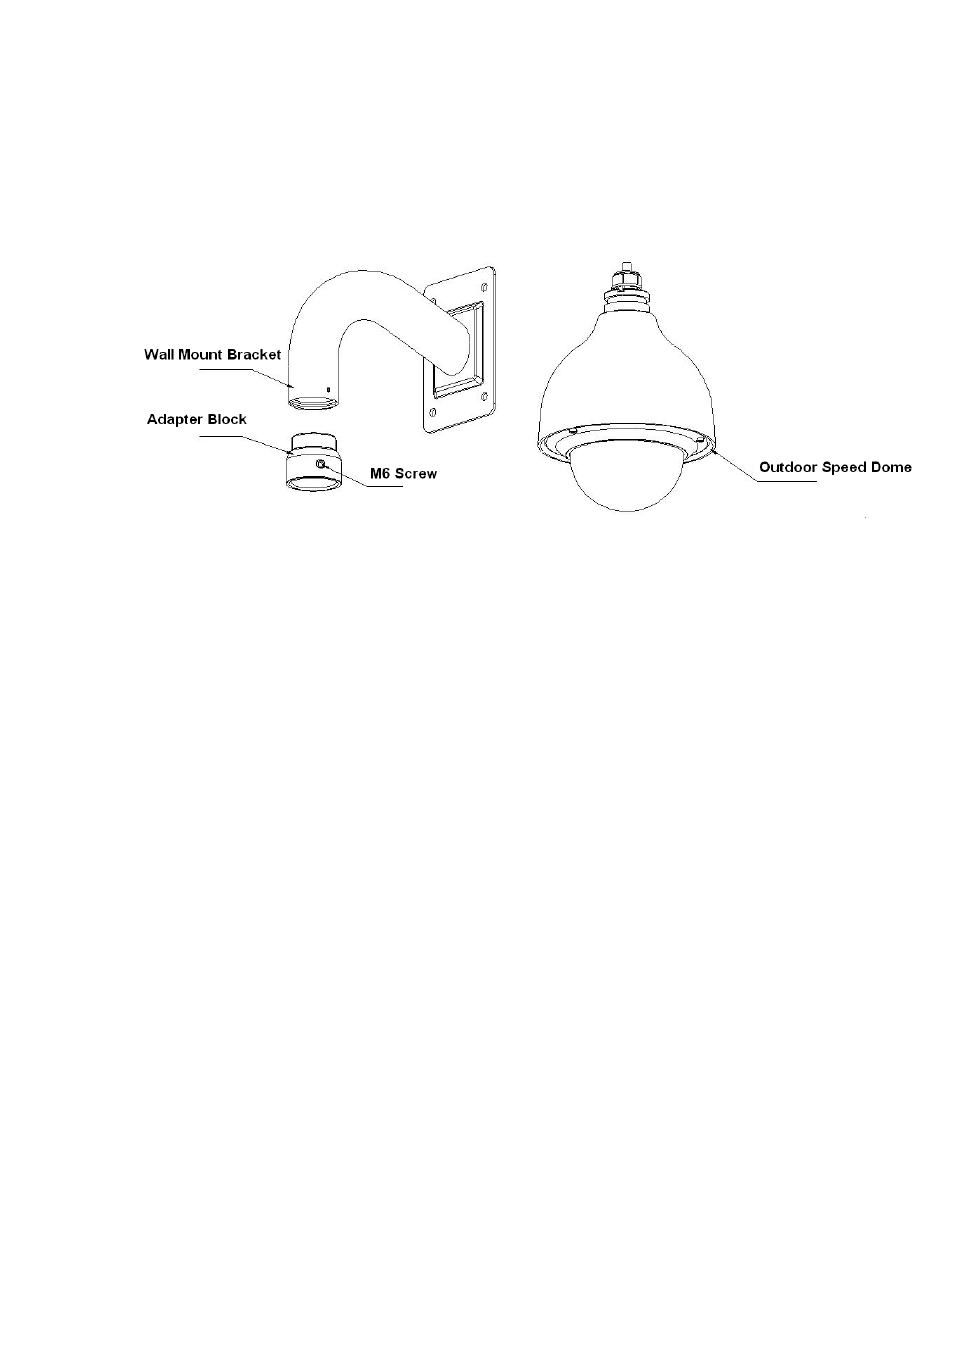
The wall mount bracket and outdoor speed dome is shown as in Figure 4-1.
Figure 4-1
4.2 Wall Mount Installation Steps
4.2.1 Installation Environments
The wall mount speed dome can be installed in the hard construction wall in the indoor or
outdoor environments. Before the installation, please make sure:
z
The wall is thick enough to install the expansion bolt.
z
The ceiling can at least sustain the 8x weight of the speed dome, bracket and the
accessories.
4.2.2 Installation Steps
1) Dig a hole of 50mm diameter for cable exit in the installation wall.
2)
In Figure 4-2, connect the adapter block to the internal thread of the wall mount bracket,
until it reaches the end and then fix the set screw. Pull the intelligent speed dome
composite cable through the adapter block and pull it out of the other end of the wall
mount bracket. Line up the hook at the top of the external enclosure to the inside hole of
the adapter block and then push it to the end, and then secure the three screws of the
adapter block firmly. Please note this step is very important. Please make sure the
screws are firm, otherwise, it may result in falling risk of the intelligent speed
dome.