Haltech HT053009 User Manual
Page 9
7.
Remount the Factory ECU with Harness Connected
Remove the factory ECU from the mounting bracket. This installation requires the
factory mounting bracket to be removed and not reinstalled. Connect the Patch
Harness to the Factory Harness using the 3 header connectors which were
disconnected from the Factory ECU Previously.
Connect the Factory ECU to the Patch Harness using the 3 connectors contained
within the harness. Re-Mount the Factory ECU (connectors face down) to the bracket
attached to the side of the heater unit. The ECU can be mounted using Cable ties
and 3M Velcro tape.
Connect the Haltech ECU to the patch harness, connect the USB cable to the ECU.
Mount the Haltech ECU to the Existing Wiring harness with cable ties, as pictured.
Figure 13– Factory and Haltech ECU mounted in vehicle
Figure 14– Bottom view of mounting location
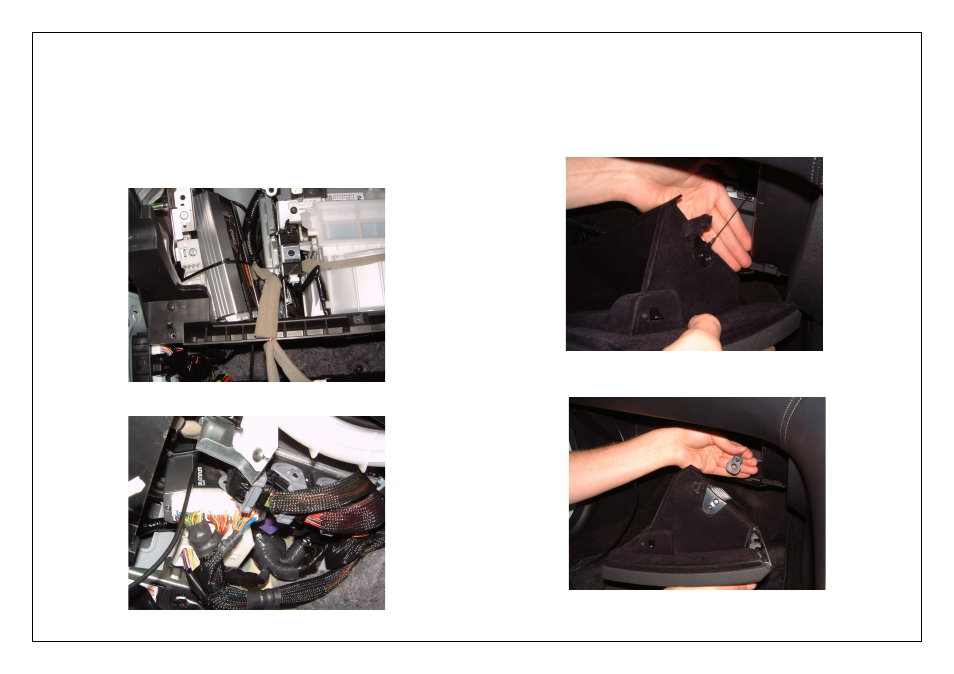
3.
Remove the Glove compartment.
To remove the glove compartment, open it and pull it forward. You will need to
manipulate the glove box to disengage the stopping tabs on either side. Once they are
disengaged the glove box will come forward. Gently pull it up and out to unclip it from its
mounts. At this point you will need to remove the slow release mechanism clip.
This should just unclip by pulling it forward.
Figure 8 – Glove compartment “stopping tab” and Slow release mechanism
Figure 9 – Slow release mechanism removed