Get the model ready to fly, Assemble the landing gear – Great Planes J-3 Cub FlatOuts EP ARF - GPMA1120 User Manual
Page 11
❏
7. Loop the prop saver O-ring around one of the screws
and over the prop hub. Hook the O-ring onto the other screw
to secure the propeller to the prop saver. Long nose pliers
may make it easier to stretch the O-ring onto the screws.
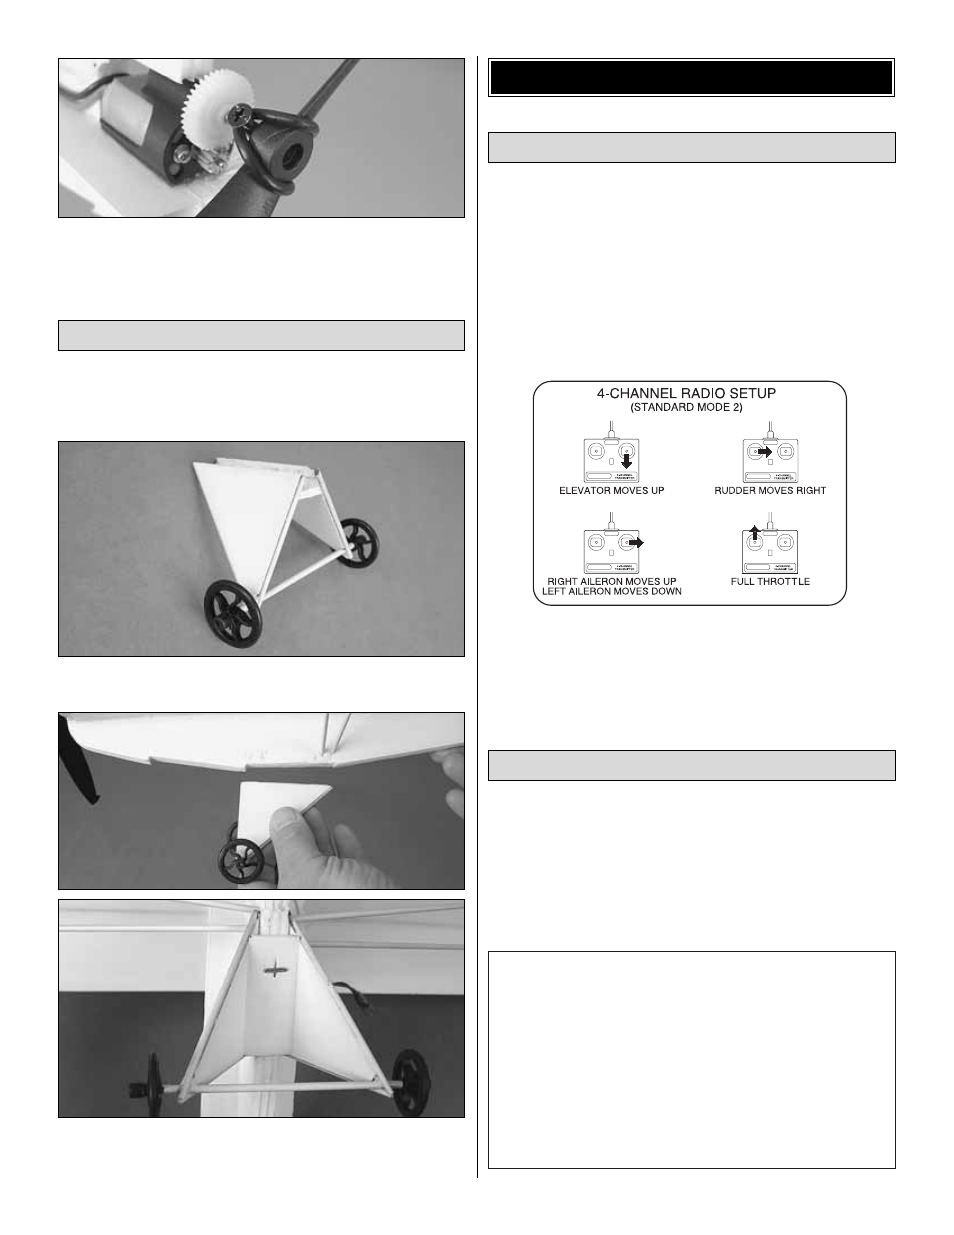
Note: The landing gear is designed for display purposes, not
for use in flight. For this reason assembling the landing
gear is optional.
❏
1. Install the wheels onto the axle and hold them in place
with the black plastic wheel retainers.
❏
2. Slide the landing gear onto the fuselage. Hold it in
place by sliding a T-pin through the bottom of the landing
gear and into the fuselage.
❏
1. Turn on the transmitter and receiver and center the trims.
❏
2. With the transmitter and receiver still on, check all the
control surfaces to see if they are centered. If the lengths of
the pushrods need to be adjusted to center the control
surfaces, break the glue bond at the ends of the heat-shrink
tubing and make your adjustments. Be sure to re-glue the
ends of the heat-shrink tubing to the pushrod wires when
you are satisfied.
❏
3. Make certain that the control surfaces and the throttle
respond in the correct direction as shown in the diagram. If
any of the controls respond in the wrong direction, use the
servo reversing in the transmitter to reverse the servos
connected to those controls. Be certain the control surfaces
have remained centered.
Use a ruler to accurately measure and set the control throw
of each control surface as indicated in the chart that follows.
If your radio does not have dual rates, we recommend
setting the throws at the low rate setting.
Note: The throws are measured at the widest part of the
elevators, rudder and ailerons.
These are the recommended control surface throws:
High Rate
Low Rate
ELEVATOR:
1-1/4" [32mm] up
1" [25mm] up
1-1/4" [32mm] down 1" [25mm] down
RUDDER:
1-1/4" [32mm] right
1" [25mm] right
1-1/4" [32mm] left
1" [25mm] left
AILERONS:
(Only One Rate)
1/2" [13mm] up
3/16" [4.8mm] down
Set the Control Throws
Check the Control Directions
GET THE MODEL READY TO FLY
Assemble the Landing Gear
11