Great Planes Curtis P-6E Hawk ARF 1/5 Scale - GPMA1219 User Manual
Page 9
❏
2. After the glue has cured, test fit the wing joiner into the
bottom wing panels. Note that the wing joiner is angled to
provide dihedral in the bottom wing. Also insert the smaller
hardwood trailing edge wing joiner.
❏
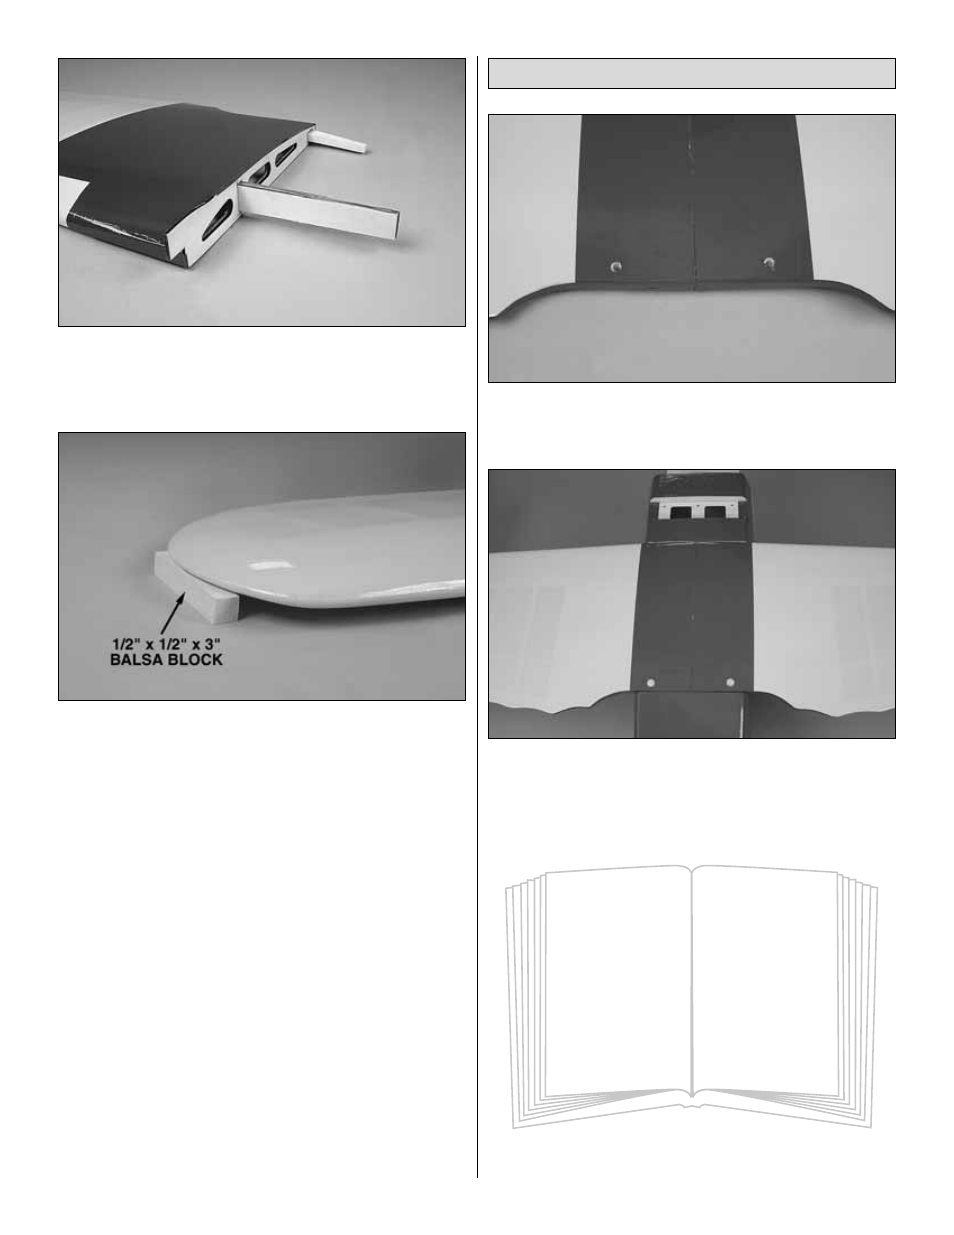
3. To check that the joiners are properly installed, position
the wing upright on your building surface. Place the included
1/2" x 1/2" x 3" [12.7mm x 12.7mm x76.2mm] balsa block
under each wing tip. The center of the wing should be
resting on your building table.
❏
4. When you are satisfied with the fit of the joiners, glue
the forward and aft wing joiners into the bottom wing panels
with 30-minute epoxy. Be sure that the forward wing joiner is
installed properly. When gluing the wing panels together be
sure to get glue into the joiner pockets in the wing. This can
be done by applying the glue into the pockets with a small
stick. Apply glue to the pockets, the joiners and the root ribs
of the wing panels.
Before the glue cures, set the wing upright on your building
surface. Position the two blocks under the wing tips. Put small
weights on the wing to keep it lying flat while the glue cures.
❏
5. Hold the wing together with masking tape while the
glue is curing. Before the epoxy cures, the excess epoxy can
be removed with denatured alcohol and a paper towel.
❏
1. Cut the covering from over the two wing bolt mounting
holes at the aft edge of the bottom wing.
❏
2. Attach the bottom wing to the fuselage with two
1/4-20 x 2" [50.8mm] nylon bolts.
Did you know? ....
The original P-6 had a designation
as XP-6 and was designed for the
1927 National Air Race, placing
2nd with an average speed of
189 mph. The plane that beat
it was the Curtiss XP-6A.
Install the Bottom Wing
9