Great Planes Proud Bird ARF - GPMA1260 User Manual
Page 18
18
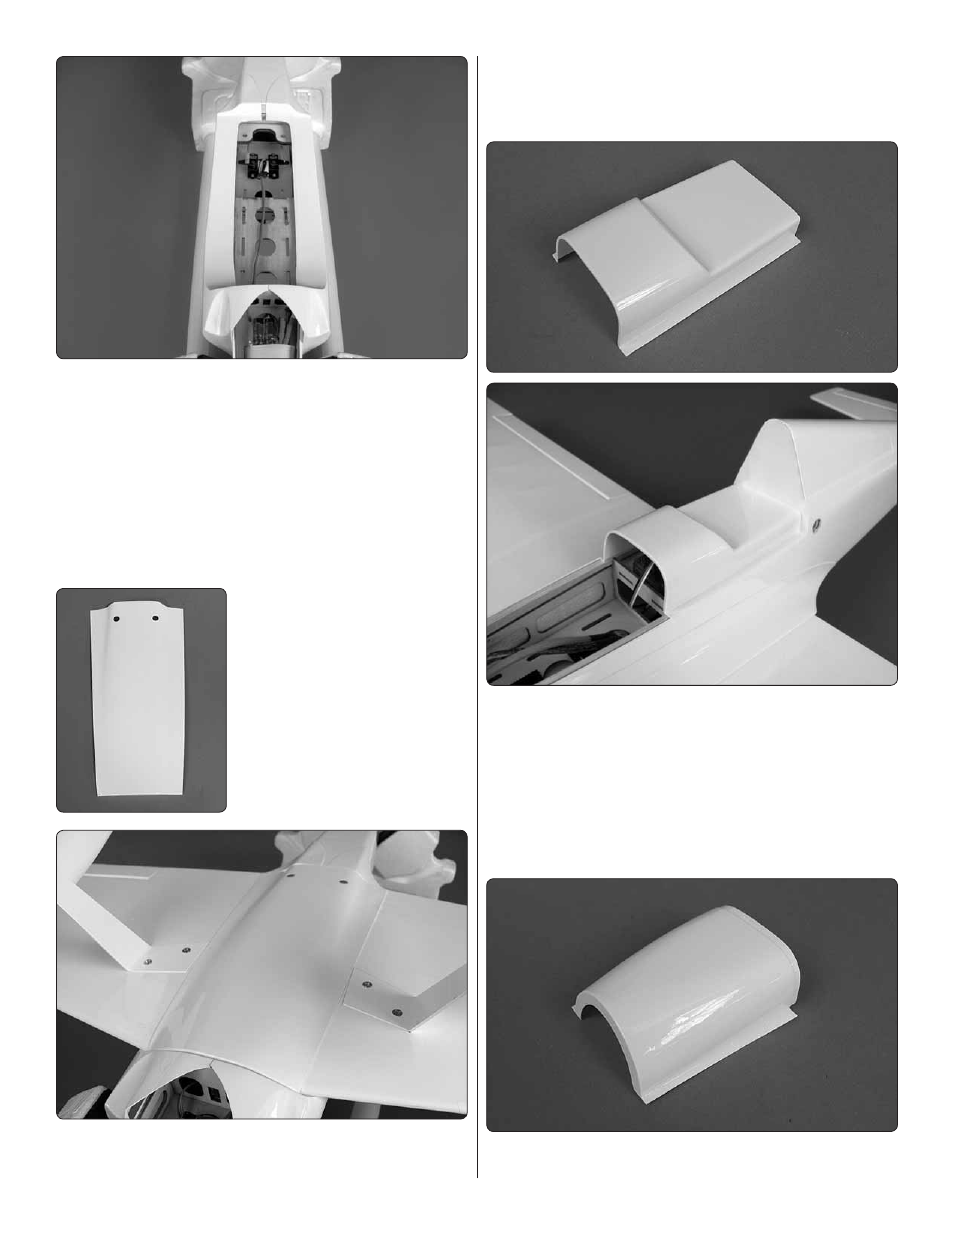
Use 220 grit sandpaper to smooth out the edges. The fairings
can be glued on with canopy glue or CA glue. We recommend
CA glue to avoid the drying time and masking tape required for
canopy glue. To glue the fairings on with CA, apply a drop of
medium or thick CA approximately every inch along the inside
of the fairings where they fi t onto the wing saddle edges and
fore and aft formers. Press and hold them into place until the
CA glue tacks up. Flip the plane over and use a small fl athead
screwdriver to carefully pry the fairings away from the fuse
sides and apply additional drops of CA until the fairings are
thoroughly glued in place.
❏
3. Trim the belly pan along the
cut lines. Make holes for the wing
screws. Their location is marked
with indentations. A body reamer
works well for this task as it will
make perfectly circular shaped
holes without tearing the material
(DTXR1158).
❏
4. Test fi t the belly pan in place and make any additional
trimming and sanding necessary until you are satisfi ed with
its fi t. Don’t allow the belly pan to cover any part of the landing
gear bases. That may make them diffi cult to remove in the
event they need to be repaired or replaced. Glue the belly pan
to the wing. Take care not to glue the wing to the fuselage!
❏
5. Trim the aft cockpit fl oor along the cut lines and test fi t
it in place. Before gluing this piece in place, confi rm that your
receiver antennas are properly placed, your receiver is bound
to your transmitter, your tail servos and ESC are connected
and you have a 6" [152mm] servo extension plugged into
your aileron channel. Gluing the aft cockpit fl oor in place will
provide only limited access to your receiver. We suggest using
canopy glue sparingly or taping the fl oor in place in case you
need to remove the fl oor in the future.
❏
6. Trim the forward cockpit fl oor along the cut lines.