Assembly, Tighten the covering, Kit contents – Great Planes Kunai 1.4M EP Rx-R - GPMA1816 User Manual
Page 5
5
ASSEMBLY
This instruction manual applies to both the ARF and the
Rx-R editions of the Kunai. If assembling the Rx-R version,
simply skip steps that do not apply. NOTE: Even though
the control horns are glued into position in the Rx-R version,
apply a couple drops of thin CA to the base of all the horns
where they meet the control surfaces just for added security.
Also be sure the screws on the pushrods in the aileron horns
are tight and secure.
Tighten the Covering
Between the time the Kunai was produced and the time you
opened the box, the covering may have relaxed, causing
areas of loose covering or wrinkles. The absolute best way
to tighten the covering is with a covering iron and a protective,
cloth covering sock. The ideal surface temperature of the cover
sock should be approximately 300º F [150ºC] — if using a 21
st
Century covering iron turn the dial to 300ºF [150ºC]. First
glide the iron over the surface lightly to tighten the covering,
then go over it again, pressing down to bond the covering to
the wood underneath. NOTE: Avoid using a heat gun or the
covering may pull away at the seams.
ASSEMBLE THE WINGS
Prepare the Aileron Servos
for Installation
Right
Aileron Servo
Neutral
Right
Aileron
Input
Spoileron
Input
Left
Aileron Servo
❏
1. If your servos came with double or four-arm servo arms,
cut off the unused arms for your two aileron servos. Connect
the servos to your receiver with an ESC and program a mix in
your transmitter and power up the servos so they will respond
as shown in the illustrations (a slider or dial is suggested for
controlling the spoilerons).
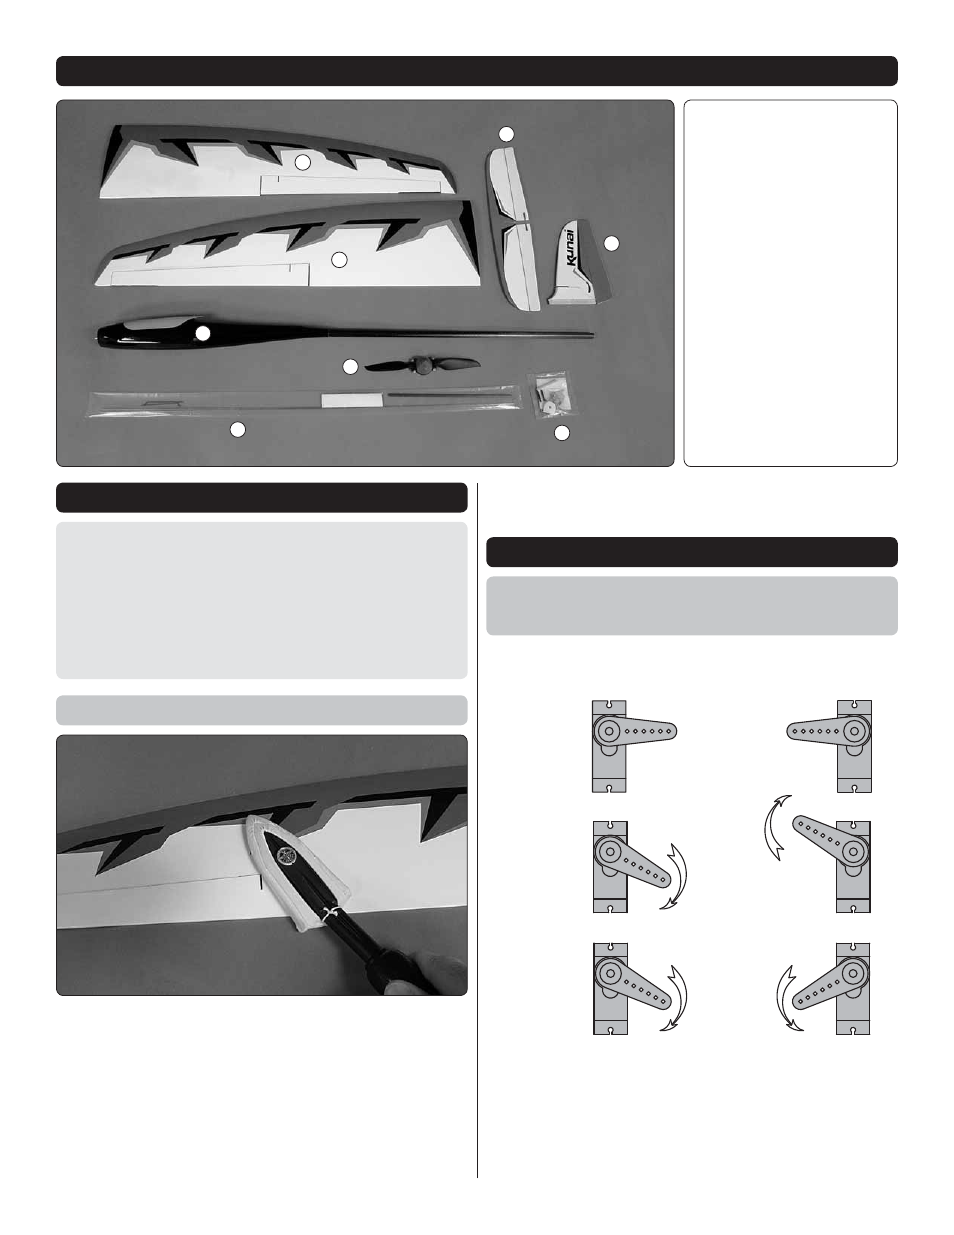
KIT CONTENTS
1.
2.
3.
4.
5.
6.
7.
8.
Wing
Horizontal Stabilizer
Vertical Stabilizer
Fuselage
8 x 6 Folding
Propeller Assembly
Hardware A
Hardware B
Decal Sheet (not shown)
Kit Contents
1
1
6
2
4
7
3
5