GME TX4500S User Manual
Page 13
T X 4 5 0 0 S
I N S T R U C T I O N M A N UA L
PA G E 1 3
the next transmission. In this way the group can
continue to communicate with minimal interference
to or from other users.
Enabling Net-Scan
Net-Scan is normally switched off by default but can
be enabled through your radio’s menu.
NOTE:
When you enable Net-Scan you will also be
prompted to choose a suitable CTCSS or DCS tone
to be used by your Net-Scan group. All members of
your Net-Scan group must use this same code.
To Enable Net-Scan
1. Hold the MENU key until the radio beeps. The
radio will enter the menu mode.
2. Briefly press the MENU key repeatedly until ‘NS-
OF’ is displayed.
3. Rotate the Channel control clockwise to enable
Net-Scan then continue rotating to select a
suitable CTCSS or DCS tone.
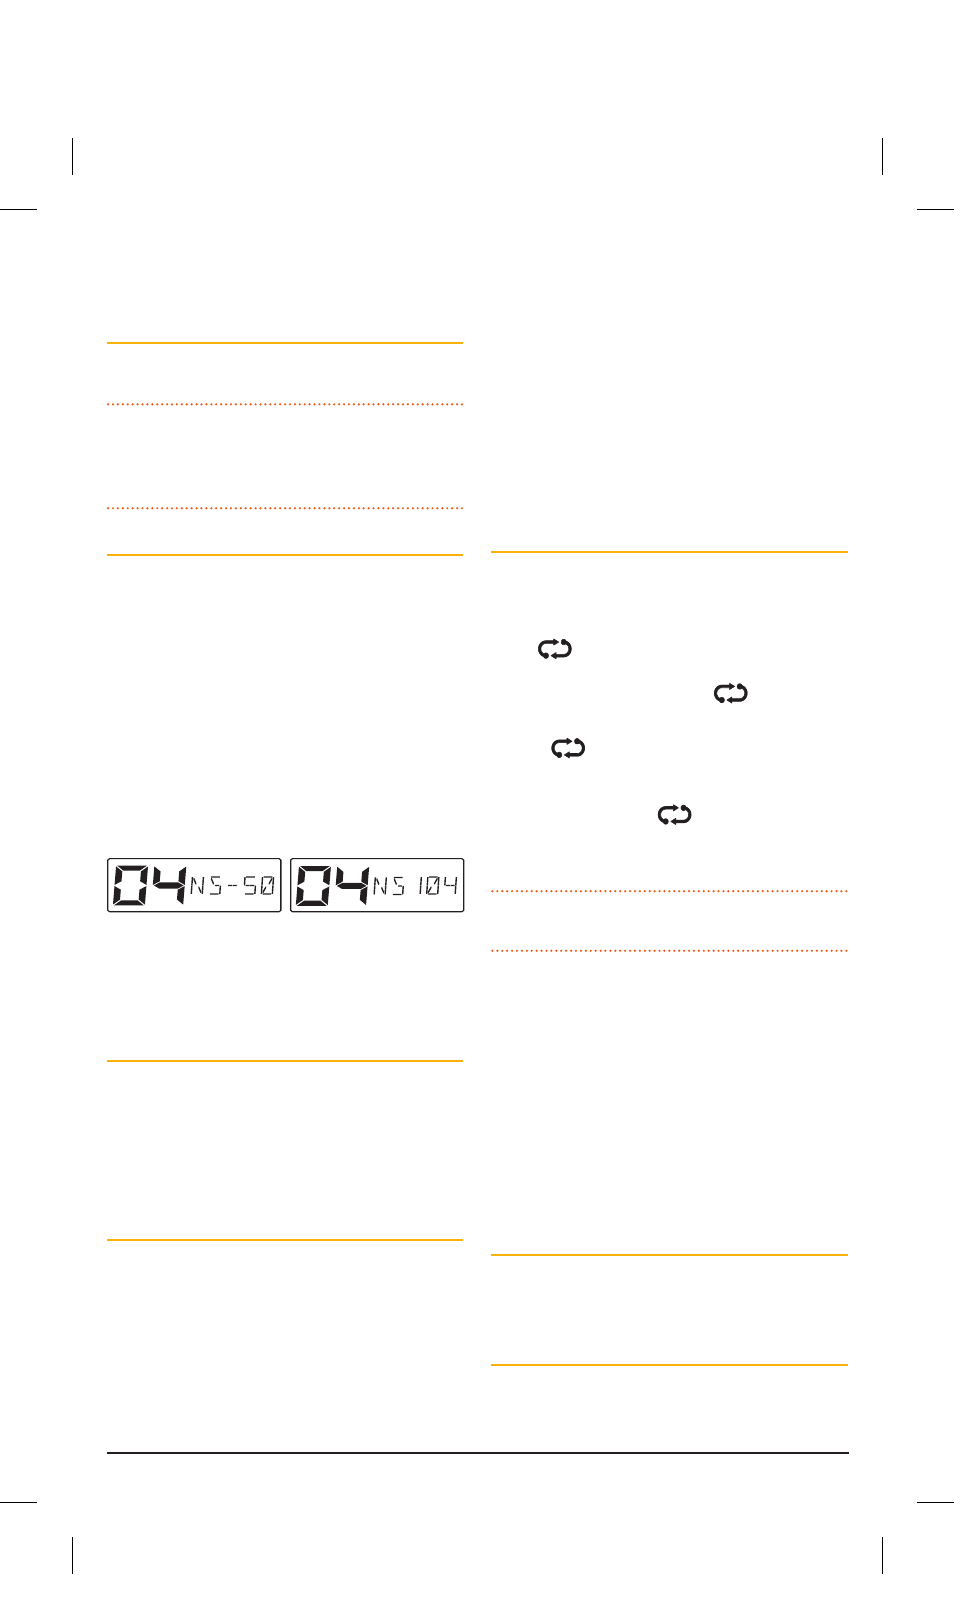
• CTCSS tones for Net-Scan are labelled
NS-01 – NS-50.
• DCS tones for Net-Scan are labelled
NS001 – NS104.
e.g. Netscan CTCSS tone 50 e.g. Netscan DCS tone
104
4. When the required CTCSS/DCS tone is displayed,
press the PTT to exit.
Selecting Net-Scan
When Net-Scan is enabled, a new Network scan
option becomes available on the OS/GS key. To
select the Network Scan option, press the MENU
key followed by the OS/GS key to cycle through the
available scan groups until ‘NETWK’ is displayed.
The radio is now in the Network Scan mode.
Programming channels into Net-Scan.
All radios in your Net-Scan group must have the
same channels programmed into their Net-Scan
memory. Your radio’s Net-Scan memory has already
been factory programmed with 43 of the available
80 channels. The remaining 37 channels, which
consist of the 32 repeater input/output channels,
2 telemetry channels and 3 guard-band channels,
have not been included to minimise the risk of
interference to other services on these channels.
To quickly determine which channels are
currently programmed into the Net-Scan
group
1. With the NETWORK scan group selected, briefly
press the MENU key. ‘F’ will be displayed
2. Rotate the Channel control to step through the
channels. Only channels that are stored in the
Net-Scan memory will be displayed. Take a note
of the channel numbers to compare with the
other radios in your Net-Scan group.
When finished, press the MENU key to exit.
To Add or Remove Net-Scan Channels
With Net-Scan mode enabled, select the require
channel using the Channel control.
• If the channel is currently in the Net-Scan group
the
icon will be visible above the channel
display. To remove the channel, hold the SCAN
key until a low beep is heard.
will disappear
indicating the channel is no longer in memory.
• If the
icon is not visible above the channel
display, the selected channel is not in the Net-
Scan memory. To add it, hold the SCAN key until
a high beep is heard.
will appear to confirm
the channel is now in memory.
Repeat to add or remove further Net-Scan channels.
IMPORTANT:
When adding channels to Net-Scan,
please consider the following:
• The transmitter on your radio is inhibited on
channels 22, 23 and channels 61, 62, 63
as required by the ACMA. This makes these
channels unsuitable for use as Net-Scan channels.
• You should not include any repeater channels
unless you have confirmed that the channel is not
allocated to a repeater in your area. If you add
an active repeater channel into your Net-Scan,
you or others in your Net-Scan group may cause
interference to other repeater users on that
channel.
Starting Net-Scan
With Net-Scan mode enabled, press SCAN. The
radio will begin scanning and ‘NSxxx’ (where xxx is
the selected CTCSS or DCS tone) will be displayed.
Using Net-Scan
When a member of the group initiates a transmission
their radio will automatically select a clear channel
to transmit on. Other radios scanning in the same
46885-4_TX4500S_IM.indd 13
4/06/14 3:08 PM