Installation – GME GX400B User Manual
Page 14
1 4
I N S T R U C T I O N M A N UA L
G X 4 0 0
INSTALLATION
GENERAL
It is advisable to spend a little time selecting the best location for your GX400. The radio can
mounted to a shelf or panel using the supplied gimbal bracket. Alternatively it can be flush
mounted using an optional flush mount kit.
Keep the following points in mind when choosing a location
•
The GX400 is designed to meet IPX7 standard. However we recommended you select a
location that will minimise excessive exposure to continuous rain or spray.
•
Select a location that won’t expose your radio to continuous direct sunlight which could
cause overheating.
•
Ensure the location allows a free flow of air around the heat sink on the back of the radio.
•
The microphone and all controls should be readily accessible and the loud speaker easily heard
from the normal steering or driving position. An extension speaker can be installed if required.
•
Components and currents in the radio create magnetic fields. To avoid interference to
compasses, ships autopilot sensors etc, the GX400 should be mounted at least 30 cm from
such devices.
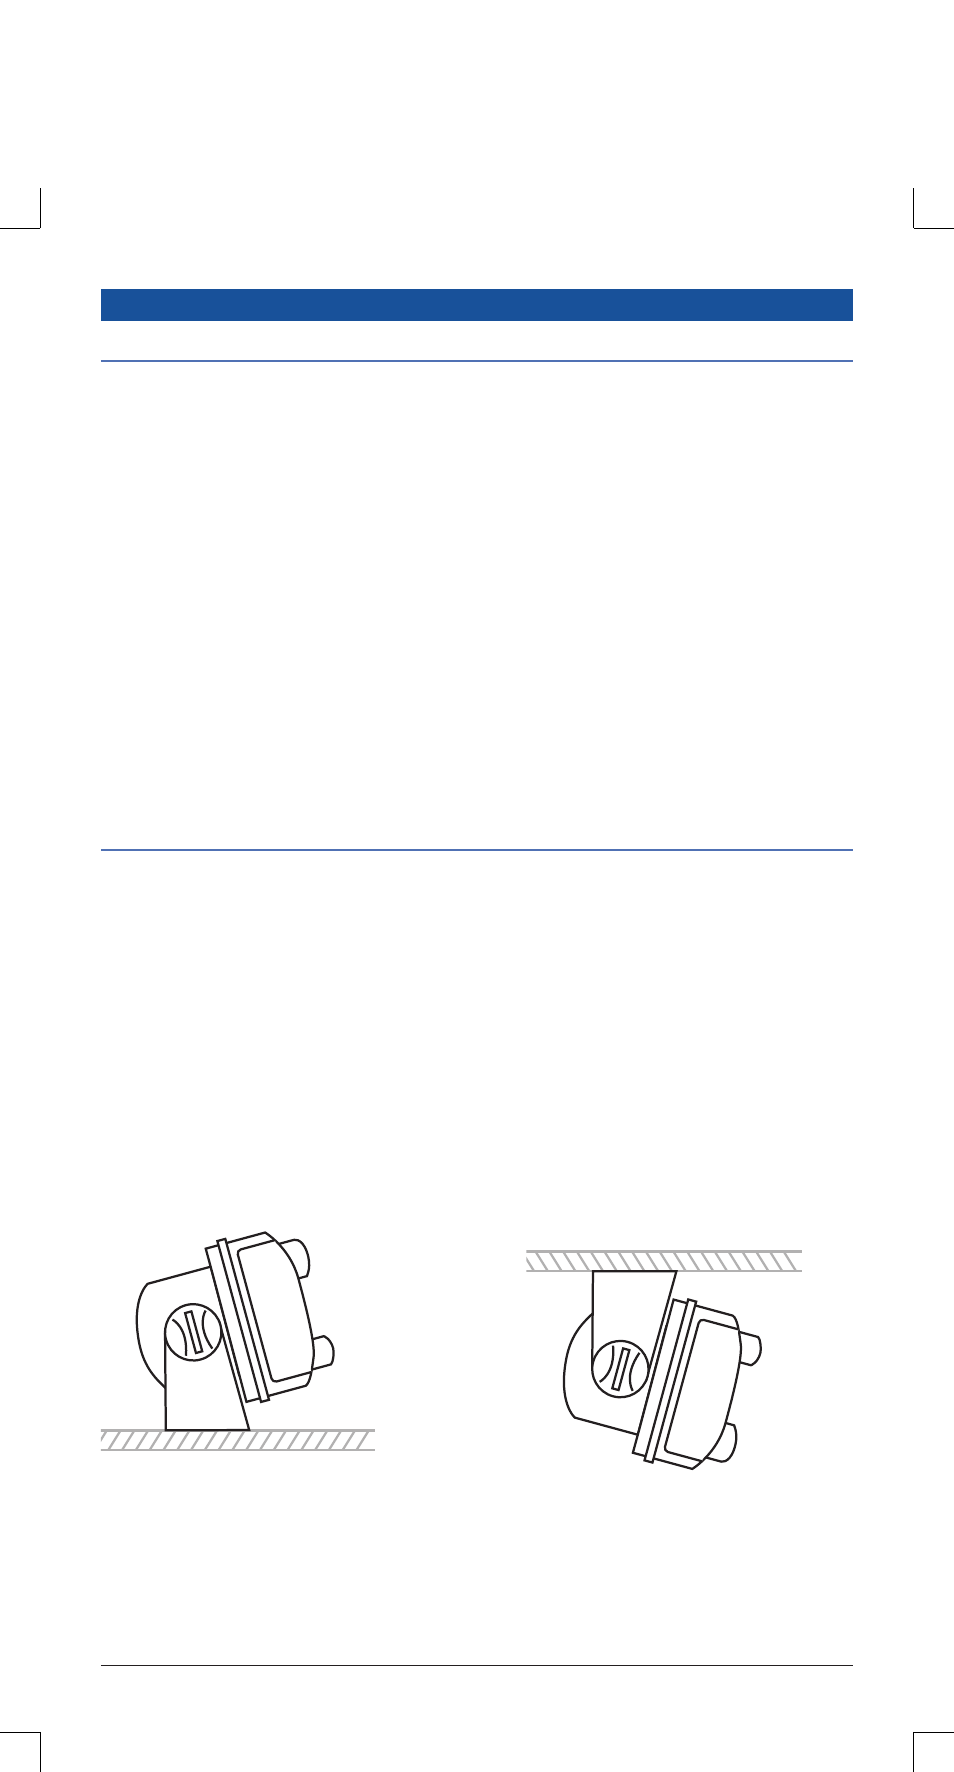
INSTALLING THE UNIT
Gimbal Mounting
The mounting bracket can be rotated above, below or behind the radio enabling the radio to be
mounted to a wide range of locations.
After choosing a location, hold the unit with the mounting bracket attached, to the desired
position and mark the location with a pencil. Remove the mounting bracket from the radio
and drill the mounting holes. Bolt or screw the bracket in place using hardware suitable for the
mounting surface. The unit is supplied with stainless steel screws; however, if the mounting
surface is unsuitable for screws you may need to replace these with stainless steel bolts.
Remember the fixings for overhead mounted units may have to withstand heavy pounding when
a vessel is in rough water or being towed on a trailer over rough road.
Upright
Mounting
Overhead
Mounting