Before you fly, Assembly – GIN Gingo 2 User Manual
Page 9
9
3. Before you fly
The Gingo II must be assembled by a suitably qualified paragliding professional, for example
your instructor. In particular great care and attention must be paid to the fitting of the rescue
parachute in the harness. The pilot should then adjust the harness for comfort.
Assembly
Gin Gliders recommend that assembly be carried out in the order below. If there is any doubt
whatsoever about this procedure, please seek professional advice from your instructor, GIN
dealer or importer.
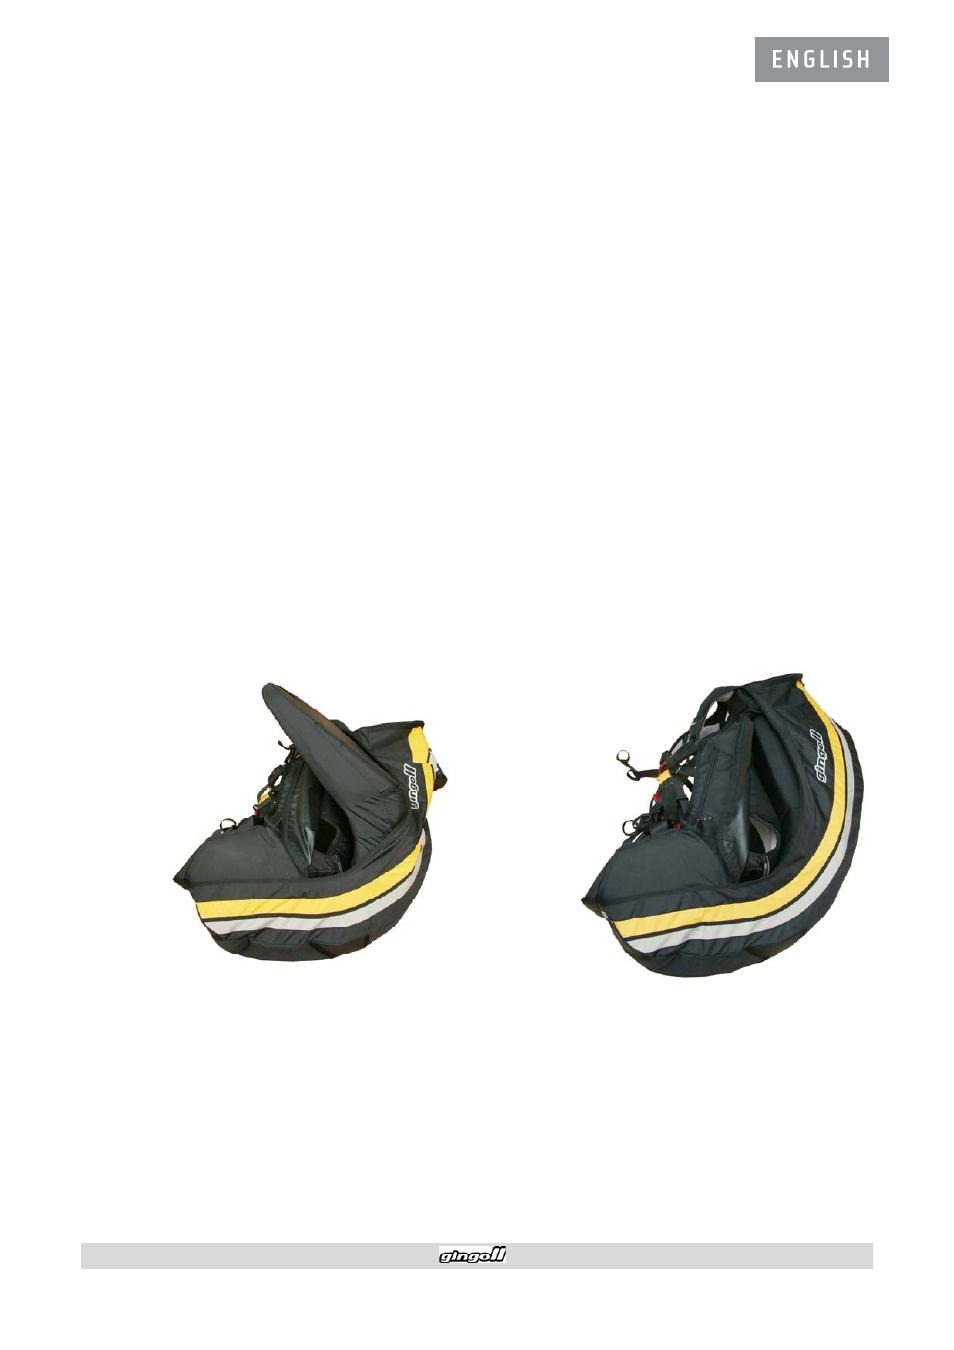
Back and Lateral Protection
When you receive the GINSOFT III it may be folded in two. Please let it lay open for several
hours before you install it in the harness. To install it, open the zipper on the opposite side to
the rescue bridle cover and slide the GINSOFT III back protection inside. It needs to slide into
the space underneath the seat plate and behind the back support. Do not put it underneath the
cross straps in the back of the harness. Attach the Velcro tapes to each other, which are on back
of the GINSOFT III and on the inside of the Gingo II. The protection should be not compressed in
normal use and should not hamper the space of the rescue or move into an incorrect position.
You can add lateral protection to the Gingo II by fitting a pair of GIN side impact plates into the
side pockets on the harness, either side of the back protection.