Preparation before use, Setting up the scanner – Canon CR-135I User Manual
Page 10
10
Preparation Before Use
This chapter describes how to prepare the scanner to scan
documents.
Setting Up the Scanner
Perform the following steps to set up the CR-135i/CR-190i. Refer to
the section for each step for details about that step.
1
Check your operating environment. (See “Checking Your
Operating Environment” on p. 11.)
2
Install the software. (See “Installing the Scanning Utility”
on p. 11.)
Install the Scanning Utility provided with the CR-135i/CR-190i.
3
Connect the scanner to a computer. (See “Connecting the
Scanner to a Computer” on p. 12.)
4
Turn ON the power. (See “Turning ON the Power” on
p. 13.)
5
Automatically installing the device driver. (See p. 14.)
The device driver is installed automatically when Windows
recognizes the CR-135i/CR-190i.
IMPORTANT
• To have the device drivers installed automatically when the
computer recognizes the CR-135i/CR-190i, the software needs to
be installed before the CR-135i/CR-190i is connected to the
computer.
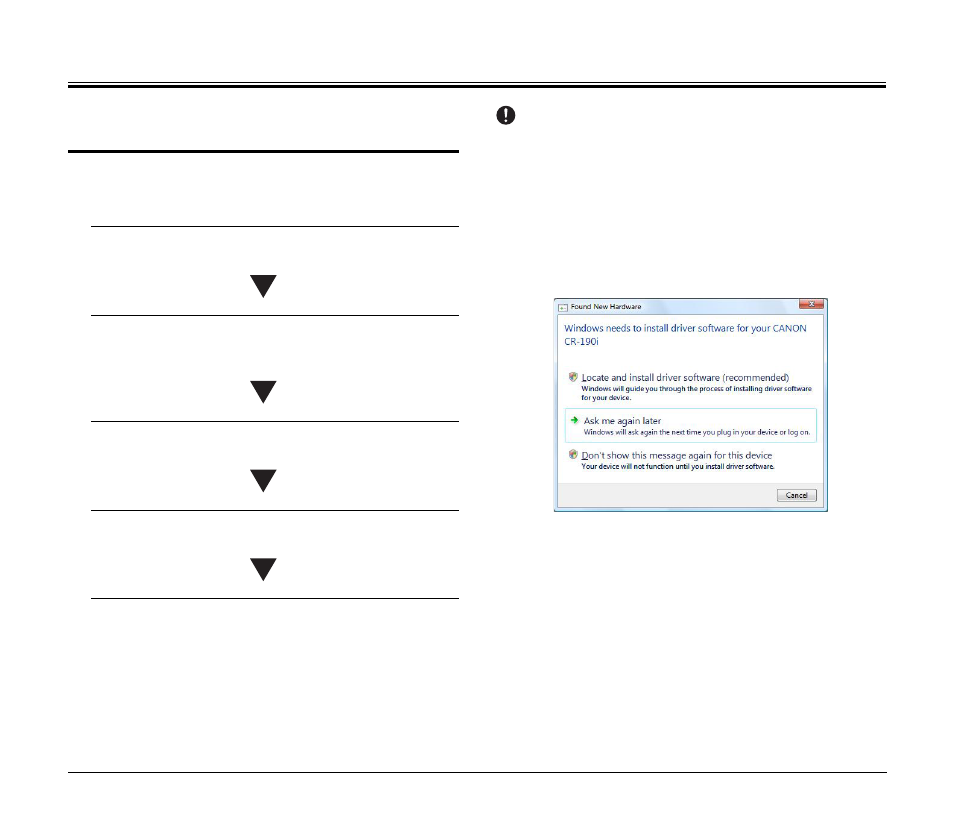
• If you connect the computer and turn ON the CR-135i/CR-190i
before installing the software, the following wizard screen appears.
If this happens, click [Cancel], turn OFF the CR-135i/CR-190i, and
then install the software.
The following wizard screen is an example in Windows Vista. When
a similar wizard screen appears in Windows XP/7, click [Cancel].
Wizard Screen (Windows Vista)