Starting a recording, Channel input metering, Adding markers – Cymatic Audio uTrack 24 Manual User Manual
Page 9: Gapless recording, Playing back audio, Autoplay on startup, Looping playback between in and out points, Starting a recording 6, Channel input metering 6, Adding markers 6
PRODUCT MANUAL
PRODUCT MANUAL
17
16
GETTING STARTED WITH RECORDING AND PLAYBACK
GETTING STARTED WITH RECORDING AND PLAYBACK
Since the read/write speed of a freshly formatted USB hard drive is a consistent and known
quantity that never changes (unlike a USB flash drive), you can be confident that the real recording
will occur exactly as the test recording did.
12.3. Starting a Recording
The uTrack 24 defaults to the following settings for a recording:
• 24 tracks
• 24-bit
• 48 kHz
To change any of the above settings, navigate to the RECORDING menu. See section “uTrack 24
System Menus” for more details.
To begin a recording, simply press the front panel RECORD button. The uTrack 24 will immediately
begin writing the audio from its internal buffers to the attached USB drive. The screen will switch
to the RECORD screen. For the first two seconds, the number of active recording channels
are displayed on the screen and the corresponding channel LEDs will blink. The screen then
continues with showing the recording time.
When the uTrack 24 is neither playing back nor in playlist-mode, it will automatically operate
in “pre-recording” mode. This means that it will constantly buffer a minimum of 2.7 seconds
(depending on the number of recorded channels, sample rate and resolution) of the incoming
audio signal and write this audio data to the recorded file once have pressed the record button.
12.4. 24-Channel Input Metering
The front panel of the uTrack 24 contains 24 separate LEDs; each one serves as an individual
3-segment input level meter for the corresponding record channel.
This allows you to monitor the incoming signal level for each track, and adjust the output level of
the signal source accordingly.
12.5. Adding Markers
During recording the uTrack24 allows you to add up to 99 “markers” per take. Markers are
locational references that help you remember different spots in the recording (song 1, song 2,
verse, chorus, etc.)
To add a new marker while a recording is taking place, press the PLAY button. A new marker will
be created and the “Markers” field on the screen will increment by one digit.
If supported by your DAW, these markers will be visible in the DAW session after you have
imported your files. The markers can also be used to split your recordings at the marker points
when using the WavTool to copy the recording from your USB device.
12.6. Gapless Recording
Pressing the RECORD button while recording creates a new take without losing a sample. The
recording parameters of the new take are the same as the previous take. Further, these tracks
can be played back gaplessly inside a playlist.
12.7. Playing Back Audio
To playback a take you have just recorded, simply press the front panel PLAY button.
To navigate to a different take on the attached USB drive, you can either:
• Use the skip back and skip forward buttons, or the rotary encoder, to navigate among the
available different takes
• Press the BROWSE button, use the encoder to navigate to the folder that contains the audio
data and then select the specific take you wish to load for playback
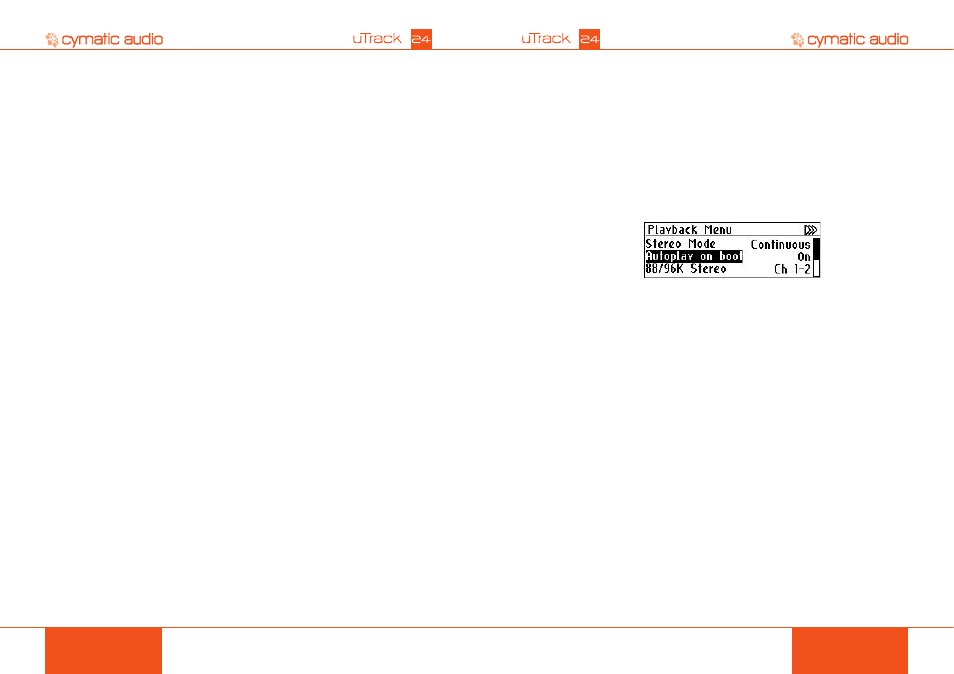
12.8. Autoplay on Startup
The uTrack 24 has the ability to automatically playback a playlist upon powering up.
This feature can be very useful when the uTrack 24 is used in installed sound setups where a
certain playlist should always be playing when the device is on.
To do so using the Playlist Editor:
• Create your desired playlist
• Check the ‘Autoplay on device boot-up’ checkbox below the Playlist Name field
• When exported, this playlist file will automatically be named ‘autoplay.play’ and placed in
the Multitrack/#PLAYLIST or Music/#PLAYLIST folders
• There can only be one autoplay playlist per project
This playlist will automatically be loaded and begin playing back, whenever the uTrack 24 is
powered up.
On the uTrack 24, in the “Playback Settings” menu, enable the “AutoPlay” feature (it is disabled
by default).
Once the autoplay the feature is enabled on the uTrack 24, on startup it will look for an autoplay.
play file in the playlist folder within the multitrack folder and if not found, looks into the playlist
folder within the stereo/music folder.
If a Playlist is found, the playback of the playlist is automatically started. The process works
exactly as if you had manually loaded the playlist and then pressed the PLAY button.
12.9. Looping Playback between In and Out Points
The uTrack 24 can create a playback loop by setting a “mark-in” and “mark-out” point when
playing back a take. These are separate from the markers described above, and are not stored
with the multitrack take.
To set a mark in and mark out point:
• Press the PLAY button to begin playback
• Press the MENU/LOOP button to call up the loop points overlay on the display
• Rotate the encoder to change the mark-in point, then press the encoder to choose it.
• Rotate the encoder to change the mark-out point, then press the encoder to choose it.
Selecting the mark-out point starts the playback loop between the two points.
• To cancel the playback loop and clear the mark-in / mark-out points, press the BACK button.
Looping between the mark-in and mark-out points is useful when playing back a take for a virtual
sound check. When the FOH engineer reaches a section in the sound check they wish to work
on extra carefully, they can quickly set in and out points, then loop between them. The looped
playback audio will allow them to concentrate on dialing in the live mix for that section perfectly.
!
Note: When operating in playback loop mode, pressing the skip forward/backward buttons will
cause the playback cursor to jump to the next or previous marker, respectively.
If no marker is available, pressing the skip backward buttons will cause the playback cursor to
jump to the beginning of the song.