Removing the crispers and crisper cover, To remove the cover, Humidity control – Whirlpool UPRIGHT FREEZER User Manual
Page 18: Adjusting the crisper humidity control, I" i
Attention! The text in this document has been recognized automatically. To view the original document, you can use the "Original mode".
Removing the crispers and crisper cover
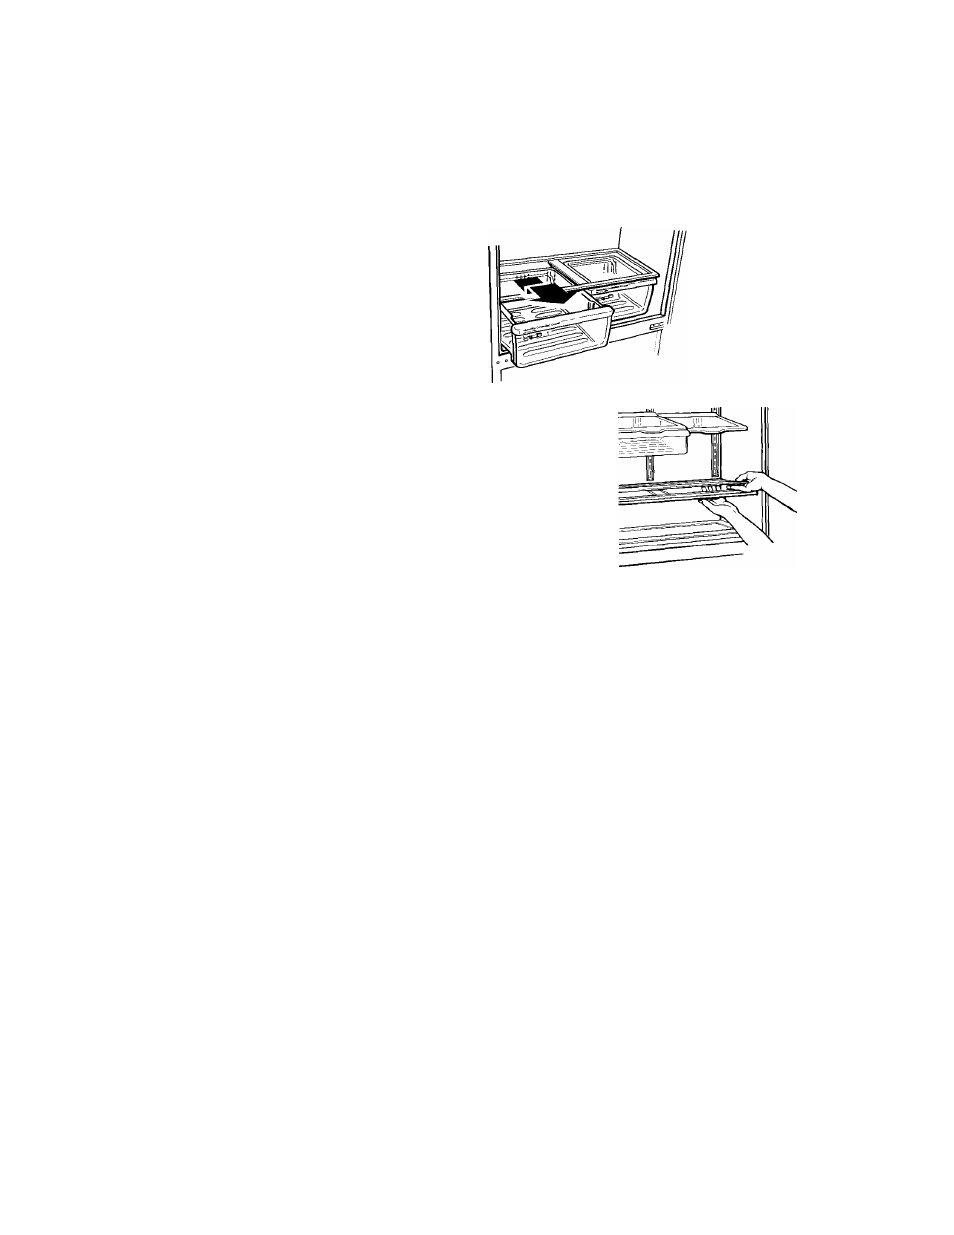
To remove the crispers:
1- Slide crisper straight out to the stop.
2. Lift the front and slide out the rest of
the way.
3. Replace in reverse order.
Pull out to
the stop, lift
the front, and
pull again.
To remove the cover:
1 ■ Push up the glass insert from the bottom,
then siide out with both hands.
2. Lift front of cover frame.
3. Lift cover frame up and out.
To replace the cover:
1 ■ Fit back of cover frame into notch sup
ports on back wall of refrigerator, then
lower the front into place.
2. Make sure the front cover metal support
is in the notches in the sides of the liner.
NOTE:
If
the support is not positioned
properly, the doors may not close all
the way.
3. Slide back of glass insert into place, then
lower front.
Remove the glass
insert. Lift the
cover front, then
the back.
NOTE: Glass
insert is heavy.
Handle it
carefully.
i
Humidity Control
HIGH • • • • • LOW
Adjusting the crisper humidity control
You can control the amount of humidity in
the moisture-sealed crispers. Adjust the
control to any setting between LOW
and HIGH.
• LOW (open) lets moist air out of the
crisper for best storage of fruits and
vegetables with skins.
• HIGH (closed) keeps moist air in the
crisper for best storage of fresh, leafy
vegetables.
I" I»""' ■
17