Removing the doors, Please read these helpful hints before you start, Removing the doors -27 – Whirlpool 4YED27DQDN00 User Manual
Page 27
Attention! The text in this document has been recognized automatically. To view the original document, you can use the "Original mode".
Removing the Doors
Cabinet
Please read these helpful hints before you
start
• Before you start, either unplug the refrig
erator or disconnect the electricity leading
to it at the main power supply and remove
any food from door shelves.
• When removing hinges, keep doors ciosed
until ready to lift free from cabinet.
• To remove doors, start at the top hinge
and work down.
• To replace doors, start at the bottom hinge
and work up.
• Line up doors so they are centered
between the sides of the cabinet and are
parallel with each other.
• If refrigerator light does not go out when
door is closed, the door may be too low.
Use a thicker spacer if necessary.
• Door seal may be adjusted by removing
the top hinge and adding or removing
shims to the bottom hinge.
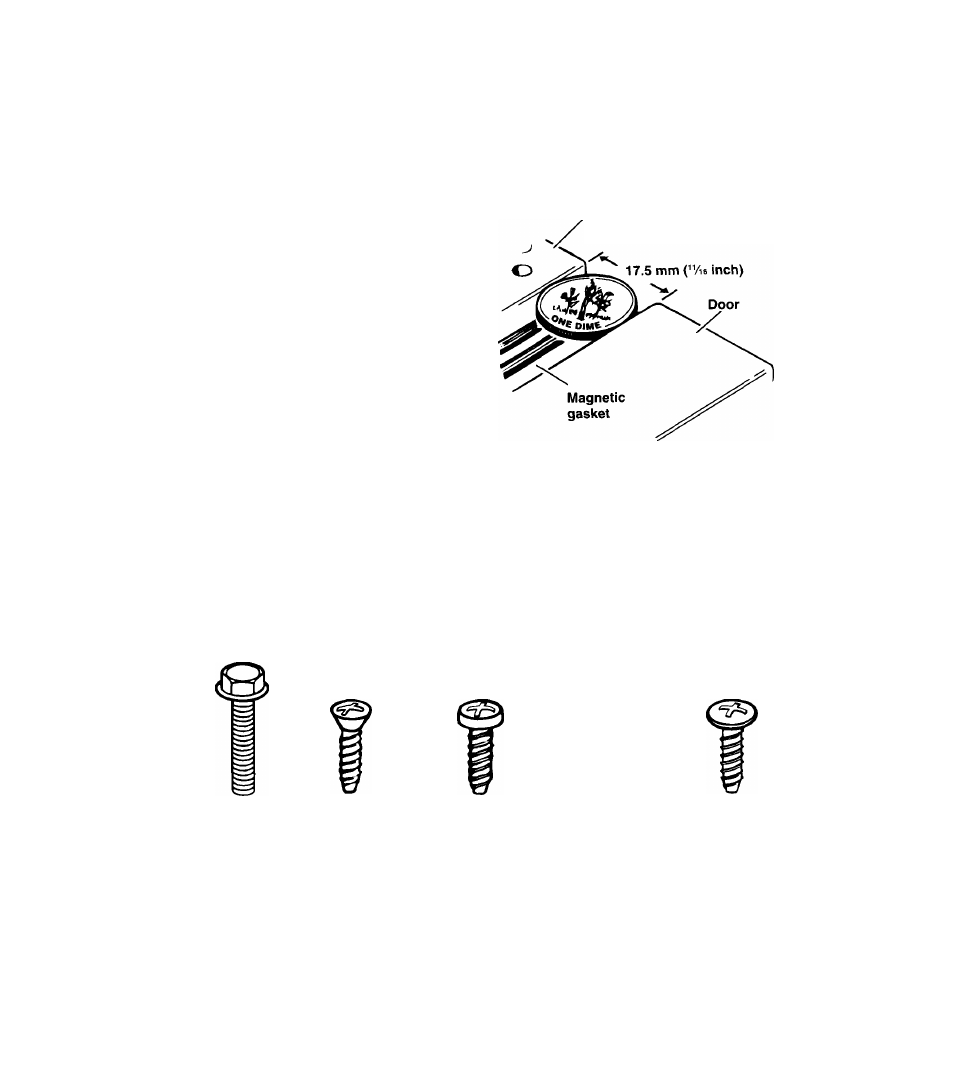
• Set the door gap at 17.5 mm ("/i6 inch).
The diameter of a dime is about right.
See figure.
• The refrigerator must be level and sitting
on a solid floor.
8 mm (5/i6")
hex-head
hinge screw
Countersink
handle
screw
Oval sealing
screw
(use on bot
toms of doors)
Handle
screw
Oval sealing
screw (use
on tops of
doors)
26