Before calling for assistance – Whirlpool LT5100XS User Manual
Page 20
Attention! The text in this document has been recognized automatically. To view the original document, you can use the "Original mode".
Kyou need service or assistance,
we suggest you follow these five steps:
1
.
Before calling for
assistance...
Performance problems often result
from little things you can find and fix
yourself without tools of any kind.
If your washer does not fill:
• Is the power supply cord plugged
into a live circuit with the proper
voltage?
• Are both water faucets open?
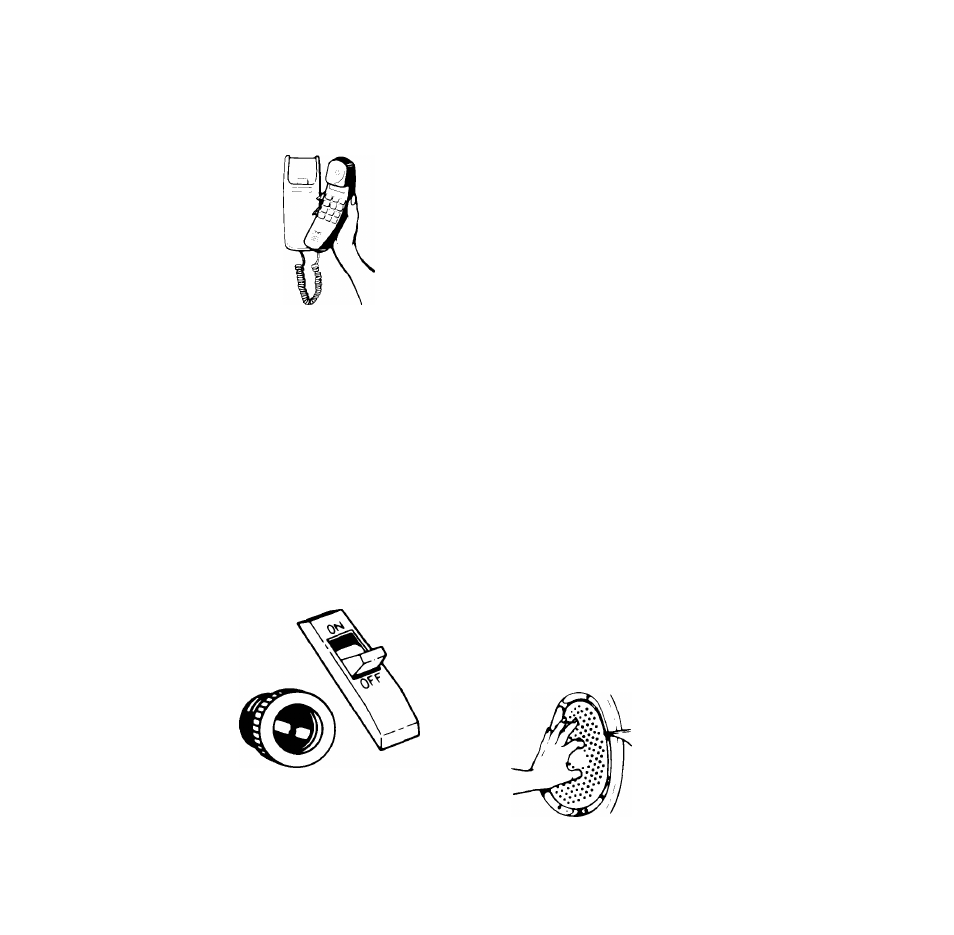
• Have you checked your home’s
main fuses or circuit breaker box?
• Are the water supply hoses kinked?
• Is the Cycle Control Knob set and
pulled out?
If your washer does not spin:
• Is the lid closed?
• Is the power supply cord plugged
into a live circuit with the proper
voltage?
•
• Have you checked your home’s
main fuses or circuit breaker box?
If your washer drains at the wrong
time:
• The drain hose should be at least 28
Inches above the floor and secured.
20
• Thedrain hose should not fit tightly in
the drain pipe.
• Make sure that the Cycle Control
Knob is pointing to a number in the
cycle.
Make sure the drain hose is higher
than the water level in the washer. If
It Isn’t...
• The washer may seem to be drain
ing during wash and rinse cycles.
• Water can siphon out. (See "Instaila-
tion Instructions.")
It your washer stops during a cycle:
• Remember, the washer pauses
briefly at different times in each cy
cle. These pauses are normal.
If your dryer does not run or heat:
• Is the power supply cord plugged
into a live circuit with the proper
voitage?
• is the door closed tightly?
• Did you push START?
• Have you checked your home’s
main fuses or circuit breaker box?
• The FLUFF AIR setting is without heat.
• The iast minutes of heat settings are
without heat. See page 14.
• is the gas turned on? If not, turn the
Control Knob to OFF. Turn on gas.
Wait 5 minutes. Reset controls and
start.
If drying times seem too long:
• Is the lint screen clean? See page 17
of this book for cleaning instructions.
• See page 16 of this book and your
"Laundry Guide."