Lu ’uuctt^k, The electronic oven controls, Using the electronic minute timer – Whirlpool FES340V User Manual
Page 5: Setting the clock, Using the set/cancel button
Attention! The text in this document has been recognized automatically. To view the original document, you can use the "Original mode".
The electronic oven controls
There are three parts in the oven control
section:
- The digital display.
- The command buttons.
- The Time/Temp Set Knob and Set/
Cancel button.
Instructions for each oven control are
covered on the following pages. Read
them carefully.
When you first plug in the range, the
display will show four flashing "8"s. If
after you set the clock (below) the
display again shows four flashing "8"s,
your electricity was off for a while. Reset
the clock.
Digital display/clock
Command buttons
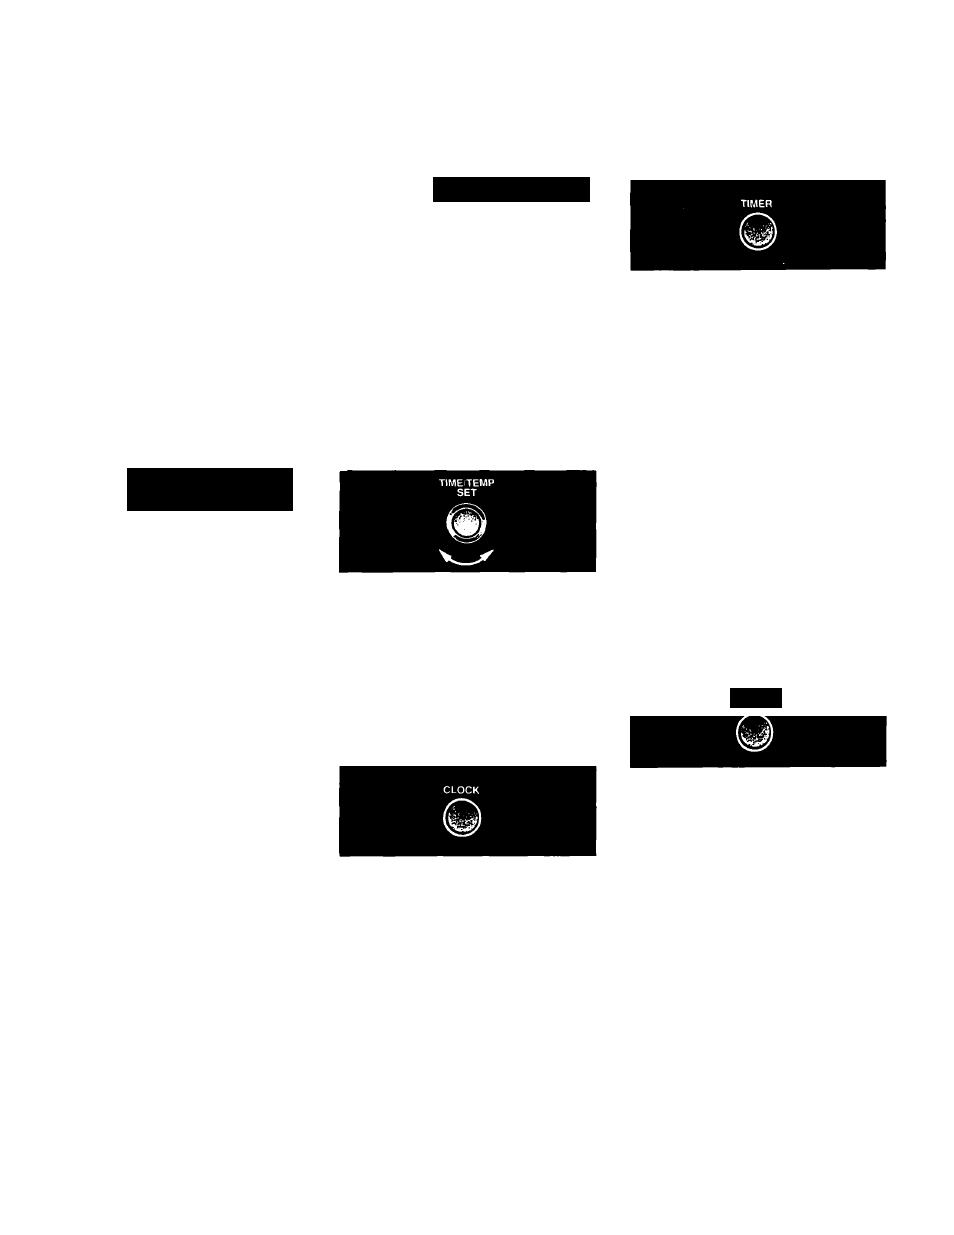
Using the electronic Minute
Timer
I S - n n -¡'-,rrE
lU ’UUcTt^k
I
I
¡-¡¡-¡'rl '
fd|b|
UU OU
The command buttons teU the oven
what to do and in what order. A few
examples:
- Clock tells the oven you are going to
set the clock.
- Set/Cancel tells the oven to turn off.
Each command button (except Set/
Cancel) has its own indicator. The
indicator comes on when you touch the
command buttons.
Time/Temp Set Knob
When you are not using the oven, this is
an accurate digital clock. When using
the oven or Minute Timer, the display
will show the time, temperature settings
and what command buttons have been
pressed.
When showing the time of day, the
display will show the hour and minutes.
When using the Minute Timer, the
display shows minutes and seconds m
the following sequence:
■ For settings from 0 minutes to 1
minute 55 seconds, the display will
increase in 5-second increments.
■ For settings from 2 minutes to 9
minutes 50 seconds, the display will
increase in 10-second increments.
■ For settings from 10-59 minutes, the
display will increase in 1 minute
increments.
■ For settings from 1 hour to 1 hour
55 minutes, the display will
increase in 5-second increments.
■ For settings from 2 hours to 9 hours
50 minutes, the display will
increase in 10-second increments.
When using Cook Time, the display
shows hours and minutes.
Once you've pushed a command button
to tell the oven what you want it to do,
you'll use the Time/Temp Set Knob to
set a temperature or time. Turning the
Time/Temp Set Knob clockwise
increases the number on the display.
Turning the Time/Temp Set Knob
counterclockwise decreases the number
on the display.
Setting the clock
1. Push the Clock button. The TIME
indicator will show in the display.
Release the Clock button.
2. Turn the Time/Temp Set Knob until
the correct time shows in the large
display.
3. Push the Set/Cancel button to
complete time-of-day entry.
The Minute Timer does not start or stop
the oven. It works like a kitchen timer. It
can be set in minutes and seconds up to
9 hours 50 minutes. You will hear three
beeps when the set time is up.
1. Push the Timer button. The TIMER
indicator will come on and the large
display will show “0:00".
2. Turn the Time/Temp Set Knob until
the desired time shows in the large
display. The Minute Timer will
begin counting down 2 seconds
after the time is set.
When time is up, you will hear
three beeps.
To cancel the Minute Tinier:
■ Push the Timer button and hold it
down for 3 seconds until time-of-
day appears in the large display or
turn the Time/Temp Set Knob until
“0:00" shows in the large display.
Using the Set/Cancel button
SET/
CANCEL
The Set/Cancel button will cancel any
command except for times set with the
Minute Timer button. The large display
will then show the time-of-day or, if
Minute Timer is also being used, the
time remaining.
Page 5