Landing gear, Tail skid – Carl Goldberg GBGA1024 User Manual
Page 7
7
2.
*
Locate the slot in the rudder near the bottom.
*
Remove the covering over the slot.
*
Attach the EZ connector to the control horn
with the adjusting screw facing down.
*
Glue the Nylon control horn into the slot mak-
ing sure that the rudder control horn is on the
opposite side from the elevator control horn.
3.
*
Take the long wire pushrod and insert the end
into the pushrod tubing inside the fuselage
next to the servo tray.
*
Push the rudder pushrod through the EZ con-
nector and snug the set screw to hold the
pushrod in place
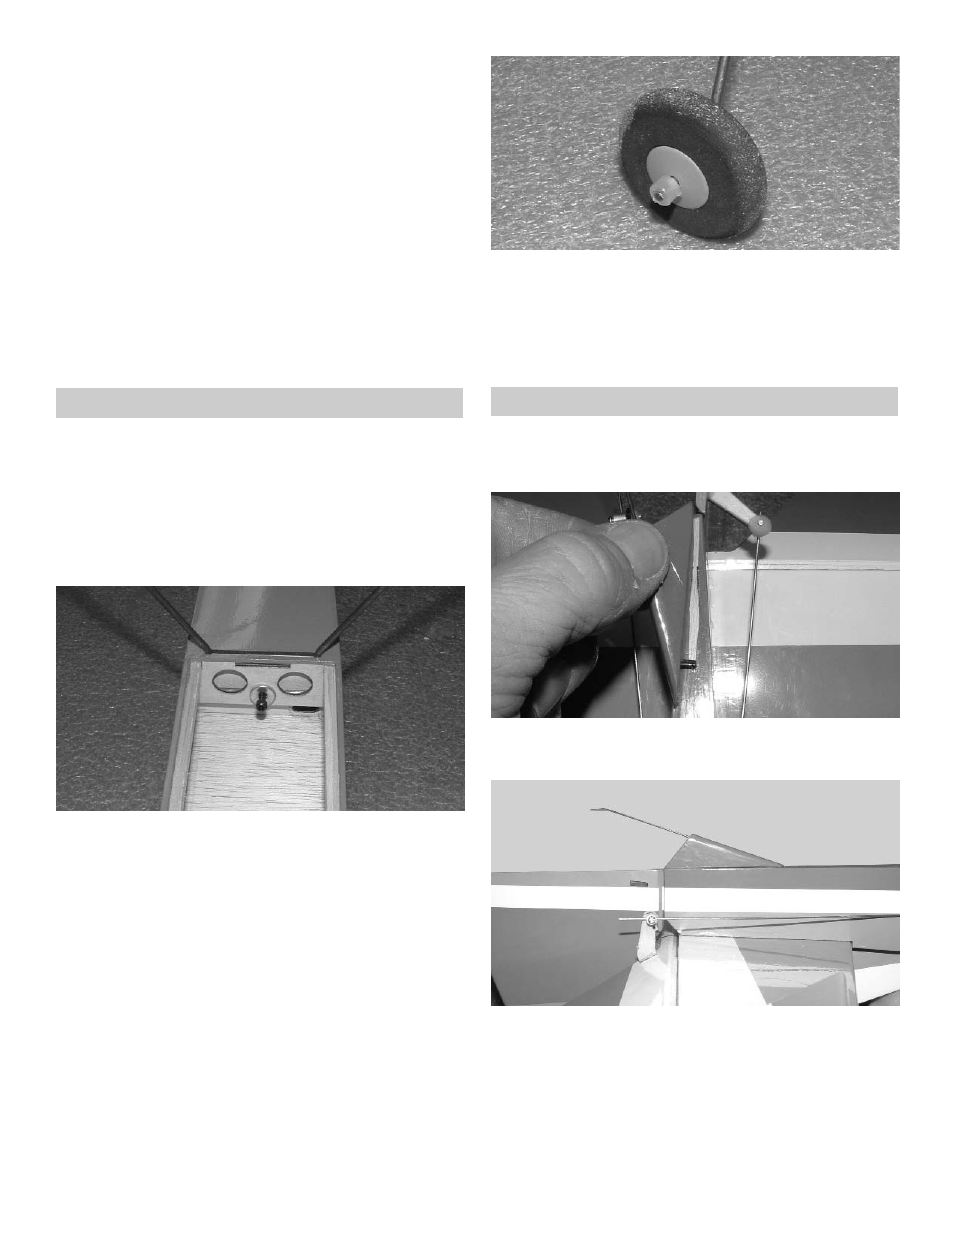
Landing Gear
1.
*
Collect the following parts:
(1) Fuselage
(1) Main Landing Gear Wire
(1) 4-40 x 1/2” Socket Head Screw
(1) #4 Washer
(2) Wheels
(2) Nylon Wheel retainers
2.
*
Remove the hatch from the bottom of the
fuselage
*
Insert the landing gear into the slot just behind
the hatch opening.
*
Using the 4-40 Socket head screw and wash-
er, insert the screw into the hole and tighten.
3.
*
Place the wheel onto the wire and hold it in
place by inserting the Nylon retainer on the
end.
*
Place a drop of glue on the end of the wire to
hold the retainer in place.
Tail Skid
1.
*
Collect the following parts:
(1) Fuselage
(1) Tail Skid
2.
*
Insert the wire exiting the bottom of the tail
skid into the hole in the bottom of the fuse-
lage.
*
Glue the tail skid onto the bottom of the fuse-
lage.