Power up – AquaCraft Mini Rio User Manual
Page 9
9
POWER UP
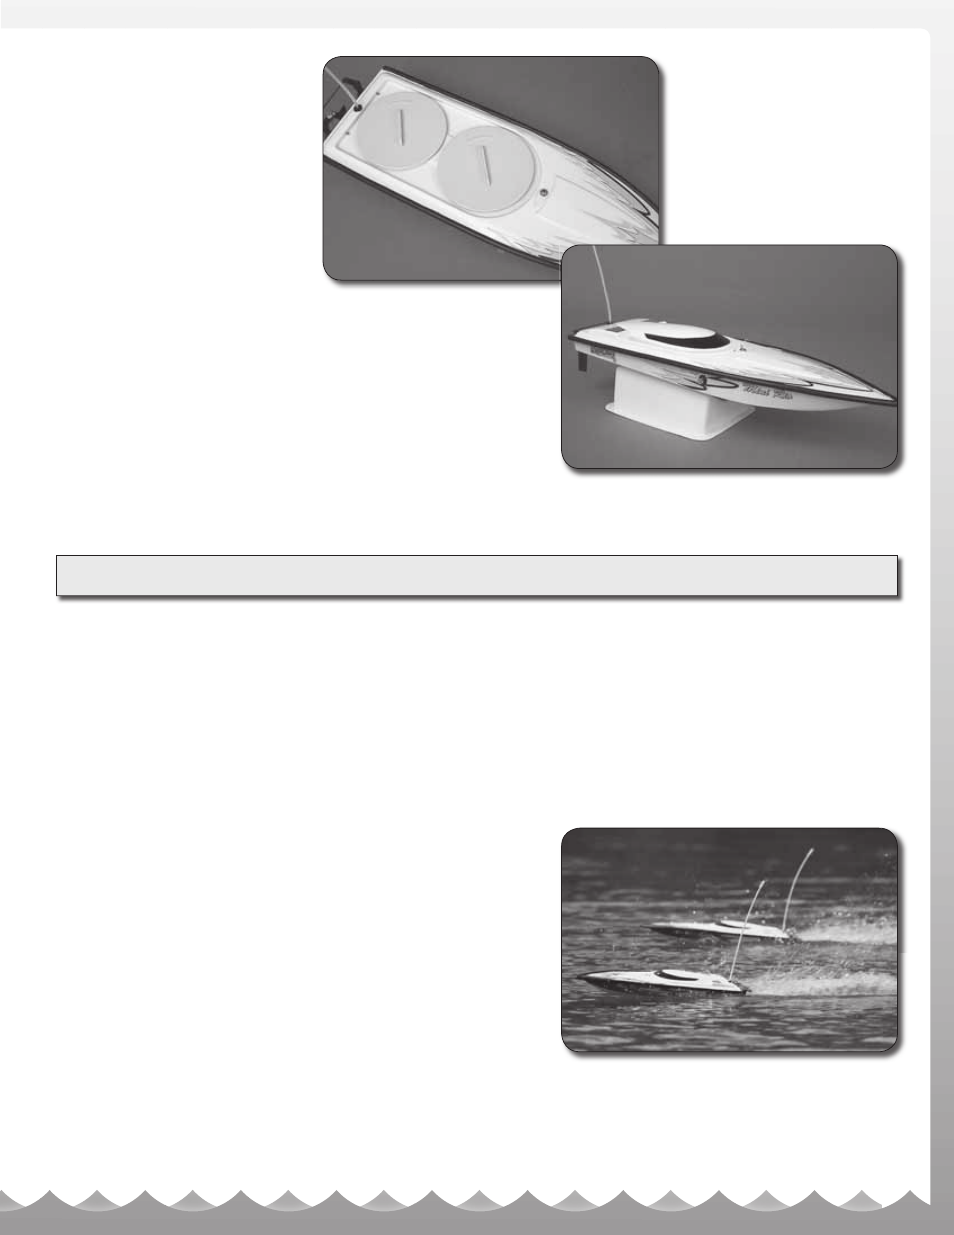
10 . Re-install the covers by aligning
the tabs on the bottom of the
covers with the tabs in the
openings. Rotate the covers 45°
to secure them in place.
11 . Place the cowl on the boat and turn the front lock to hold it in place.
Your boat is now ready for operation.
It is important to follow the below sequence each time you operate your boat.
LAUNCHING AND DRIVING YOUR MINI RIO:
1. Place the boat in water that is at least 8” deep. Make sure the water is
free of weeds, sticks or other fl oating debris.
2. Slowly advance the throttle to get the boat a safe distance from shore.
Adjust the steering trim knob on your transmitter until the boat tracks
straight when the steering wheel is at neutral.
3. Enjoy driving your MINI RIO!
4. When your boat starts to slow down, it’s
time to drive it back to shore. Typical run times are 6 to 9 minutes
depending on the charge and condition of your battery pack.
IMPORTANT:
If your boat takes on a large amount of water and stalls in the middle of the lake, don’t worry. Your Mini Rio has foam
fl otation so it will not sink. You will, however, have to retrieve the boat and remove the hatch covers to remove any water
that might have entered the boat. If the inside of the boat is fl ooded, remove the water and let the boat fully dry before
operating it again.
POWER UP BEFORE A RUN:
1. Turn on the transmitter. Make sure
the light on the front is glowing red.
2. Plug in the 7.2V battery pack.
3. Turn on the receiver switch.
4. Install the round hatch covers.
5. Install the canopy.
POWER DOWN AFTER A RUN:
1. Remove the canopy.
2. Remove the round hatch covers.
3. Turn off the receiver switch.
4. Unplug the 7.2V battery.
5. Turn off the transmitter.
6. Use a paper towel to remove any water
that might have entered the hull.