Freerider FR168-3A2/Companion User Manual
Page 14
Warning:
If you are not an accomplished outdoors mobility
product driver, we strongly recommend that you first
practice in an open area, free from traffic and preferably
with an attendant who can assist you.
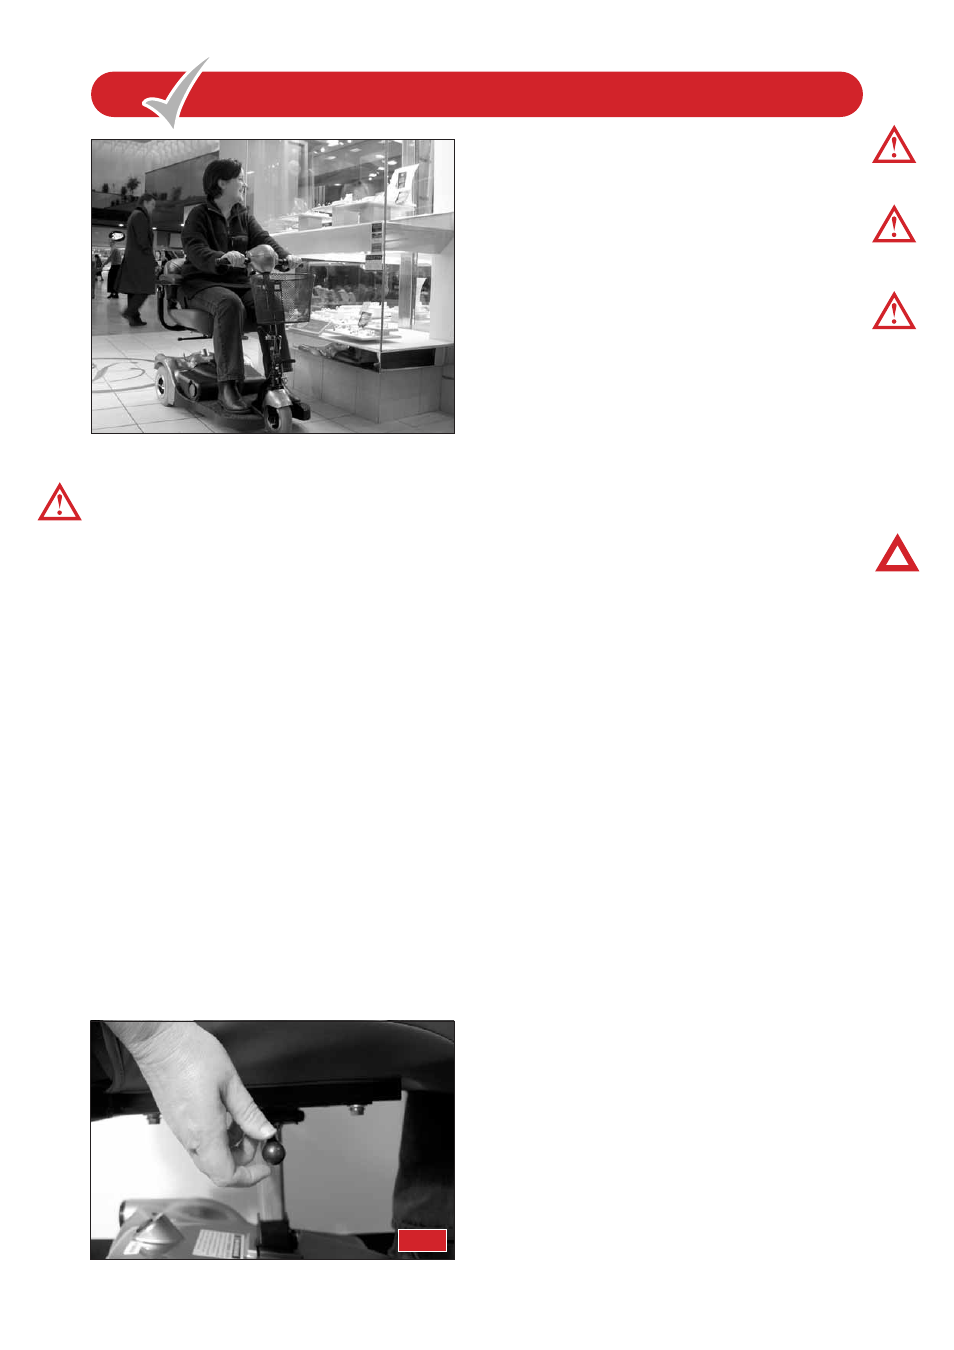
MOUNTING
For your first drive make certain that you and your new
Companion Scooter are on a level surface. Put the power
on/off key into its slot, but leave it turned off. Stand behind
the Companion’s seat, and reach down to the ‘Seat Lock
Lever’. It will be on the left side directly under the armrest.
Grasp the ‘black’ knob on the lever and pull up, releasing the
Seat (Fig 11). It will now turn easily to meet you. If need be,
you can lock the seat into position to make it steady before
you sit down. You can also lift up the armrest to assist this
procedure. Seat yourself and swing the seat to face the
handlebars. Make sure you are straight, then release the
spring assisted lever, making certain that it locks your seat
firmly in position.
Next, turn the ‘Speed Adjustment Dial’ to minimum (min),
and turn the ‘on/off’ key to ‘on’(Fig 8, page 8). (The
battery state indicator will move and the green status light
will illuminate). Gently press the right thumb control lever
(Fig 9, page 9) to start you in a forward direction. To stop
simply release the lever, the brakes will be automatically
applied.
Warning:
Please take care not to have your thumb on the
forward/reverse control lever when you switch ‘on’ your
Companion; this will result in your machine going into a
fault mode. Switch ‘off’ then ‘on’ again to clear the fault.
Warning:
If your Companion has been adapted for left
hand, forward operation then this procedure will be
reversed: i.e. pressing with the left thumb for forward
direction and the right thumb for reverse direction.
Warning:
If your Companion has been converted with a
“Delta” type control system, please refer to the separate
instructions provided with this accessory (see also page
37 of this manual)
DISMOUNTING
Always switch off your Scooter before dismounting. Locate
the seat lever and pull up. Now you can swing the seat
away, lock it, and ease yourself onto your feet.
If you prefer you can swing the armrests back to allow you
to pivot on your seat and then ease yourself onto your feet.
Caution:
Do not use the handlebars as a crutch to lever
yourself out of your seat. Failure to observe this warning
may damage the handlebar mechanism and make the Scooter
unstable.
PARKING IN PUBLIC
If you need to park and leave your Freerider Companion,
simply remove your key. This will keep the brake on and
make your Scooter more difficult to move. It is best to leave
it in sight of someone like a store assistant etc. who can
watch it for you. Another precaution is to note your serial
number and the date of purchase.
Your serial number can be found on a plate attached to the
front cross member located under the body cover.
BASIC DRIVING
Make certain you are comfortably seated on your
Companion and both armrests are down. Ensure that the
‘Speed Adjustment Dial’ (Fig 8, page 8) is turned to
minimum for your first drive. When you have become more
confident you can increase the setting to a higher speed.
Push the right ‘Thumb Lever Control’ (Fig 9, page 9), as
described earlier. You will very gently move forwards.
Release the lever, and you will gently stop. Practice these
two basic functions until you get used to them.
Steering the Companion is easy and logical by turning the
handle bars in the direction you wish to manoeuvre. Be sure
to remember to give a wide clearance when turning so that
the rear wheels follow the path of the front one, instead of
cutting short.
Cutting short on pavement corners or ‘cut outs’ can mean
that a back wheel will go off the pavement, causing a
stability problem. Avoid this at all times by steering an
exaggerated wide arc around the obstacle.
L E A R N I N G T O G E T A B O U T
L E A R N I N G T O G E T A B O U T
FIG 11
14