Signal menu, During “rgb” and “pc” input signal modes, I ^ i i ► i – Panasonic TC 42P1F User Manual
Page 28
Attention! The text in this document has been recognized automatically. To view the original document, you can use the "Original mode".
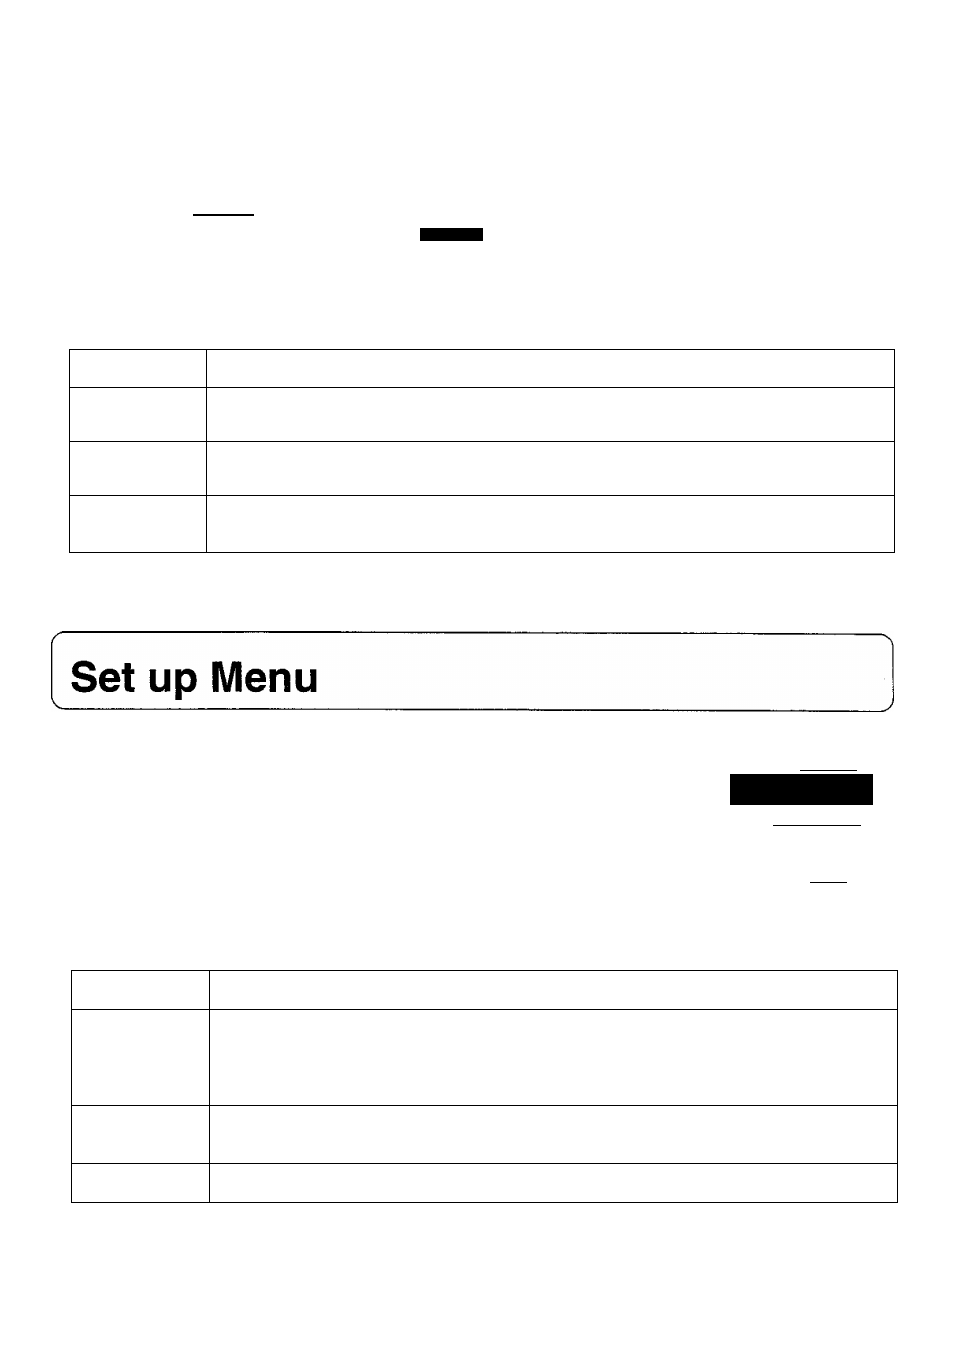
Signal Menu
During “RGB” and “PC” input signal modes
Select
i ^ I I ► I
Signal
□ a
CE C2 EB—Change
Sync on G
H-Freq.(kHz)
V-Freq. (Hz)
MENU
as
Mode
Function
Sync on G
Set to “On” when the input signals from the sources connected to the COMPONENT/RGB {R,
G, B, HD and VD) input terminals and the PC input terminal are “Sync on G” signals.
H-Freq.(kHz)
Shows the horizontal scanning frequency for the video signals which are currently being
displayed (display only).
V-Freq.(H
2
)
Shows the vertical scanning frequency for the video signals which are currently being
displayed (display only).
Note:
{1) The “Sync on G” setting is applied to both the COMPONENT/RGB and PC input terminals.
1-Push the “Menu” Button.
2.Select the “Set up” Menu by pushing the
Position Up
“A”
or Down Button and
Access the “Set up” Menu by pushing the
“SIR” Button.
S.Select the required mode by pushing the
Position Up
"A”
or Down buttons, and
set appropriate function by pushing the
Position Left or Right buttons.
MENU
1.2
STR
(S^Acceis
o«o
(B—S«loct
Picture
Sound
Signal
Set up
CD □ CB-Change
---------------------------------Select
COMF^ONENT/RGB IN
RGB
Panasonic Auto (4:3)
rr"4:3 I JusT
OSD Language
English
Mode
Function
COMPONENT/
RGB IN
Select to match the signals from the source connected to the COMPONENT/RGB input
terminals.
Y, P
b
, P
r
signals "Y/PB/PR”
R, G, B, HD, VD signals ^ “RGB”
Panasonic Auto
(4:3)
Set to “4:3” if using the ASPECT-AUTO button function to view 4:3 images in an unchanged
format. If you would like to view 4:3 Images in “Just” format, set to “Just".
OSD Language
Select the on-screen display language (English/Deutsch/Français/ltaliano/Espahoi).
28