Installation of auto iris lens connector – Panasonic WV-BP120 User Manual
Page 15
Attention! The text in this document has been recognized automatically. To view the original document, you can use the "Original mode".
2. Installation of Auto Iris Lens Connector
When you use a auto iris lens other than listed on
pages 9, 10 and 11, for example a video servo ALC
lens, install the lens connector (YFE4191J100) coming
with the camera as follows.
The following installation should be made by quali
fied service personnel or system instailers.
(1) Cut off the iris control cable at the edge of lens
connector and then cut off the outer cable cover
as shown in the diagram.
Iris Control Cable Cut Off
Lens Connector
I
8 mm (Approximately 5/16')
Iris Control Cable
\
(2) Cut off the inner cable covers of the iris control
cable as shown in the diagram.
6 mm (Approximately 1/4*)
(3) Put the heat shrinkable tubes or equivalent tubes
on the inner cables of the iris control cable.
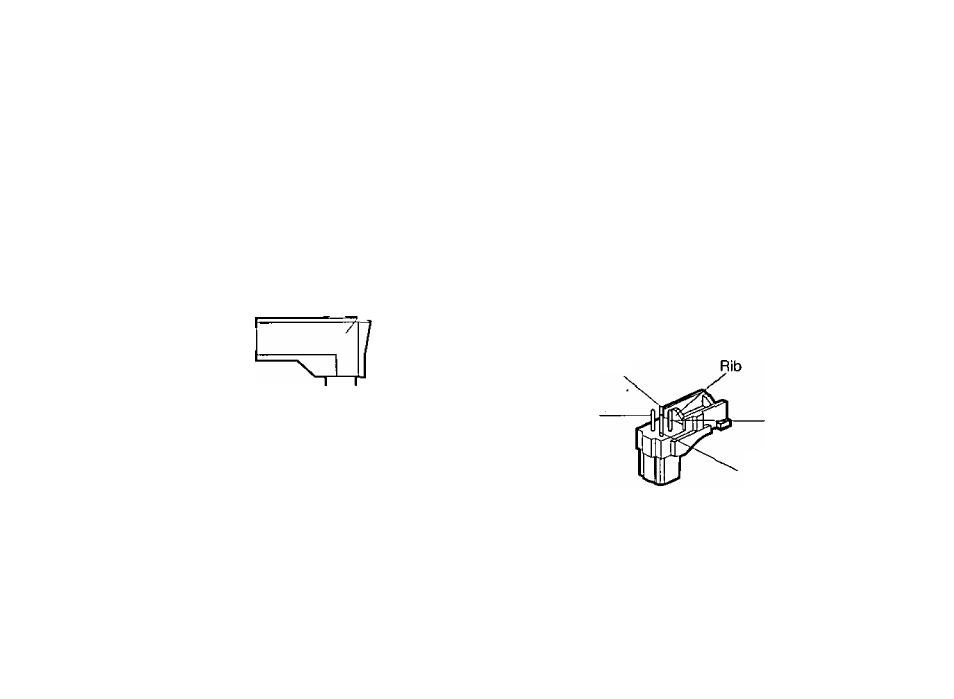
(4) Solder the inner cable of the iris control cable at
the pin-plug block according to the following pin
assignment and cover the heat shrinkable tubes or
equivalent tubes over the soldered area and heat
on the tubes to shrink them.
Pin 1 : Power source : +9V DC, 50mA Max.
Pin 2 : Not used
Pin 3 : Video signal; 0,7 V[p-p]/40 ka
Pin 4 : Shield, ground
{Set the Lens Selection switch to the VIDEO
Position)
Pin3
Pin 1
Pin 4
Pin 2
-13-