Fig 5, Fig 6 fig 7 – PDR Mounts upm50 User Manual
Page 5
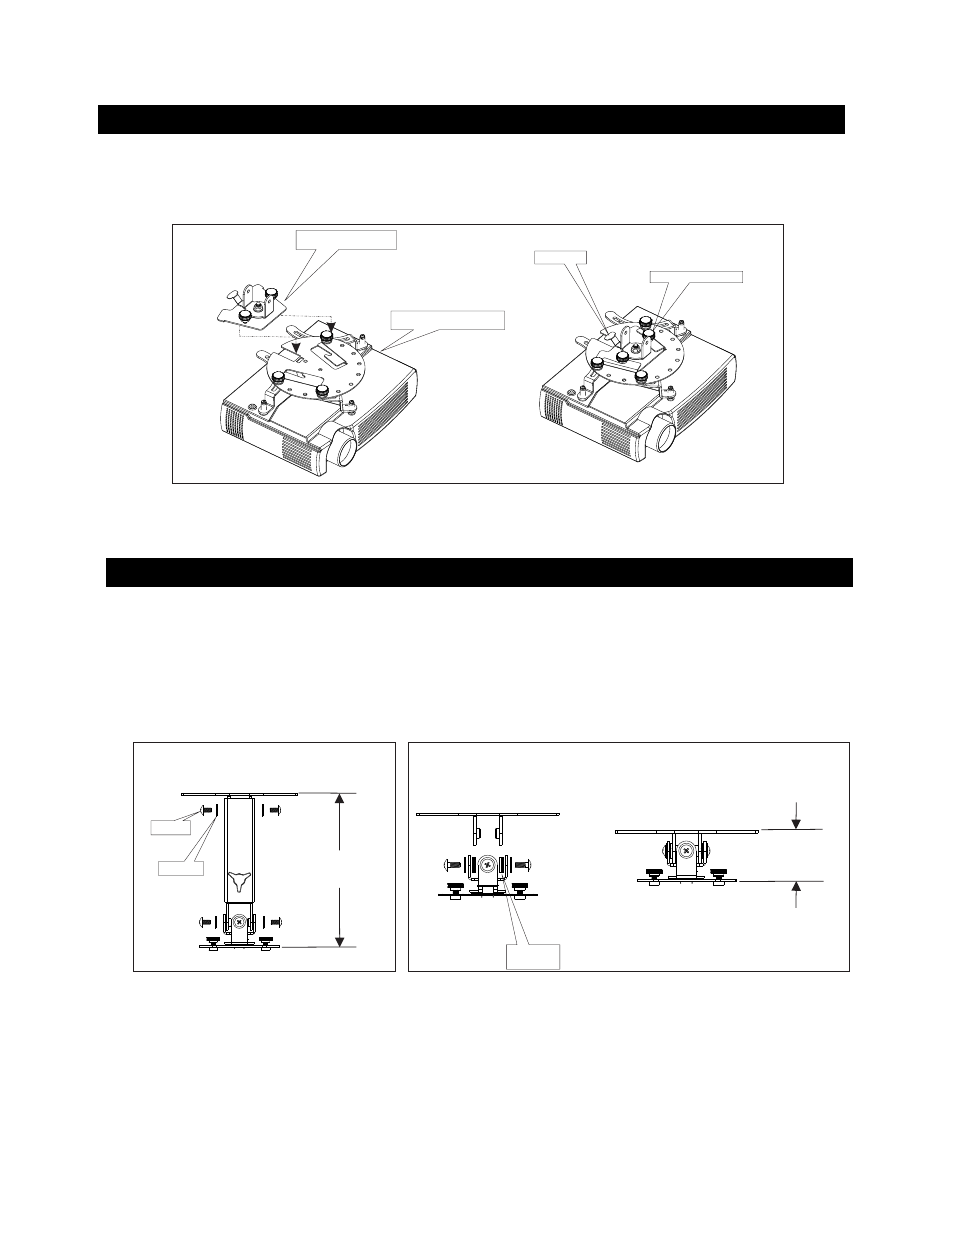
3. MOUNT THE PROJECTOR ASSEMBLY TO THE PROJECTOR MOUNT
Fig 5
4. Alternate height
5
Place the projector assembly into the bayonet slots on the mount
( small end into large end) and slide backward until the safety
lever engages
fig 5. Adjust the thumb screws to secure the mount to the projector. To remove loosen the thumb screws and lift the
safety lever, slide the unit forward and out.
NOTE: Some of the projector mount pieces are removed for a better view.
Locking thumb screw
Safety lever
Projector assembly
Projector mount
HEIGHT ADJUST
9” - 12”
MIN HEIGHT 2 ½”
To convert to a 2 ½” length. Remove the 4 screws in
fig 6. Using the 2 screws and 6 washer reassemble the unit as in fig 7.
Fig 6
Fig 7
2 washers
each side
Screw
Washer