4 rackmount installation, Rackmount installation -4, Attaching the strain-relief bracket – Cabletron Systems SEHI100TX- User Manual
Page 26: Figure 4-3 attaching the strain relief bracket, Strain-relief bracket screws (4)
Chapter 4: Installation
4-4
SEHI100TX User’s Guide
4.4
RACKMOUNT INSTALLATION
To install the SEHI in a 19-inch rack, Cabletron Systems provides a kit
with the SEHI that includes rackmount brackets, mounting screws, and a
strain-relief bracket for cable management.
Rack mounting the SEHI involves the following:
•
Attaching the strain-relief bracket
•
Rack mounting the SEHI
•
Stacking the SEHI when applicable
Attaching the Strain-Relief Bracket
Attach the strain-relief bracket to the front of the SEHI as follows:
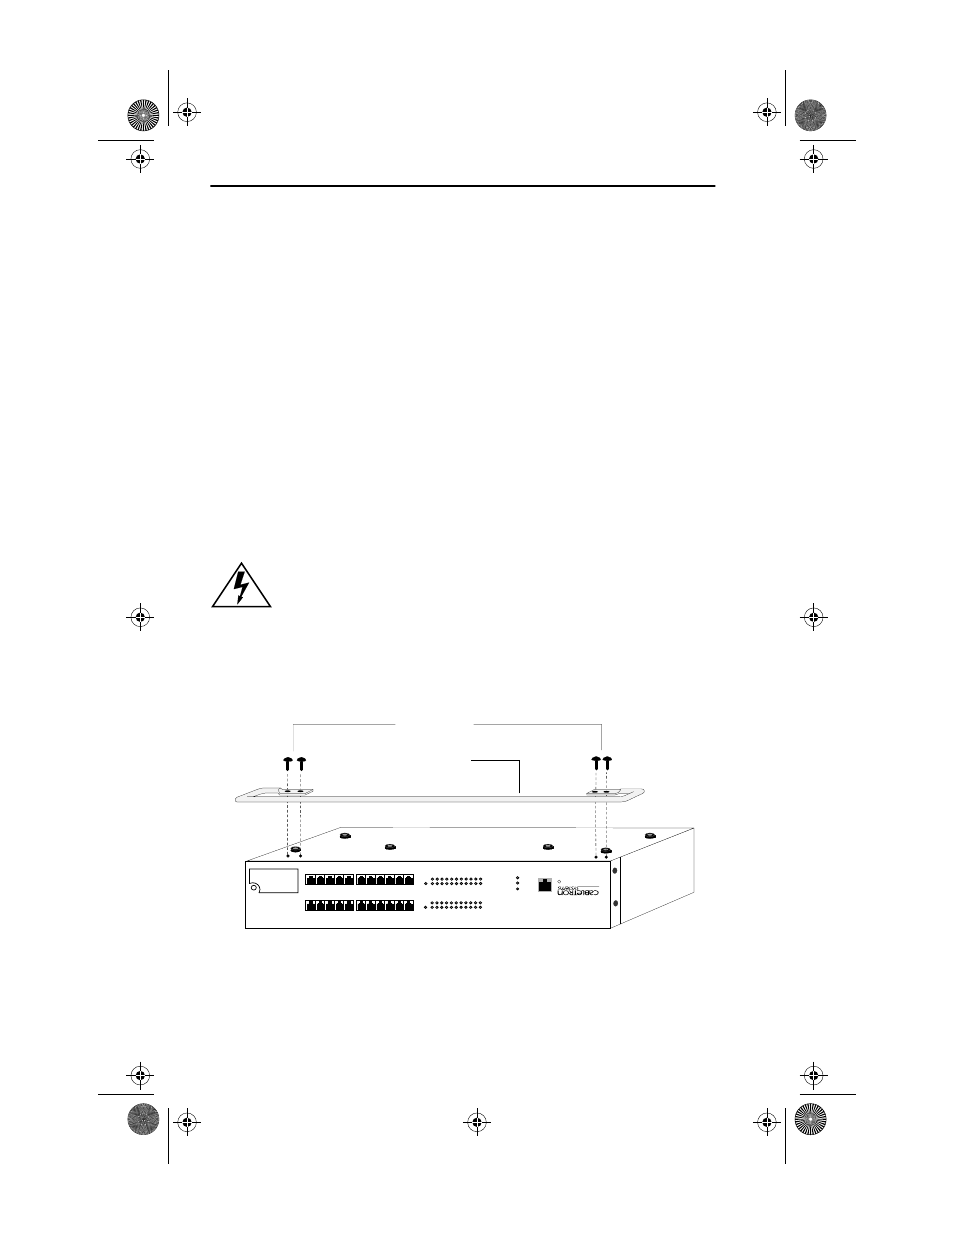
1. Locate the strain-relief bracket and four 8-32 x 3/8-inch pan-head
screws from the rackmount kit.
2. Attach the strain-relief bracket to the bottom of the SEHI (Figure 4-3).
.
Figure 4-3
Attaching the Strain Relief Bracket
Do NOT attempt to attach the strain-relief bracket with screws
other than the 8-32 x 3/8-inch screws included with the SEHI.
Use of longer screws may damage the unit or cause
electrical shock.
Strain-Relief Bracket
Screws (4)
1511_19
PWR
CPU
CLN
HubSTACK
100BASE-TX HUB
WITH
LANVIEW®
SEHI
100TX-
22
22X 21X 20X 19X 18X 17X
11X 10X 9X 8X 7X 6X
16X 15X 14X 13X 12X
5X 4X 3X 2X 1X
E
1
E
2
RCV
LNK
RCV
LNK
22 21 20 19 18 17 16 15 14 13 12
11
10 9 8 7 6 5 4 3 2 1
EPIM
1
SEHI Book Page 4 Wednesday, May 15, 1996 10:42 AM