QOMO QRF500 V7 User Manual
Page 2
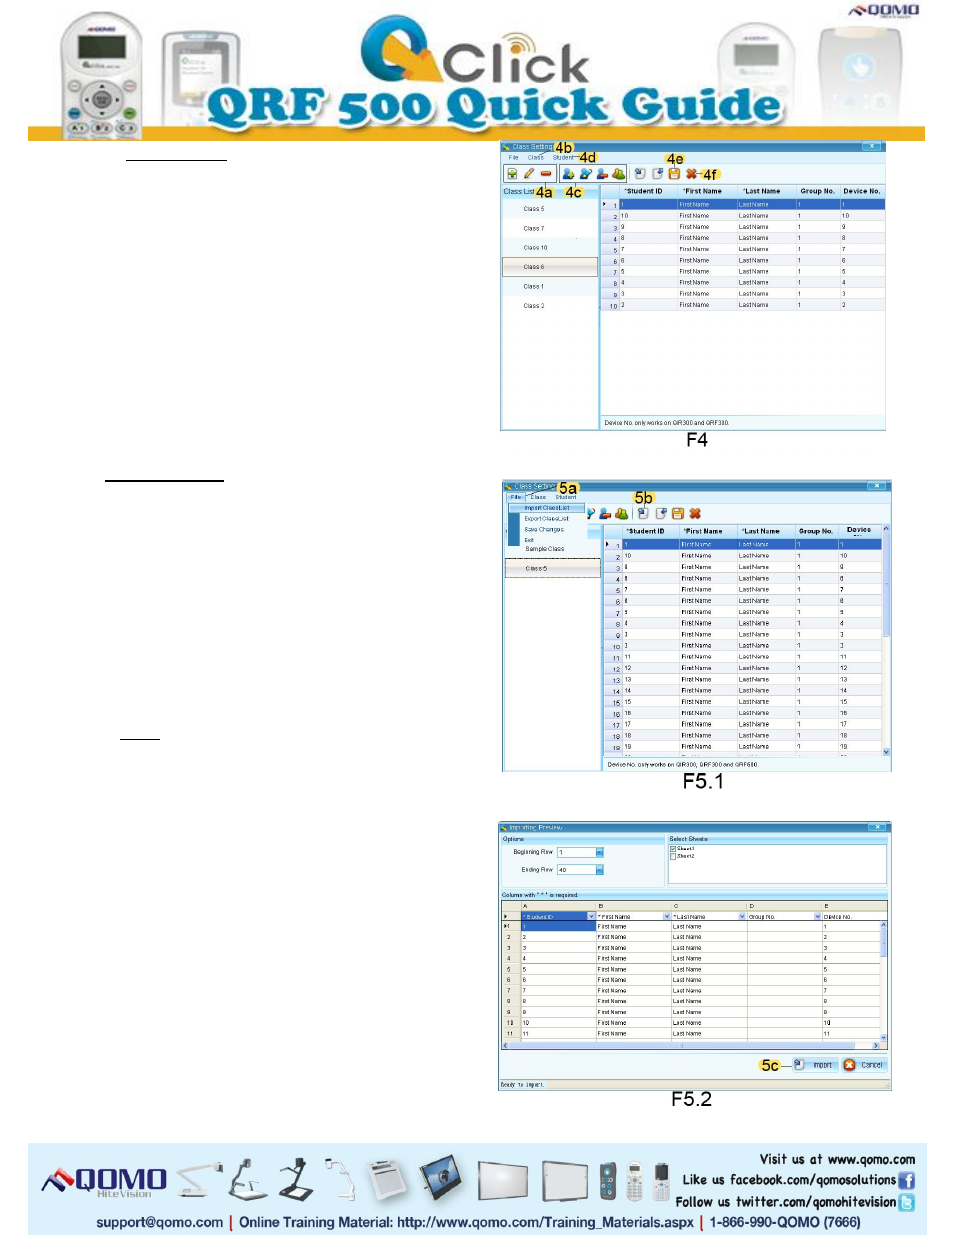
4. Class Set Up
a. Click the Class button (F2-2c) in the Tools
section.
b. Click the shortcut keys (F4-4a) in the Class
Setting window to add a class, edit a class, or
delete a class. Or, set up the class by clicking
the option menu of Class (F4-4b).
c. Click the shortcut keys (F4-4c) in the Class
Setting window to set up student profiles. Or,
set up student information by clicking on
Student in the option menu (F4-4d).
d. Click the Save button (F4-4e) to complete your
class settings, and then exit (F4-4f) the class
setting window.
5. Import a Class
a. Click on File (F5.1-5a) and select Import Class
List from the option menu. Or simply click the
button (F5.1-5b) on the shortcut keys.
b. Find the Excel file with your class list and click
Open.
c. Select the correct title for your imported
columns from the drop down menus above the
mock Excel sheet.
d. Click the Import button (F5.2-5c) to begin the
import.
Note: The class you import from Excel must
have three columns of set information filled
out: the Student ID, First Name, and Last
Name.