Gastroback 40974 Design Hand Blender Advanced User Manual
Page 11
WarnIng:
Always release the ON-button, wait until the motor stops
completely and unplug the appliance before assembling or dismantling the
tools.
10. Release the stainless steel whisk form the motor block by pressing both
release-buttons. Clean the appliance in accordance to the instructions in
chapter ›Care and cleaning‹. Do not leave any food to dry on the surface
of the appliance.
Using the chopper attachment
Chopper is perfectly suited for hard food, such as chopping meat, cheese,
onion, herbs, garlic, carrots, walnuts, almonds, prunes etc.
note: Don’t chop extremely hard food, such as ice cubes, nutmeg, coffee
beans and grains.
WarnIng:
Always release the ON-button, wait until the motor stops and
unplug the appliance before opening the chopper and taking out the food,
laying down the appliance or assembling/dismantling the min-chopper.
Before connecting the appliance to the mains power supply, always ensure
that the appliance is assembled correctly, according to the following instruc-
tions. Do not touch the blade of the chopper with your hands or any objects
(i.e. hair, clothes, tissue), when it is mounted and the appliance is connected
to the mains power supply.
1. Prepare your food.
WarnIng:
The chopper vessel is not heat resistant. The max. tempera-
ture is 70 degrees. Let the boiling food cool down a little bit before filling
it into the vessel.
2.
Ensure, that the appliance is unplugged.
WarnIng:
The blade of the chopper is very sharp. Do not touch the
blades. Always handle the tools by the shaft.
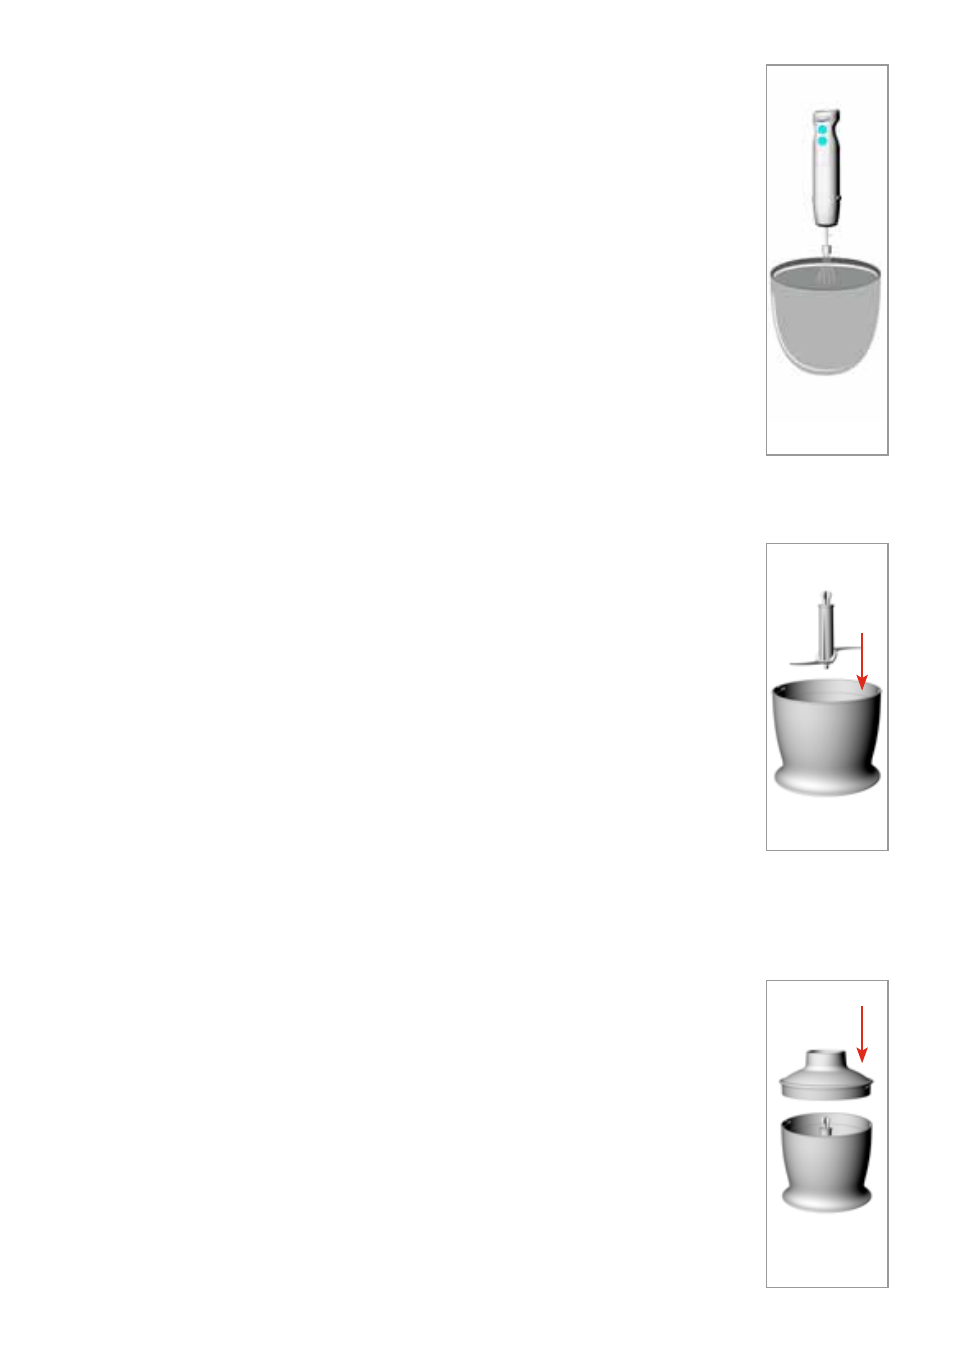
3. Place the blade of the chopper on the centre pin of the vessel (see picture
H). Than turn it clockwise to lock it into place. Always place the chopper
vessel on the non-slip-rubber base to avoid injuries.
4. Place the prepared food into the chopper and place the lid onto the vessel
(see picture I). Fill the vessel only up to the 500 ml mark. Place the shaft of
the chopper onto the motor block and press together until it snaps into place
(see picture J, next page). There may be no gap between the motor housing
and the chopper. The blender shaft must be locked firmly and may not wob-
ble (see picture K, next page).
5. Choose the speed with the variable control switch.
6. Connect the power plug to a suitable wall power outlet.
7. Hold on to the chopper vessel with one hand and press the ON-button to start
the motor.
27
g
H
I