De f – Gastroback 42601 Design Coffee Grinder Basic User Manual
Page 9
23
the appliance, when liquids are on or in the motor housing. Take the appliance to an
authorised service centre for examination and repair.
1.
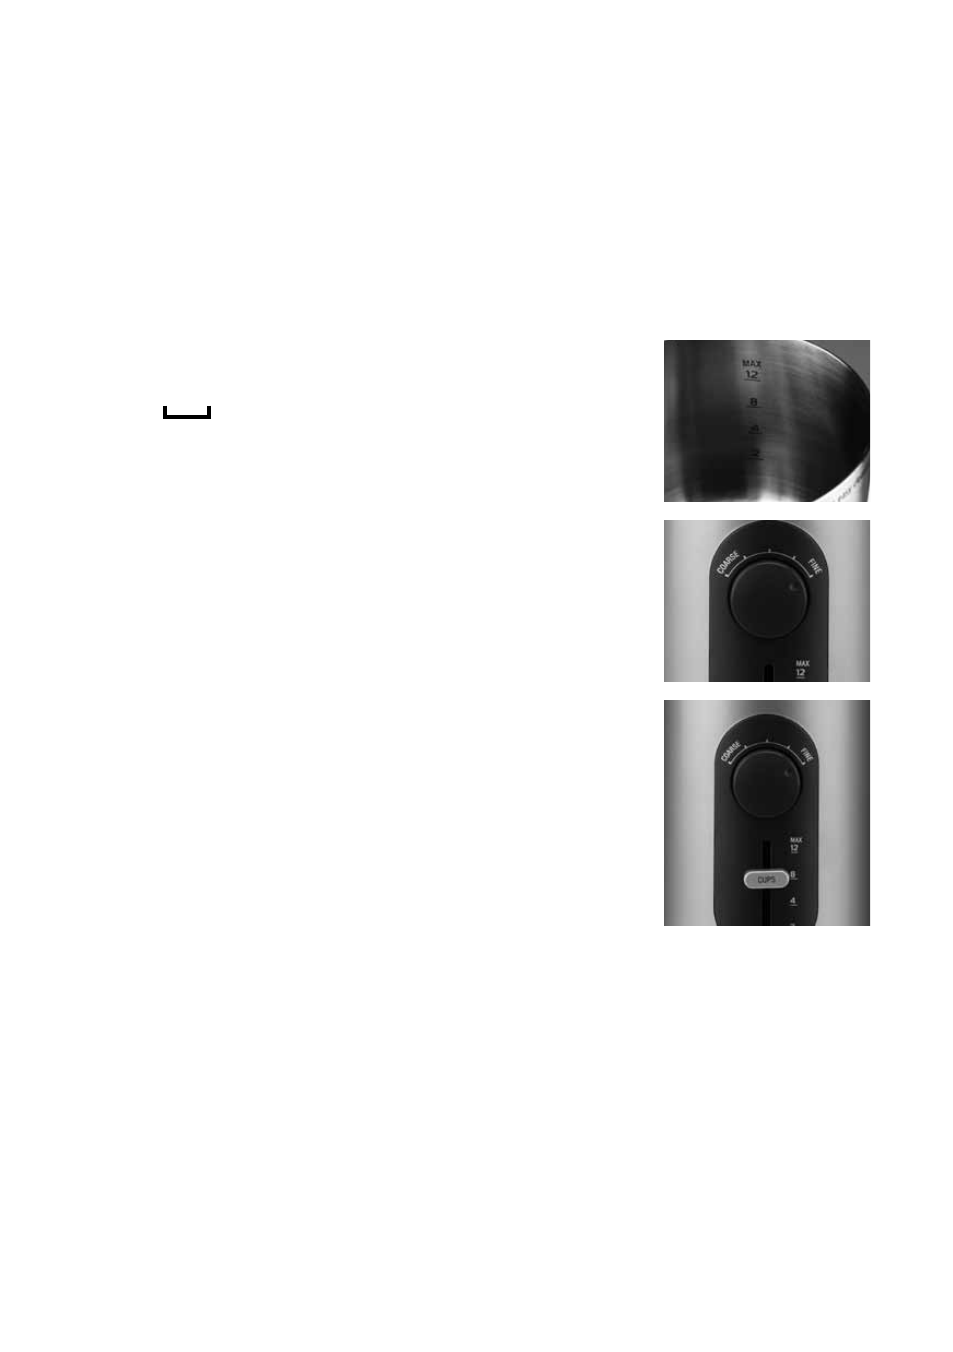
Pour whole coffee beans directly into removable grinding bowl and fill to desired
level as indicated inside the bowl. (Min 2 cups – Max 12 cups).
warnIng:
Do not overfill the grinding bowl to prevent overloading. Pay attention
to the max fill mark (12) inside the grinding bowl (picture D).
warnIng:
If the grinding bowl is positioned on the motor housing, and the plug is
connected to the power outlet, do not insert your fingers, a wooden or plastic spoon or
similar cooking utensils or foreign substances in the grinding bowl.
2.
Return the lid to locked position over the removable grinding
bowl. Make sure the align symbol on the lid is aligned with the
marking
on top of the motor housing. Turn the lid clock-
wise to lock in position. Refer to ›Assembling the appliance‹ for
precise instructions.
note: The coffee grinder will not operate without the lid and
grinding bowl in locked position.
3.
R
otate the grind selector control to select the desired fineness
of grind. Rotating from left to right, coarse to finer (picture E).
Refer to ›Grind Selector Control‹ for tips on grinding finenesse.
4.
The appliance features an intelligent timer. Selecting the amount
of cups you need the precision timer will be set (picture F).
note: The grinding time depends on the desired finenesse
selected and amount of cups needed.
Position the advanced intelligent timer to the total number of
cups to be ground. Slide up and down from 2 cups to 12 cups.
5.
Slowly release the power plug from the storage position by pull-
ing outward until it stops. Insert the power plug into a 230/240
V power outlet. The appliance is now ready to operate.
6.
Press on/off button and release once grinding has begun.
The grinder will stop automatically when grinding is complete.
note: To stop grinding cycle at any time, push on/off button. If on/off button is pressed
again, grinder will start from beginning of timed cycle.
note: Only take the lid off when the blade stopped moving.
aTTenTIOn: Do not operate this appliance for longer than 1 minute at a time as this
could cause overheating. Allow to cool for at least a few minutes after each use. Allow
appliance to cool down for 10-15 minutes after extended continuous operation.
7.
After grinding is completed remove the plug from the power outlet.
D
E
F