Before first usage, Usage – Gastroback 42320 Easy Cino Plus Milk Frother User Manual
Page 9
27
Before first usage
Carefully unpack the appliance and remove any promotional material attached to the pitcher,
but do not remove the warning or rating label on the appliance.
attention: The milk frother is used for heating and frothing milk. Never fill other foods
inside the pitcher.
warning: Always connect the appliance directly to a separately protected mains power
supply wall socket with protective conductor (earth/ground) connected properly. Do not use any
extension cord or multi socket outlet. Use the pitcher only with the supplied power base.
usage
Clean pitcher, milk frothing spiral, milk stirrer and lid using warm soapy water before usage
and after storage. Rinse with cold water and dry (see ´Care and Cleaning`).
ATTENTION: The pitcher, lid, milk frothing spiral, milk stirrer and power base
are not dishwasher safe.
note:
When using the milk frother for the first time you may notice a fine odour. This is caused
by the first heating of some of the components. There is no need for concern. The smell will
evaporate after a few times of usage.
attention: Never place foreign object inside the pitcher.
1.
Always place the appliance on a stable, level, dry, heat-resistant and easy accessible sur-
face. Do not place the appliance on an inclined surface. Ensure, that the power base will not
tilt or wobble before placing the pitcher on it. Otherwise, during operation liquids could splash
and cause scalding and damage.
2. Take the pitcher off the power base, open the lid and ensure no foreign objects are inside the
pitcher. Take foreign objects out of the pitcher.
note:
Rinse the pitcher with cold water before frothing milk.
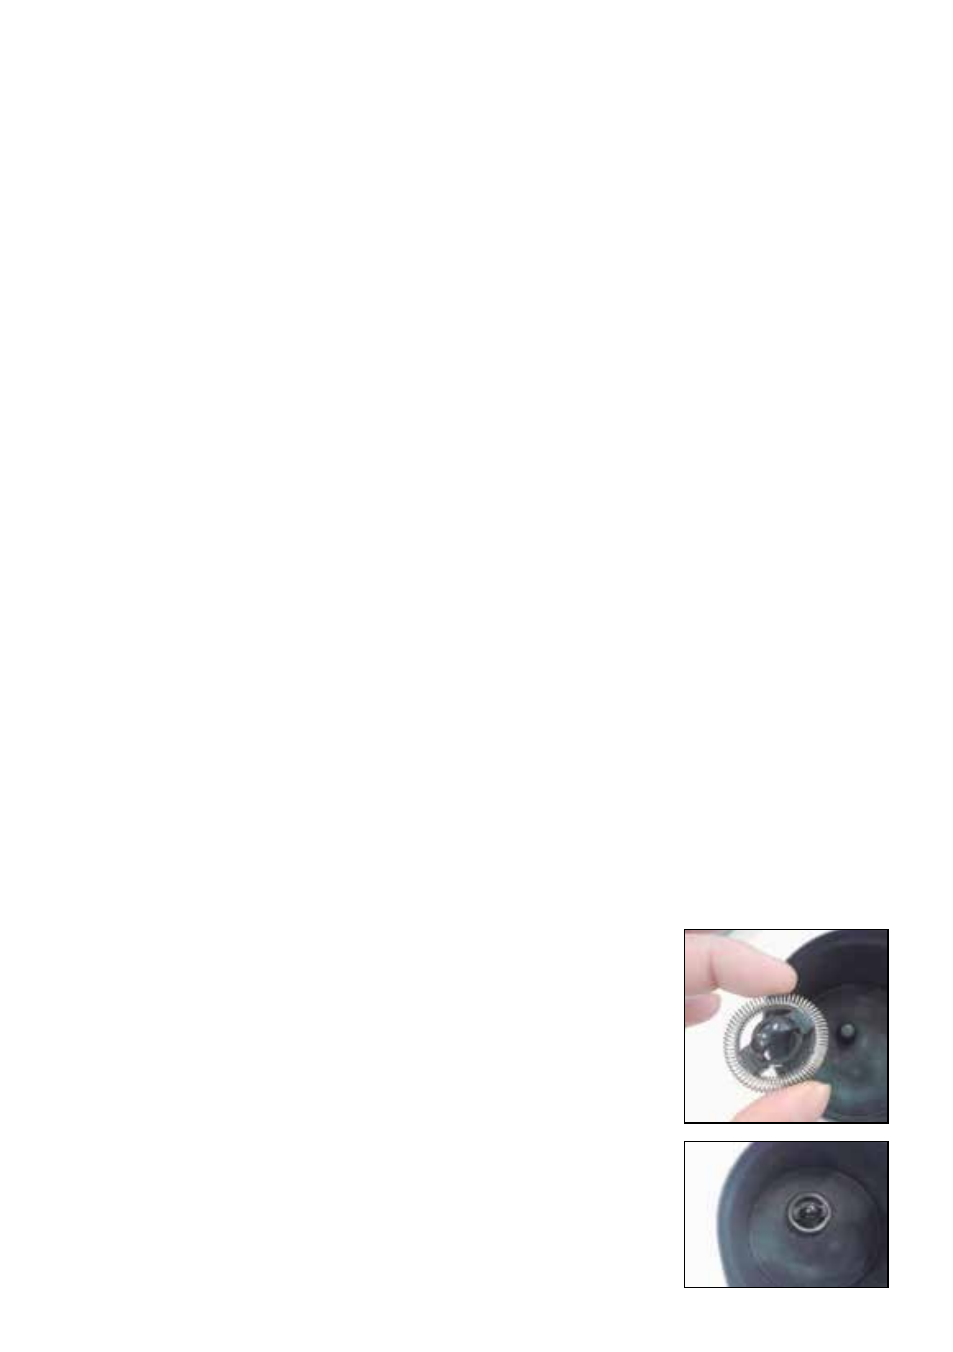
3. Take the desired attachment (the milk frothing spiral for frothing milk or the milk stirrer for
heating milk) and place the attachment over the shaft at the bottom of the pitcher (picture A).
note:
The milk frothing spiral and the milk stirrer have a square
shaped opening which only fits in one orientation over the shaft of
the pitcher (picture B).
Press the attachment carefully down, if it does not snap. It is loose on
the clutch. If necessary turn the attachment a little bit until its opining
snaps on to the shaft.
imPortant: use one attachment at a time!
4. Pour the desired amount of cold milk into the pitcher. You can use fat
free, low fat, or whole milk. Use the pre-marked max level indicators on
the inside of the pitcher as a guide. The max level indicator for heating
milk is 250 ml and the max level indicator for frothing milk is 120 ml.
Hold the pitcher upright when filling.
note:
Take the pitcher of the power base before filling.
A
B