Stand-alone/master/slave fixture linking, Mounting, Tand – Chauvet Vue III User Manual
Page 9: Lone, Aster, Lave, Ixture, Inking, Ounting, Orientation rigging
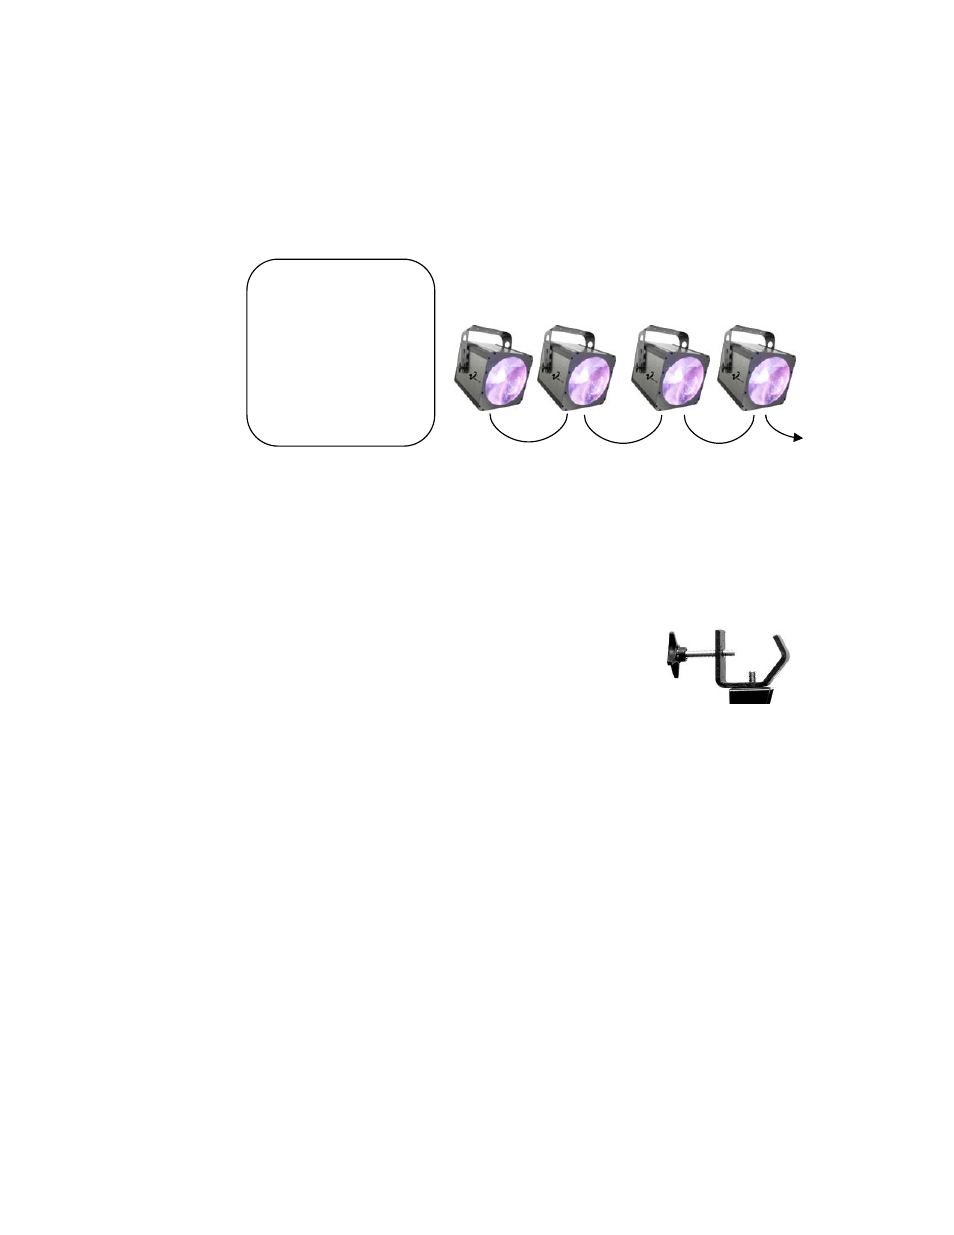
Stand-Alone/Master/Slave Fixture Linking
1. Connect the (male) 3 pin connector side of the DMX cable to the output (female) 3 pin connector
of the first fixture.
2. Connect the end of the cable coming from the first fixture which will have a (female) 3 pin
connector to the input connector of the next fixture consisting of a (male) 3 pin connector. Then,
proceed to connect from the output as stated above to the input of the following fixture and so on.
Often, the setup for Master-Slave
and Standalone operation requires
that the first fixture in the chain be
initialized for this purpose via either
settings in the control panel or DIP-
switches. Secondarily, the fixtures
that follow may also require a slave
setting. Please consult the
“Operating Instructions” section in
this manual for complete instructions
for this type of setup and
configuration.
Mounting
O R I E N T A T I O N
This fixture may be mounted in any position provided there is adequate room for ventilation.
R I G G I N G
Hanging Clamp
It is important never to obstruct the fan or vents pathway. Mount the
fixture using, a suitable “C” or “O” type clamp. Adjust the angle of the
fixture by loosening both knobs and tilting the fixture. After finding the
desired position, retighten both knobs.
•
When selecting installation location, take into consideration lamp
replacement access and routine maintenance.
Note!
Clamp is sold separatel
•
Safety cables should always be used.
y.
•
Never mount in places where the fixture will be exposed to rain, high
humidity, extreme temperature changes or restricted ventilation.
Vue™ III User Manual
9
2007-05-10/15:08