Alumax DesignLine Hinge User Manual
Page 4
EPH-N00-06092
12-9-03
Page 4 of 5
5
NOTE: Because mounting conditions vary, it is
the responsibility of the installer to determine the
appropriate drilling, fasteners and installation of the
hinges. Alumax advises the following procedure and
has supplied eight #10 x 2" mounting screws, but does
not imply that this is the preferred mounting method for
any given application.
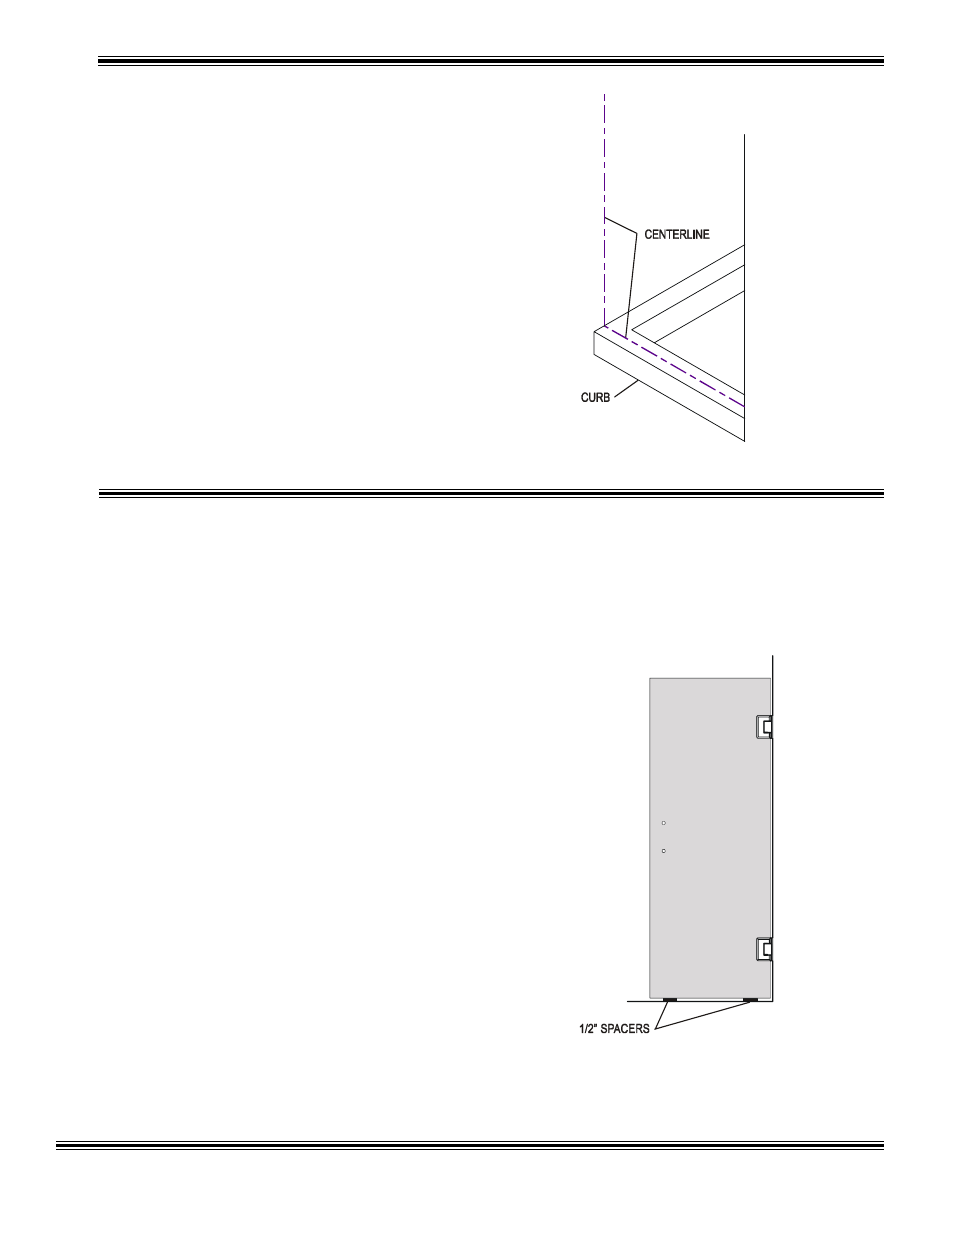
Set panel on two 1/2" spacers a few inches in from
each edge of glass.
MUST BE SOLID WOOD STRUCTURE BEHIND
WALL COVERING TO HOLD WEIGHT OF
DOOR.
With hinge against wall, mark one hole on the top hinge
to the surface of the wall. (Check wall surface where
holes are going to line up. You don't want to drill on a
corner or the extreme edge of a tile if you can help it.)
Remove panel and drill hole through tile using a 1/4" bit,
then drill hole into wall using a 1/8" bit. (It is the
responsibility of the installer to establish the condition
to which the hinge is being mounted and to select the
proper fasteners). #10 x 2" screws (M) are supplied
but substitutions may be required as determined by
wall conditions.
TIP: It is a good idea to pre-thread holes with a
standard hardware screw so you don't damage the
decorative screw head supplied with the hinge. Use of
common bar soap on the threads of the decorative
screws will reduce the amount of torque required to
tighten the screws.
4
Check your walls with a straight edge. If the
mounting is irregular the hinge may not function properly.
Determine the centerline of the door area and mark the
curb with a pencil or chalkline. Masking tape may be
used on hard-to-mark surfaces such as ceramic tile or
marble. Locate and mark a plumb centerline on the wall
surface intersecting the centerline on the curb of the
opening.