How to set up your tractor, Check battery, To drive tractor off skid – Craftsman 917.270660 User Manual
Page 9: Check tire pressure, Check deck levelness, Check for proper position of all belts
Attention! The text in this document has been recognized automatically. To view the original document, you can use the "Original mode".
HOW TO SET UP YOUR TRACTOR
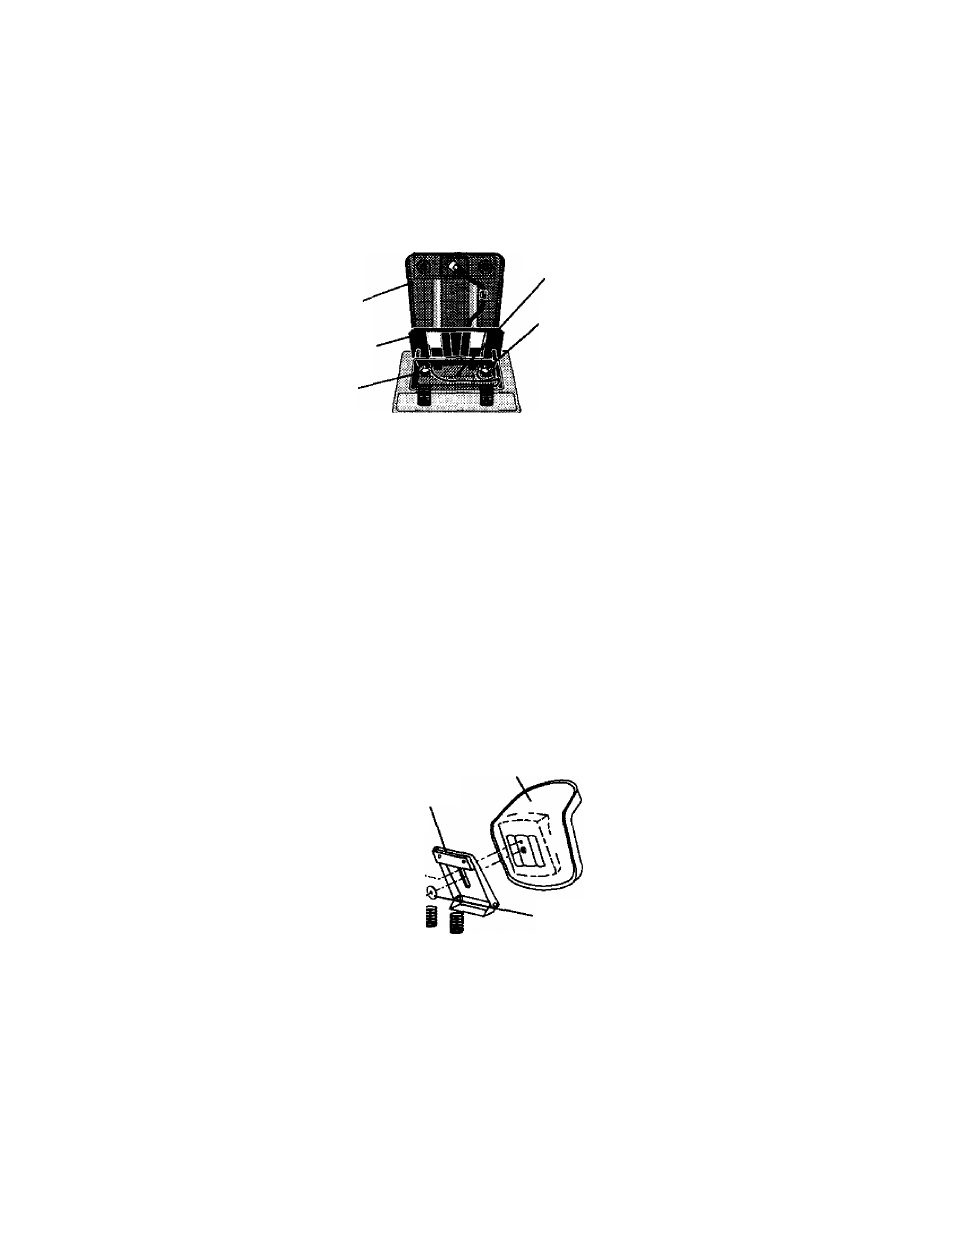
CHECK BATTERY
• Lift seat pan to raised postion and open
battery box door.
• If this battery is put into service after
month and year indicated on label
(label located between terminals)
charge battery for minimum of one hour
at 6-10 amps. (See “BATTERY" in
MAINTENANCE section of this manual
for charging structions.)
Seat Pan
Battery Box
Door
Terminal
Label
Terminal
INSTALL SEAT
Adjust seat before tightening adjustment
knob.
• Remove cardboard packing on seat
pan.
• Place seat on seat pan and assemble
shoulder bolt. Tighten shoulder bolt
securely.
• Assemble adjustment knob and flat
washer loosely. Do not tighten.
• Lower seat into operating position and
sit on seat.
• Slide seat until a comfortable position is
reached which allows you to press
clutch/brake pedal all the way down.
• C3et off seat without moving its adjusted
position.
• Raise seat and tighten adjustment knob
securely.
sзз^
Seat Pan
Shoulder
Bolt \
Adjustment —^ i
Knob
^ '
Flat
Washer
TO ROLL TRACTOR OFF SKID (See
Operation section for iocation and
function of controls)
•
Press lift lever plunger and raise
attachment lift lever to its highest
position.
• Release parking brake by depressing
clutch/brake pedal.
• Place freewheel control in freewheeling
position to disengage transmission "
(See 'TO TRANSPORT” in the Opera
tion section of this manual).
• Roll tractor forwardoff skid.
• Remove banding holding discharge
guard up against tractor.
TO DRIVE TRACTOR OFF SKID
A WARNING:
Before starting, read,
understand and follow all instructions in
the Operation section of this manual. Be
sure tractor is in a well-ventilated area. Be
sure the area in front of tractor is clear of
other people and objects.
• Be sure all the above assembly steps
have been completed.
• Check engine oil level and fill fuel tank
with gasoline.
• Place freewheel control in ‘transmissioi
engaged” position.
• Sit on seat in operating position,
depress clutch/brake pedal and set the
parking brake.
• Place motion control lever in neutral (N
position.
• Press lift lever plunger and raise
attachment lift lever to its highest
position.
• Start the engine. After engine has
started, move throttle control to idle
position.
• Release parking brake.
• Slowly move the motion control lever
forward and slowly drive tractor off skid
•
Apply brake to stop tractor, set parking
brake and place motion control lever in
neutral position.
• Turn ignition key to “OFF” position.
Continue with the instructions that follow.
CHECK TIRE PRESSURE
The tires on your tractor were overinflatec
at the factory for shipping purposes.
Correct tire pressure is important for best
cutting performance.
• Reduce tire pressure to PSl shown in
“PRODUCT SPECIFICATIONS” sectior
of this manual.
CHECK DECK LEVELNESS
For best cutting results, mower housing
should be properly leveled. See ‘TO
LEVEL MOWER HOUSING" in the Servic
and Adjustments section of this manual.
CHECK FOR PROPER POSITION OF
ALL BELTS
See the figures that are shown for
replacing motion and mower blade drive
belts in the Service and Adjustments
sectoin of this manual. Verity that the belts
9
are routed correctly.