Assembly & operation, Danger, Fig. 8 – Craftsman 183.172530 User Manual
Page 12
Attention! The text in this document has been recognized automatically. To view the original document, you can use the "Original mode".
ASSEMBLY & OPERATION
CUTTING OUTLET OPENINGS IN DRYWAU.
A
DANGER
Do not attempt to use this tool to make cut-outs
around any fixture or opening which has live eiectrical
wires or on any wall which may have electrical wiring
behind it if a iive wire is contacted, the bit couid
conduct the eiectric current to the tool, creating an
electrocution hazard for the operator. Turn OFF
breakers or remove fuses to disconnect the electric
circuit in the area of work. Always hold the tool by its
insulated housing when working in areas where there
is a possibiiity of contacting electric wires. Always
wear eye protection when operating this tool.
1.
Before installing drywall, push the electrical wires to
the back of the box as far as possible so they will not
be cut by the bit when cutting the opening.
2.
Before fastening the drywall sheet over №e electrical
box, mark the sheet as close as possible to the center
of the box opening. Mark should be on the side of the
drywall facing you.
3.
When fastening the drywali in place, do not place nails
or screws closer than 12” from the box. This will
prevent the drywall from becoming deformed under
pressure.
4.
Insert cutting bit and install freehand sole plate as
outlined on Pages 9 & 10 of this Owner's Manual.
Adjust depth of cut so the bit wiil protrude Vj" beyond
the thickness of the drywall.
5.
Hold the tool firmly with both hands and turn it ON.
Plunge the bit through the drywall at the mark
indicating the center of the box. See Fig. 8 for cutting
pattern.
CUTTING OUTLET OPENINGS IN DRYWALL - cont’d
6.
Move the bit slowly lo the right until you feel and hea
the bit contacting the inside of the box.
7.
Pull the bit out far enough to slip it over the edge of
the box. Once the bit is outside the box. push it back
to full depth beside the outside edge of the box.
8.
Move the tool upward while applying slight pressure
toward the center of the box. W hen you feel the bit
reach the top right hand comer of the box, move the
tool to the left while applying slight pressure
downward toward the center of the box,
9.
Continue moving the tool around the box in a counter
clockwise direction while maintaining slight pressure
toward the center of the box. W hen the box cut-out is
complete. Turn the tool OFF and remove it from the
cut-out
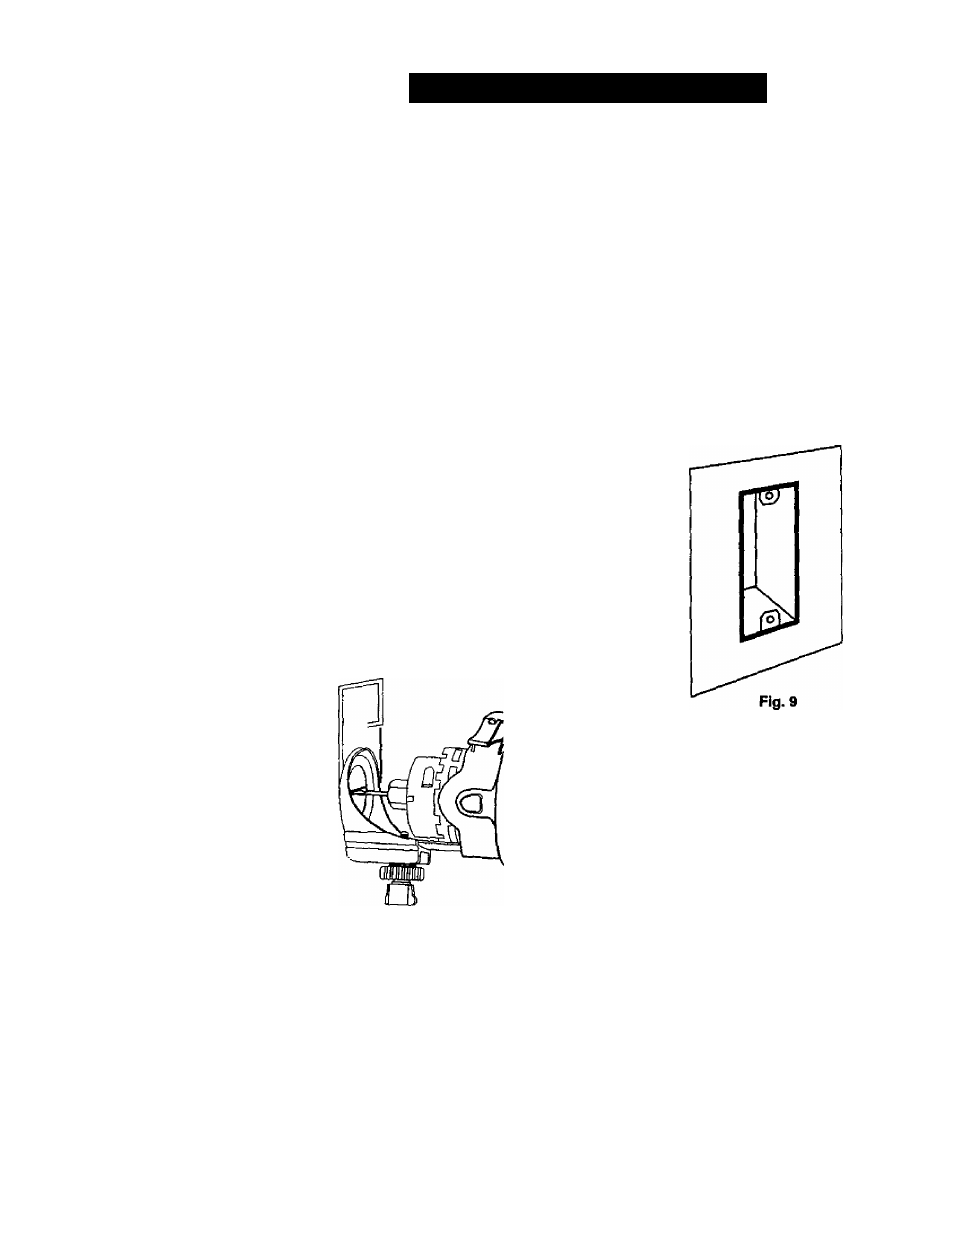
10. Completed electrical box cut-out will be accurately ant
neatly cut (see Fig. 9).
NOTE; Always move the cutting bit in a counter
clockwise direction around №e outlet box. The natural
tendency of the cutting bit to move to the left will make it
easier to cut close lo the box.
Fig. 8
12