Press a+ or v- to set the day, Then press return, Return – Sony KV-13TR28 User Manual
Page 41: Press a+ or v- to set the hour, Press a+ or v- to set the minutes, Press return
Attention! The text in this document has been recognized automatically. To view the original document, you can use the "Original mode".
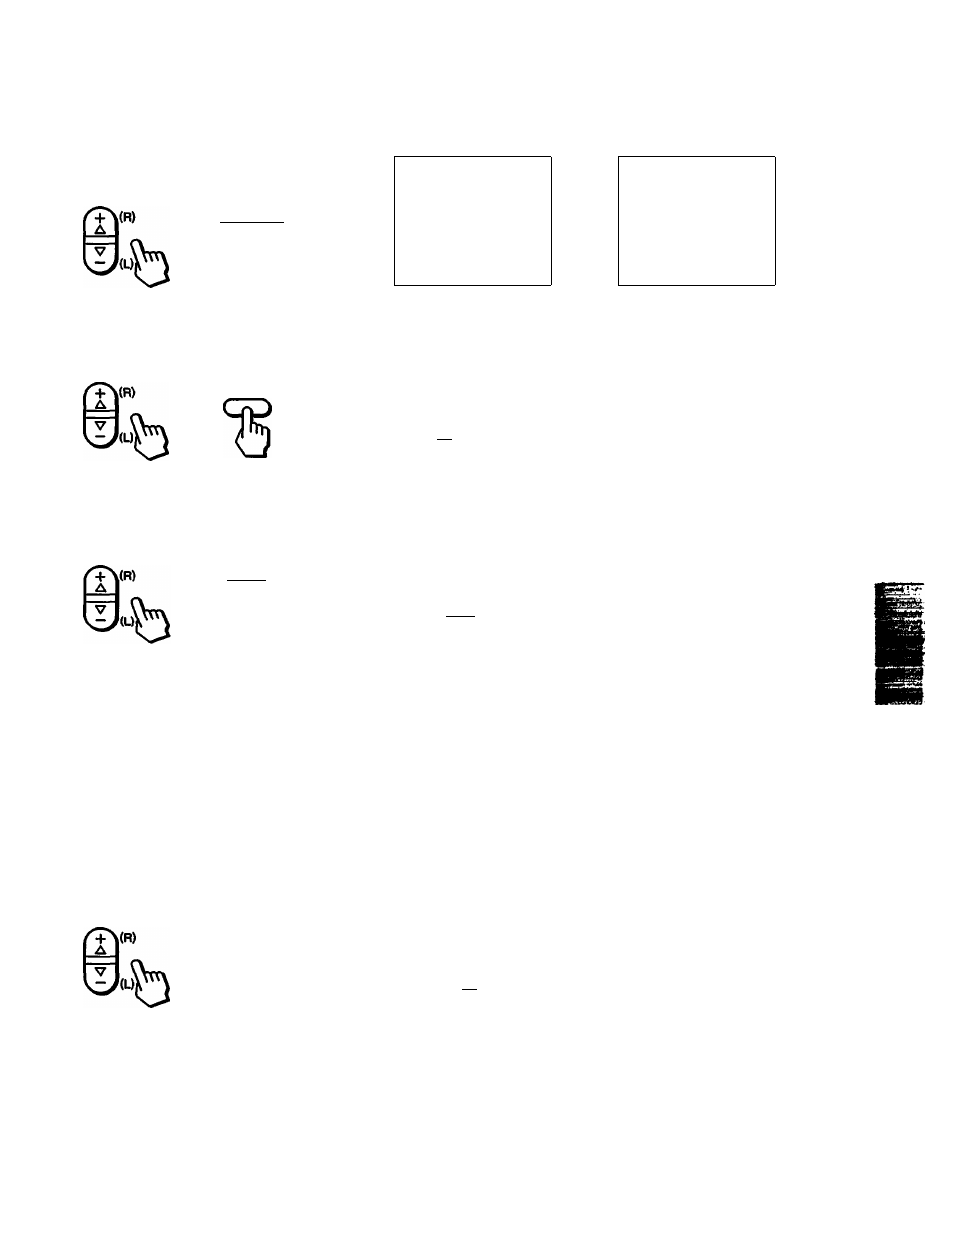
Press A+ or V- to set the day.
Each time you press A-t- or V-, the days of the week change as shown in Fig. 1.
(Seep.39.)
Then press RETURN.
'Set the ^ne.'appears on the screen.
If you select a channel which has been blocked,
the message of “BLCX^KED* appears.
RETURN
CHANNEL BLOCK
EVERY SUNDAY
12:00AI -h CH—
?MENU
BLOCKED
Set the time.
Use ▼
@9 E x i t s
6
Press A+ or V- to set the hour.
Each time you press orV-, the hour changes in sequence.
Then press RETURN.
RETURN
CHANNEL BLOCK
EVERY SUNDAY
8: ООП -h CH—
:>MENU
Set the time.
Use $ ШВ ExitSi
Press A+ or V- to set the minutes.
Each time you press A+ or V-, the minutes change in sequence.
Then press RETURN.
"Set the duration.'ippears on the screen.
RETURN
CHANNEL BLOCK
EVERY SUNDAY
8:45PI -h CH--------
3MENU
Set the duration.
Use Ф @B ЕхМШ
8
Press A+ or V- to set the duration of time that you want the TV remain
blocked.
Each time you press A+ orV-, the duradon changes from ‘1“ to "ff" in sequence.
Then press RETL'RN.
'Seiect the channef appears on the screen.
CHANNEL BLOCK
RETURN
аь
Ъ
EVERY SUNDAY
8:45NI 1h CH—
?MENU
Select the channel
Use $ Ш9 ExItfS
Press A+ or V- to set the channel that you want to block.
Each time you press A
h
- or V-, the channel
number changes from 1 to 125 in sequence.
CHANNEL BLOCK
EVERY SUNDAY
8:45M 1h CH 38
7MENU
Select the channel
Use $ (¡oil Exits
Press RETURN.
The setting is completed.
RETURN
ъ
CHANNEL BLOCK
►EVERY SUNDAY
8:45» th CH 38
:>MENU
Use $ on Exits
To clear the BLOCK setting
Press RESET while in the CHANNEL BLOCK
screen.
To return to the normal screen
Press MENU.
• If you set a new CHANNEL BLOCK by
following steps 1-9, the original setting will be
• If you have not set the clock correctly,
CHANNEL BLOCK will not operate at the
proper time. To set the current time, see
“Setting the Clock - CURRENT TIME SET,’
pp. 36-37.
a
&
Chapter 3: Using Advanced Features
41