Step 3: setting up the remote commander, Inserting batteries, Getting to know buttons on the remote commander – Sony KV-27S25 User Manual
Page 14: Button color, Label color
Attention! The text in this document has been recognized automatically. To view the original document, you can use the "Original mode".
step 3: Setting up
the remote
commander
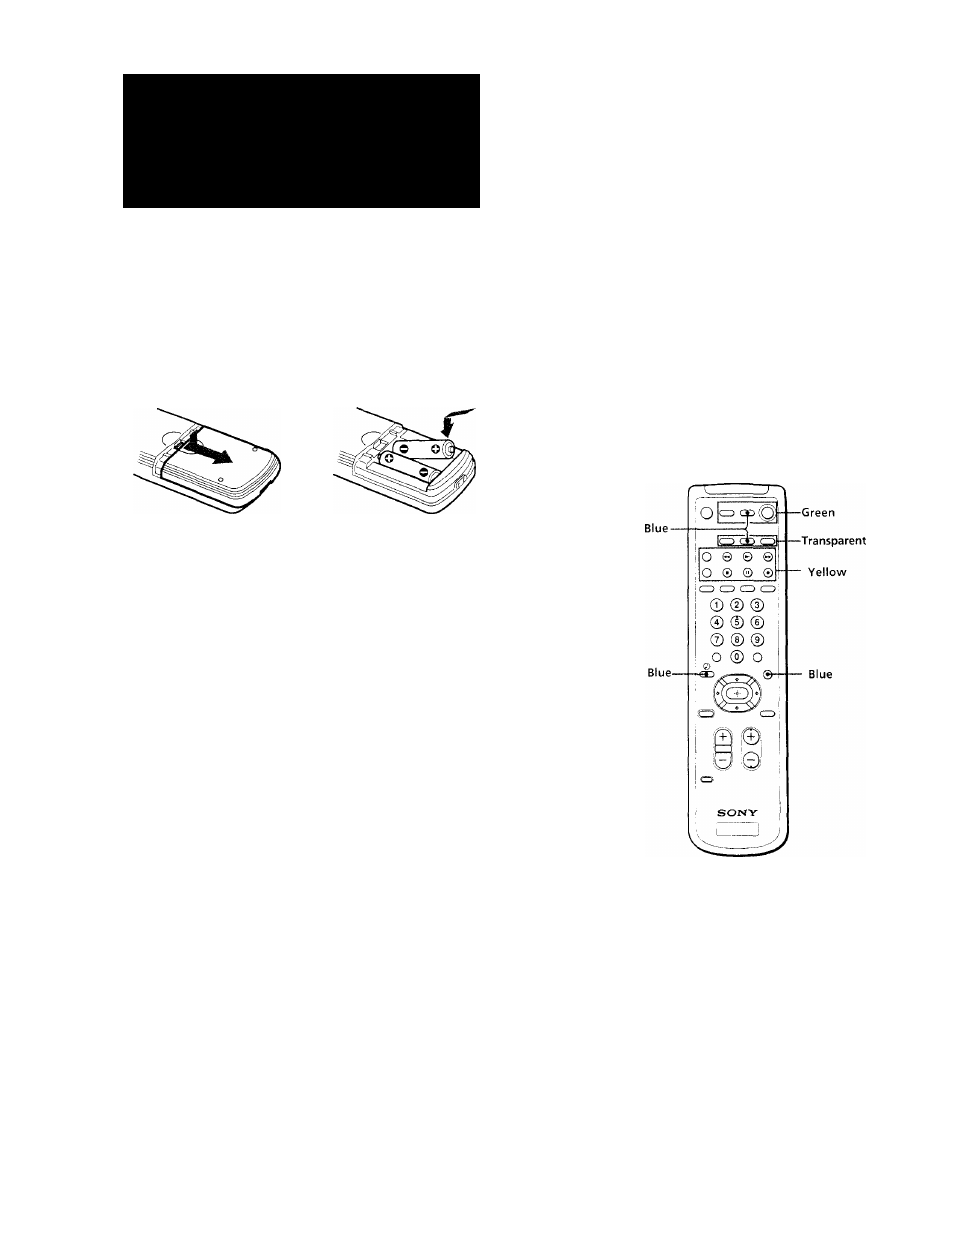
Inserting batteries
Insert two size AA (R6) batteries (supplied) by
matching the + and - on the battery to the diagram
inside the battery compartment.
Notes
• Under normal conditions, batteries will last up to six months.
If the remote commander does not operate properly or the
indicators of the buttons on the remote commander do not
light up, the batteries may be worn out. When replacing
batteries, replace both of them with new ones.
• Do not mix old batteries with new ones or mix different types
of batteries together. _
• If the electrolyte inside the battery should leak, wipe the
contaminated area of the battery compartment with a cloth and
replace the old batteries with new ones. To prevent the
electrolyte from leaking, remove the batteries when you don't
plan to use the remote commander for a long period of time.
• Do not handle the remote commander roughly. Do not drop it,
step on it or let it get wet.
• Do not place the remote commander in direct sunlight, near a
heater, or where the humidity is iiigh.
Getting to know buttons on the
remote commander
Names of buttons on the remote commander are
indicated in different colors to represent the available
functions.
Button color
Transparent................ TV/VCR/DBS/Cable box function
(light up)
buttons. Press the appropriate
function button first to change the
remote commander's function.
Green.......................... Buttons relevant to power operations.
Label color
White.......................... TV/VCR/DBS/Cable box operation
buttons.
Yellow........................PIP operation buttons.
Blue............................ DBS operation buttons.
14
I
Gett ng Started