Functions to make, Recording/playback, Easy – Sony WM-D6C User Manual
Page 10
Attention! The text in this document has been recognized automatically. To view the original document, you can use the "Original mode".
FUNCTIONS TO MAKE
RECORDING/PLAYBACK
EASY
MIC ATT (attenuator) switch
The microphone attenuator-is useful for re
cording a large input signal on location (like
rock music) or recording with a microphone
very close to the source without overloading
the recorder amplifier. Normally set this
switch to the OdB position. Set if to the20dB
position to avoid overloading the amplifier of
the recorder, when you make a live recording
with high input signals.
The “20 dB” position attenuates the input
level by 20dB.
Cue and review function
During playback, you may skip-over unneces
sary portions of the tape by pressing the ►►
CUE button or repeat a certain portion of the
tape
by
pressing
the
REVIEW
button.
(The sound is muted during this function.)
When the ►► CUE or REVIEW button is
released, the recorder will automatically re
turn to the playback mode.
II (pause) button
Depress the II button to stop the tape for a
moment in playback or recording mode. To re
start, press the button again to release it.
T
0
stop the tape for an extended time, use the
button.
Automatic shut-off mechanism
In playback or recording mode, tape motion
stops at the end of the tape and the locked
buttons will return to the original position
automatically.
In fast forward or rewind mode, however, the
locked button will not be released automati
cally. Be sure to press the fiB button to re
lease it.
One touch review function
During recording, you can listen to the mate
rial just recorded with this function. While
recording, when the -♦< REVIEW button is
depressed, only the • RECORD button will
be released and the tape will be rewound. By
releasing the
REVIEW button, the
recorder will go Into the playback mode.
10
Instant edit function
During
playback,
simply
depress
the •
RECORD button, and the recorder will im
mediately change to the recording mode.
This function is convenient for correcting a
previously recorded portion.
Peak/battery indicaUif and indication selector
To observe the input level during recording or
recorded level during playback, set this selec
tor to PEAK.
The Indicator will show the input level or the
recorded level for either the left or right chan
nel, whichever is higher at that instant.
To check the battery condition, set the selec
tor to ВАТТ. The bottom-most LED will light
to show the battery condition. If the indicator
glows faintly, replace all batteries at once.
When the selector is set to OFF, no LED will
light up.
Tape counter for indexing the tape contents
Before recording, push the reset button to set
the counter to “000". Make a note of the fig
ures to help you locate later a desired pro
gram on the tape.
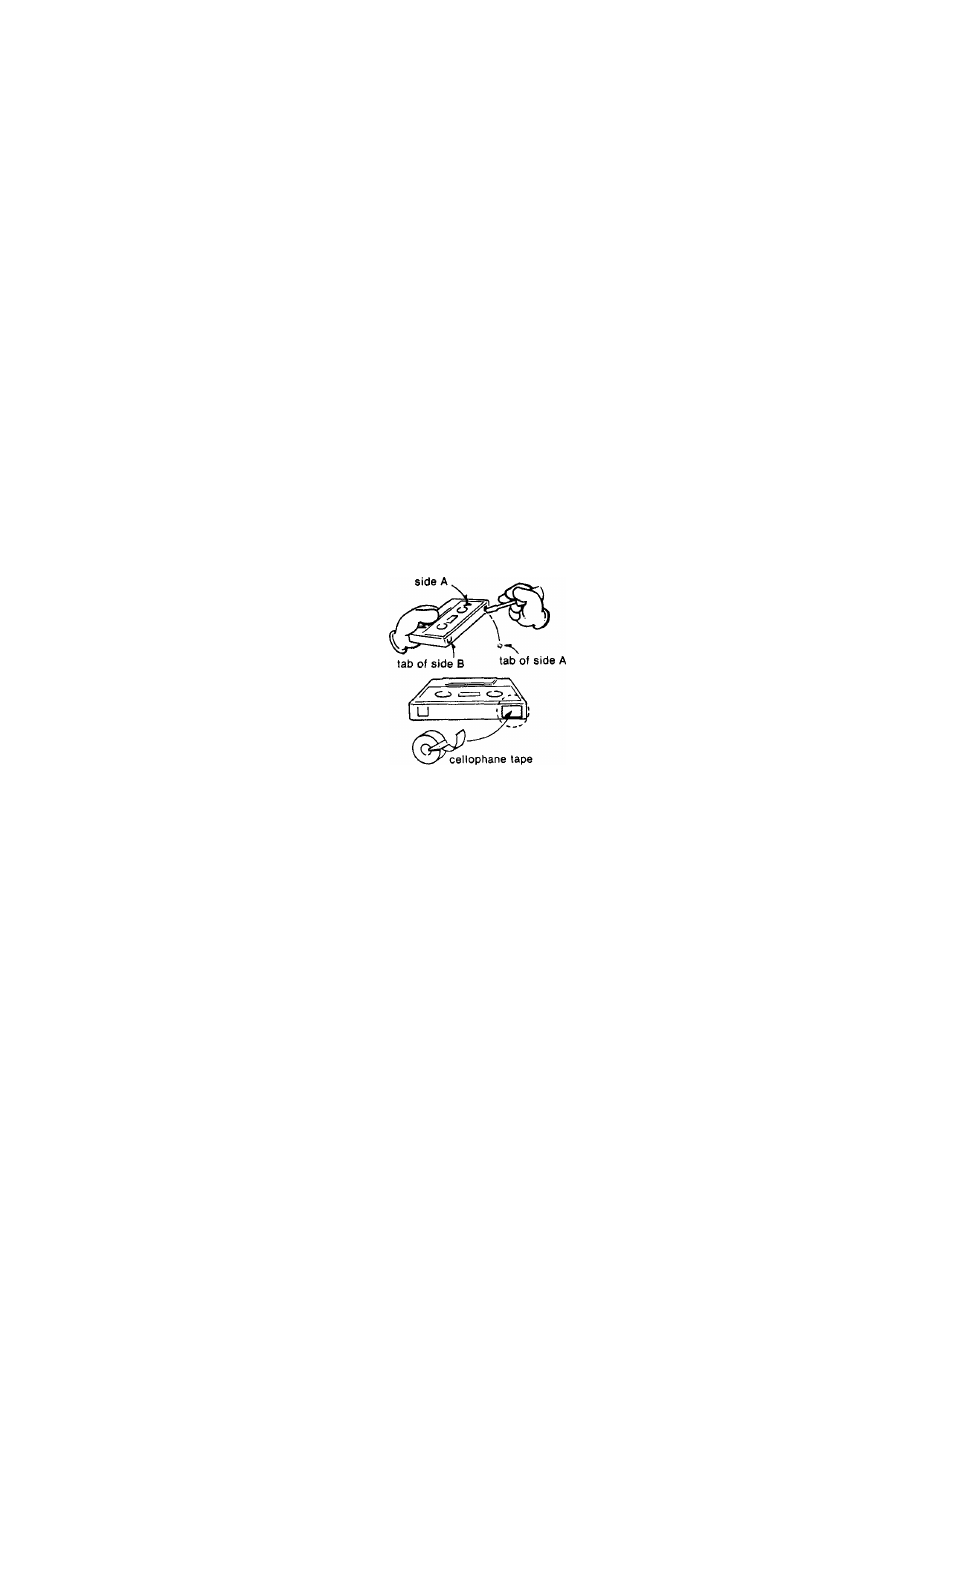
To prevent accidental erasure
Break out the small tabs on the rear of the
cassette. The • RECORD button cannot be
depressed if a cassette with its tabs broken
out is used. To reuse a cassette for recording
after the tabs have been removed, simply
cover the slots with a small piece of cello
phane or vinyl tape.
To make a blank erasure
1 Insert a cassette.
2 Ensure that nothing is connected to the
LINE IN and MIC jacks.
3 Set the REC LEVEL control to minimum.
4 Depress the • RECORD button.