Rega RP10 User Manual
Page 10
7
IMPORTANT: ALWAYS REMOVE THE CERAMIC PLATTER BEFORE
LIFTING OR RELOCATING THE RP10
Always remove the ceramic platter before locating the RP10 central plinth into the
outer frame or when lifting the whole turntable to relocate it. The ‘o’ rings will not
centralise the plinth within the frame if the weight of the platter is present.
SETTING UP YOUR RB2000
With the cartridge mounted correctly and set up using the alignment protractor
supplied, ensure that the tracking force control and bias adjustment slider are set to
zero. (Pull the bias adjustment fully out to set zero). Slide the balance weight along its
shaft until the stylus is “floating” just 1mm clear of the record.
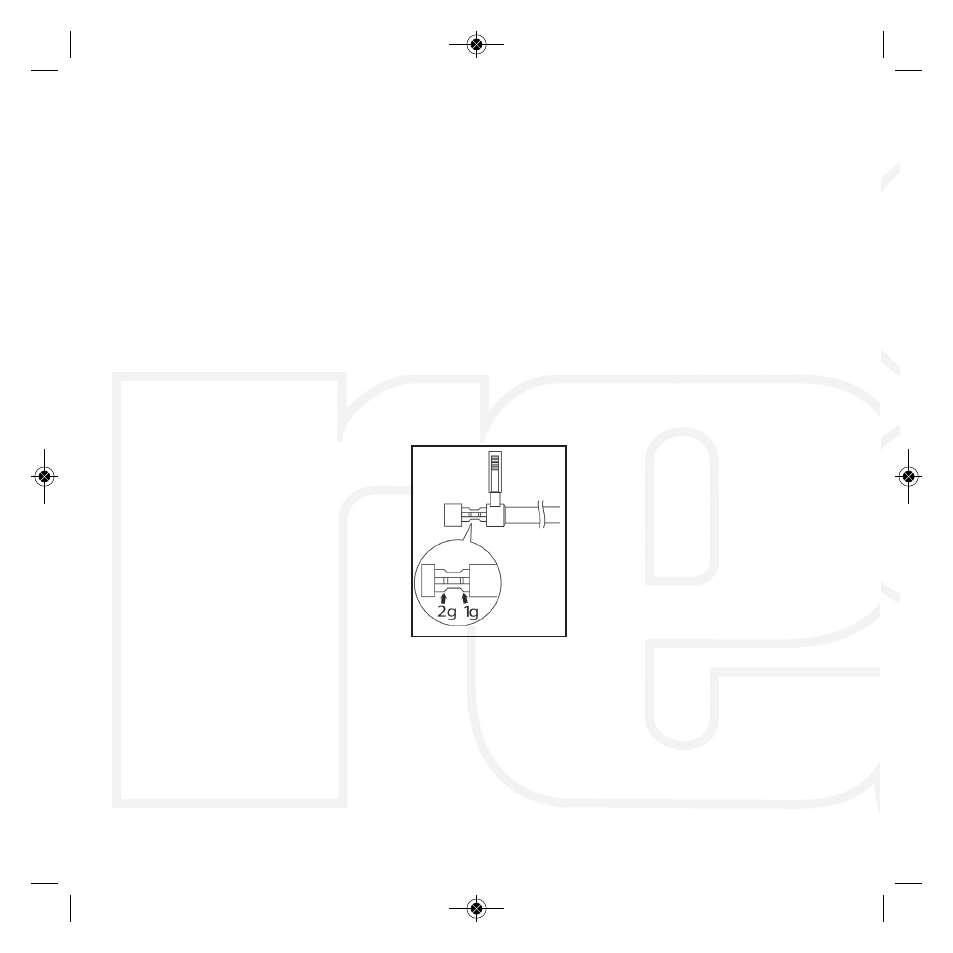
The recommended tracking force can now be applied via the tracking force control
shown on page 8. Always use a force which corresponds to the upper limit of the
cartridge makers recommended range. Push the bias adjustment slider to the same
number as the tracking force control. For example, a recommended 2.0g tracking force
= 2.0 on the bias slider. Note: It is not necessary to use the alignment protractor if the
turntable has a factory fitted Rega cartridge.
RP10 English Manual Text_Apollo English manual.qxd 17/12/2013 15:28 Page 9