Dell B3465dnf Mono Laser Multifunction Printer User Manual
Page 226
Jam access area
Printer control panel message
What to do
4
Multipurpose
feeder
[x]
‑page jam, clear manual
feeder. [25y.xx]
Remove all paper from the multipurpose feeder, and then
remove the jammed paper.
5
Tray 1
[x]
‑page jam, remove tray 1 to clear
duplex. [23y.xx]
Pull out tray 1 completely, then push the front duplex flap
down, and then remove the jammed paper.
Note: You may need to open the rear door to clear
some 23y.xx paper jams.
6
Tray [x]
[x]
‑page jam, open tray [x]. [24y.xx] Pull the indicated tray out, and then remove the jammed
paper.
7
Rear door
[x]
‑page jam, open rear
door. [20y.xx]
Open the rear door, and then remove the jammed paper.
8
Finisher rear door
[x]-page jam, remove all pages
from the finisher’s output bin.
Leave paper in bin [45y.xx]
•
Open the finisher rear door, and then remove the
jammed paper.
•
Open the narrow door, and then remove the jammed
paper.
9
Finisher output bin
[x]-page jam, remove all pages
from the output bin. Leave paper
in bin [45y.xx]
•
Move the left paper guide to the left and the right
paper guide to the right, and then remove the jammed
paper from the finisher bin.
•
Open the finisher rear door and the narrow door, and
then remove any jammed pages.
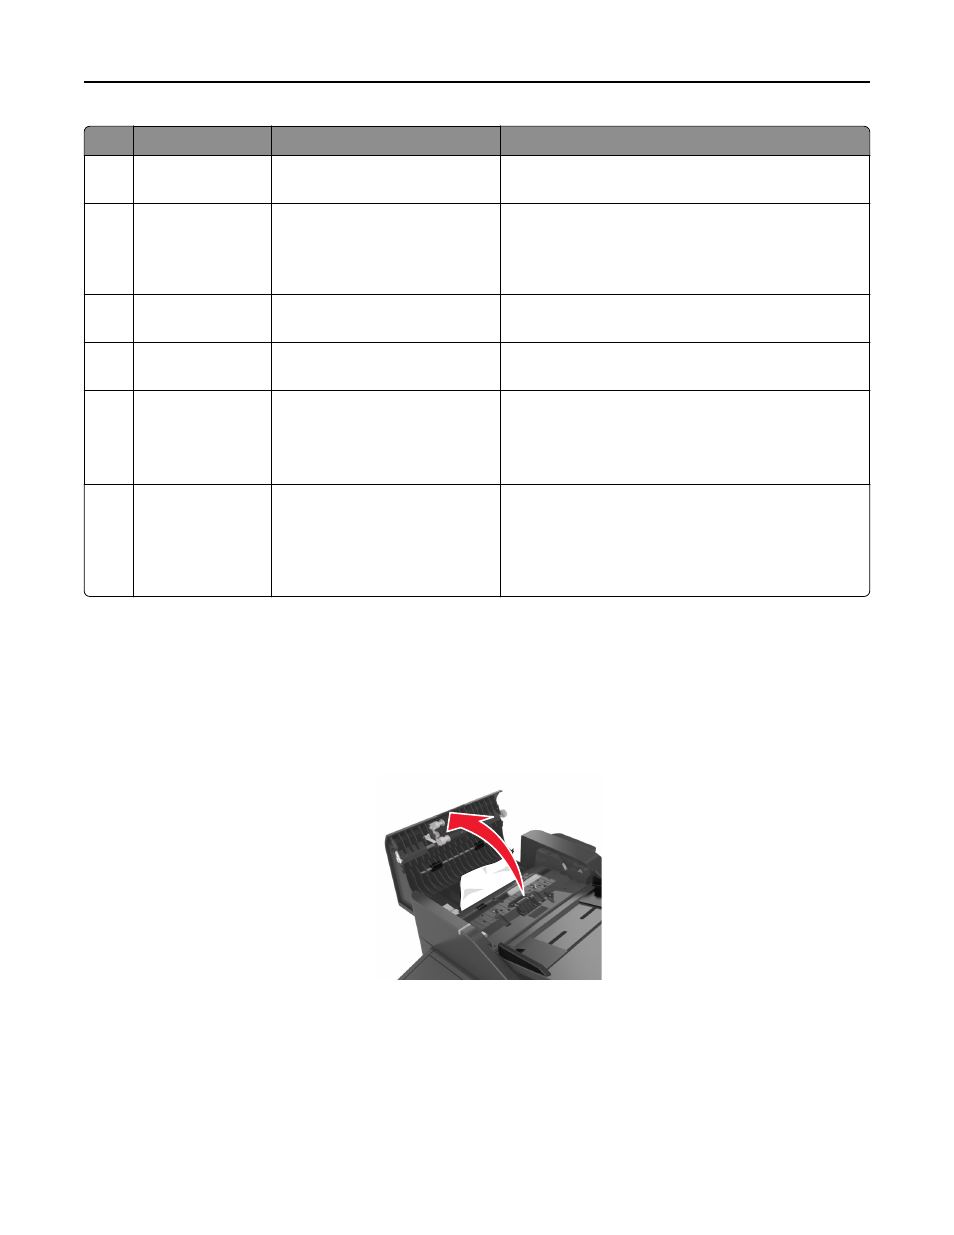
[x]
‑page jam, open automatic feeder top cover. [28y.xx]
1
Remove all original documents from the ADF tray.
Note: The message is cleared when the pages are removed from the ADF tray.
2
Open the ADF cover.
3
Firmly grasp the jammed paper on each side, and then gently pull it out.
Note: Make sure all paper fragments are removed.
4
Close the ADF cover.
5
Straighten the edges of the original documents, then load the documents into the ADF, and then adjust the paper
guide.
6
From the printer control panel, touch Done to clear the message and continue printing.
Clearing jams
226