Dell PowerEdge 2500 User Manual
Page 51
2. Place the fan assembly in the hinge bracket and swing the fan assembly down until the release lever snaps into place.
3. Replace the system cover.
4. Close the front bezel.
Removing the Back Fan Assembly
1. Open the front bezel (see "
Removing the Front Bezel
" in "Troubleshooting Your System").
2. Remove the system cover.
3. Remove the cooling shroud (see "
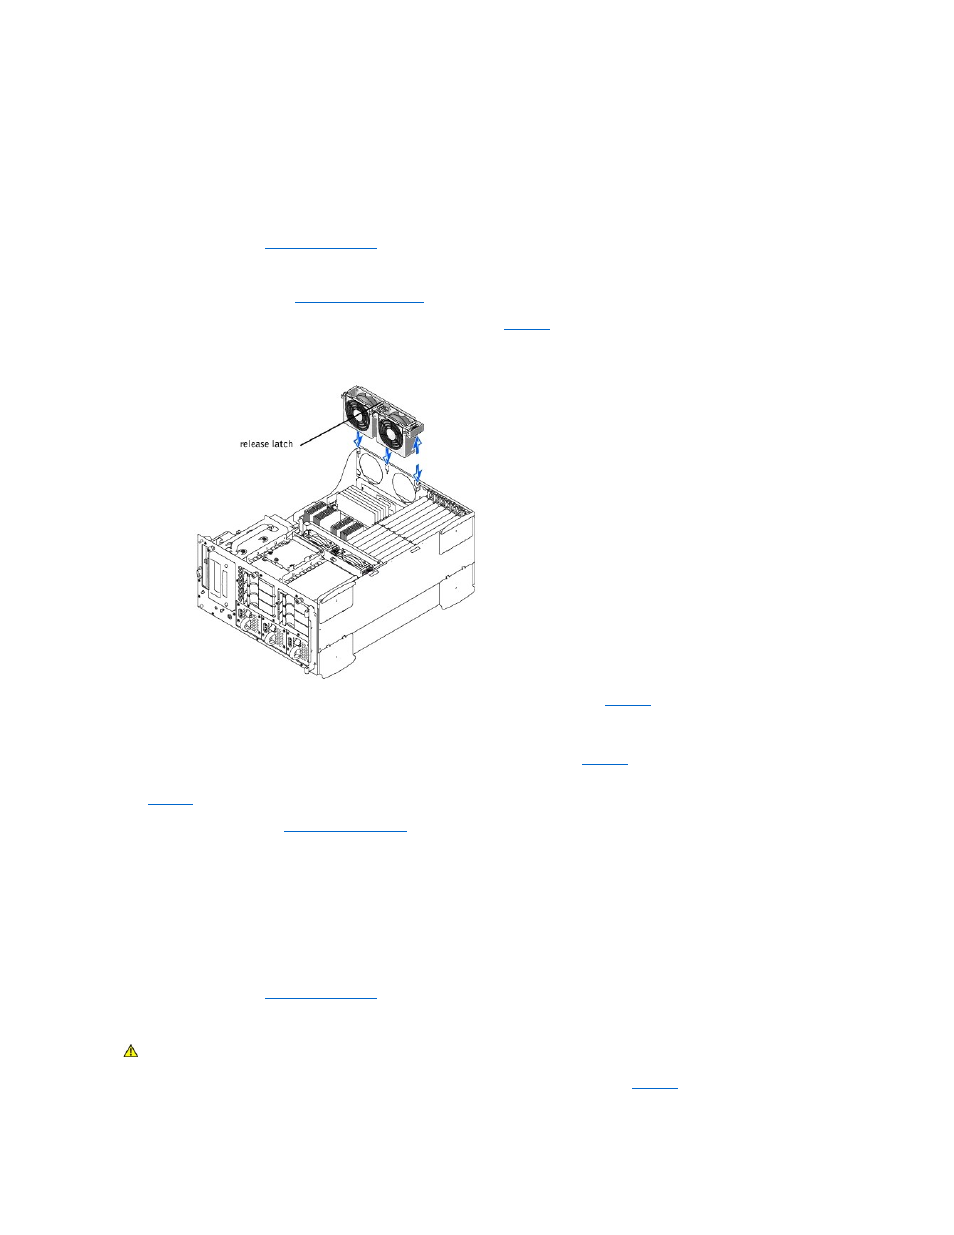
4. Press the release latch and lift the fan assembly straight up to clear the chassis (see
Figure 6-3. Removing the Back Fan Assembly
5. Disconnect the fan assembly power cable from the fan connector (REAR FAN) on the system board (see
Replacing the Back Fan Assembly
1. Connect the fan assembly power cable to the fan connector (REAR FAN) on the system board (see
).
2. Align the fan assembly with the fan assembly guide on the back-panel, and push down until the fan assembly is firmly seated and the latch is engaged (see
).
3. Install the cooling shroud (see "
").
4. Replace the system cover.
5. Close the front bezel.
Removing and Replacing Individual Fans
There are four fans contained in two fan assemblies. The procedure for removing and replacing the four fans are the same.
To remove a fan:
1. Open the front bezel (see "
Removing the Front Bezel
" in "Troubleshooting Your System").
2. Remove the system cover.
Figure 6-4. Removing/Replacing a Fan
CAUTION:
The cooling fans are hot-pluggable. To maintain proper cooling while the system is on, only replace one fan at a time.