Removing the system board – Dell Precision M40 User Manual
Page 21
The system board's BIOS chip contains the system service tag number, which is also visible on a bar-code label on the bottom of the computer.
The replacement kit for the system board assembly includes a diskette or CD that provides a utility for transferring the service tag number to the replacement
system board assembly.
Removing the System Board
1.
Follow the instructions in "
Preparing to Work Inside the Computer
."
2.
3.
4.
If migrating the memory, remove all installed
5.
Remove the
6.
Remove the
7.
Remove the
.
8.
Remove the
.
9.
Remove the
.
10.
Remove the
microprocessor thermal cooling assembly
11.
If migrating the microprocessor, remove the
.
12.
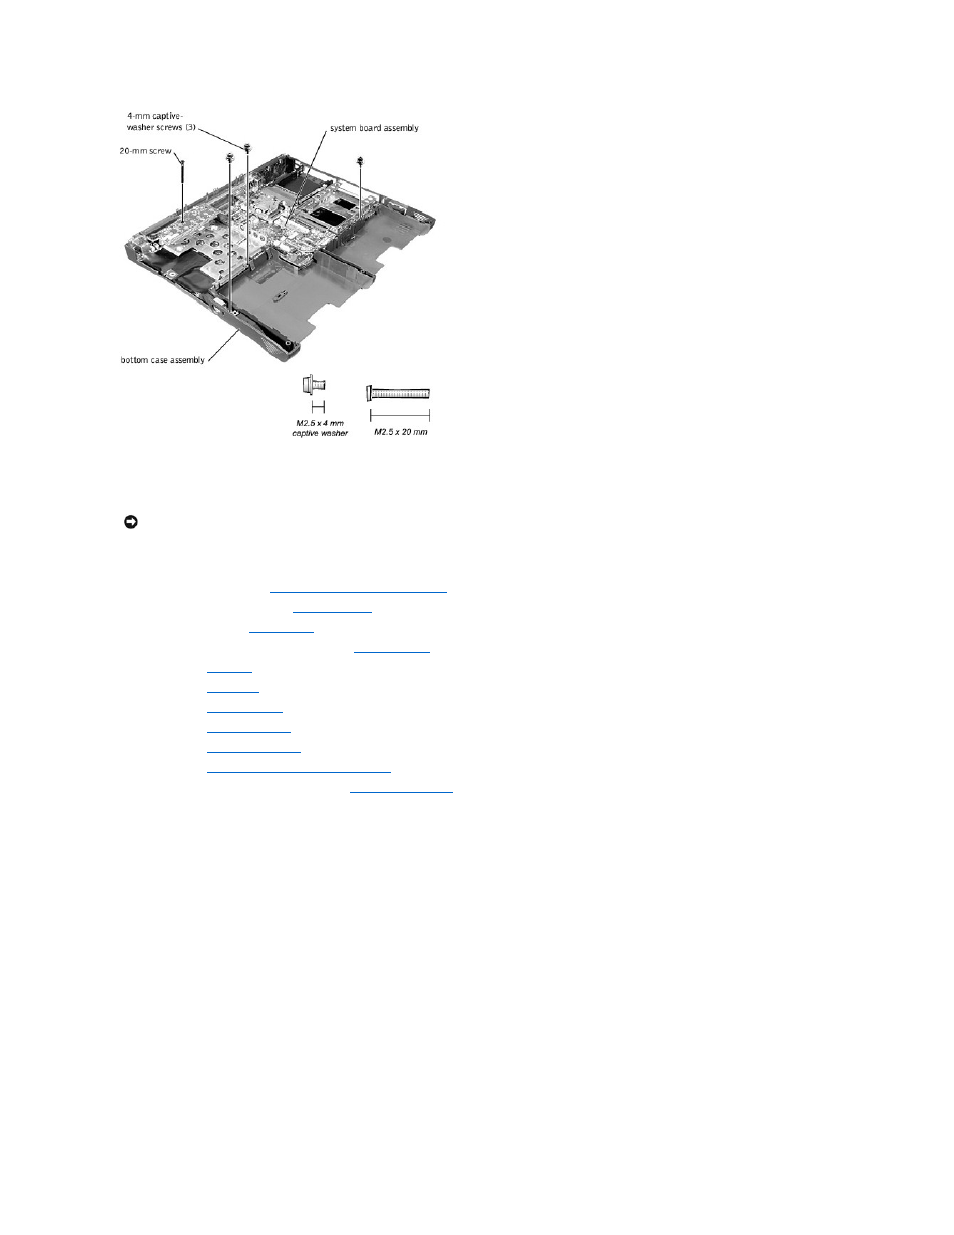
Remove the three 4-mm captive-washer screws from the system board.
13.
Remove the 20-mm screw from the center of the LED board.
14.
Lift the front of the system board and work it out of the back panel.
System Board
NOTICE:
If you received a flash BIOS update program diskette or CD with the replacement microprocessor, you must update the BIOS after replacing
the microprocessor module. For instructions on updating or reflashing the BIOS, see the Dell Portable Computer BIOS Update Guide.