Replacing the display panel, Removing the display latch – Dell Precision M40 User Manual
Page 14
Replacing the Display Panel
1.
Connect the flex cable to the two connectors on the back of the display panel.
2.
Place the display panel assembly in the top cover, taking care that the flex cable is in place and is not crushed or crimped.
3.
Reinstall the 4-mm screw that secures the flex cable mounting bracket to the top cover.
4.
Starting on the left side, use a magnetic screwdriver to reinstall the six 3-mm screws that secure the display panel in the top cover.
5.
Reinstall the display flex cable strain-relief screw and reconnect the flex cable to the graphics card.
6.
Reinstall the display assembly bezel.
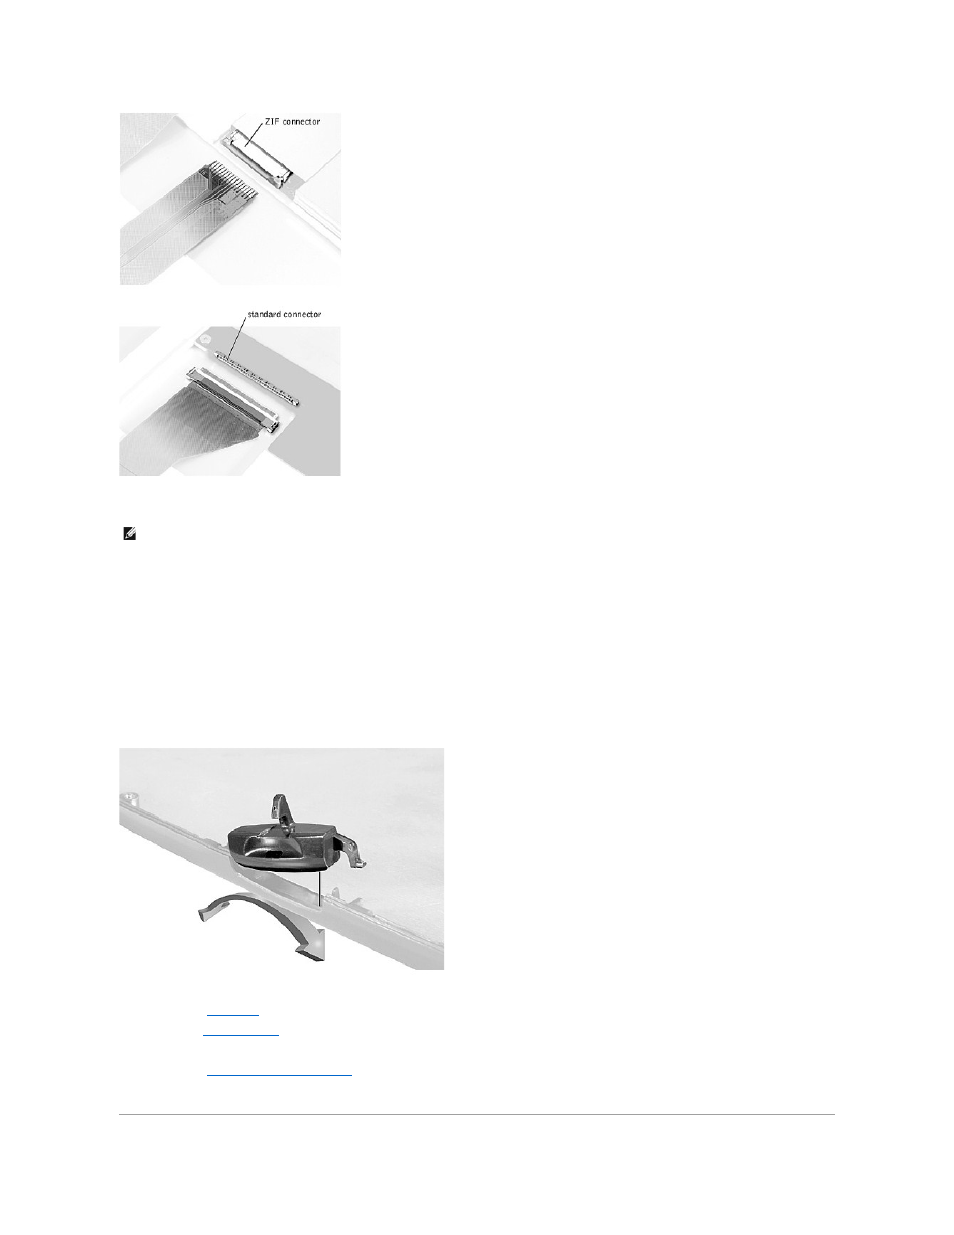
Removing the Display Latch
Removing the Display Latch
1.
Remove the
2.
Detach the
from the strain relief and the graphics card.
3.
Remove the display assembly bezel.
4.
Remove the
display panel from the top cover
5.
Remove the display latch by unsnapping the latch and captive spring.
NOTE:
Use a magnetic screwdriver to reassemble the display panel in the display.