Replacing the camera module – Dell Inspiron Mini Duo (1090, Late 2010) User Manual
Page 10
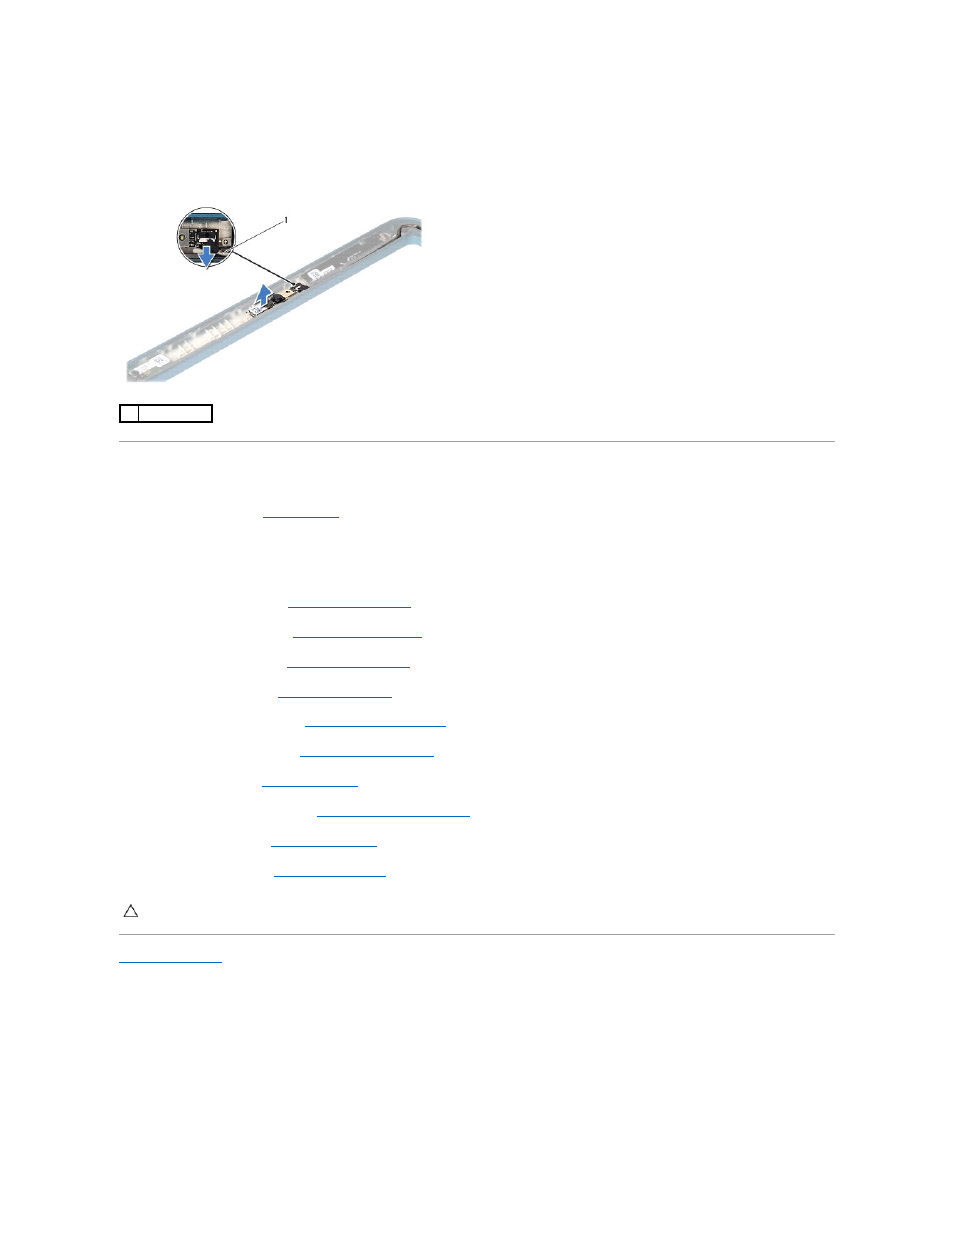
12.
Make note of the camera cable routing and disconnect it from the connector on the camera module.
13.
Lift the camera module off the display frame.
Replacing the Camera Module
1.
Follow the instructions in
Before You Begin
.
2.
Use the alignment posts on the display frame to place the camera module in position.
3.
Route and connect the camera cable to the connector on the camera module.
4.
Replace the display panel (see
Replacing the Display Panel
).
5.
Replace the display hinges (see
Replacing the Display Hinges
).
6.
Replace the display bezel (see
Replacing the Display Bezel
).
7.
Replace the hinge caps (see
Replacing the Hinge Caps
).
8.
Replace the display assembly (see
Replacing the Display Assembly
).
9.
Replace the memory module (see
Replacing the Memory Module
).
10.
Replace the battery (see
Replacing the Battery
).
11.
Replace the palm-rest assembly (see
Replacing the Palm-Rest Assembly
).
12.
Replace the keyboard (see
Replacing the Keyboard
).
13.
Replace the label door (see
Replacing the Label Door
).
Back to Contents Page
1
camera cable
CAUTION:
Before turning on the computer, replace all screws and ensure that no stray screws remain inside the computer. Failure to do so may
result in damage to the computer.