Warning, Transporting, Parking – Great Plains 2000 Operator Manual User Manual
Page 16
13
Section 2 Operating Instructions
2012-03-27
12, 15 and 20 Foot Series Three-Point Drills 118-389M-A
Great Plains Mfg., Inc.
Transporting
!
WARNING
Towing the drill at high speeds or with a vehicle that is not
heavy enough could lead to loss of vehicle control. Loss of ve-
hicle control could lead to serious road accidents, injury and
death. To reduce the hazard, do not exceed 20 mph. Check that
your tractor has enough ballast to handle the weight of the drill.
Refer to your tractor operator’s manual for ballast require-
ments.
Before transporting the drill, follow and check these items:
Unload drill box. The drill can be transported with a full
box of grain, but the added weight will increase stopping
distance and decrease maneuverability. Unload drill box
before transporting if at all possible.
Road rules. Comply with all federal, state and local safety
laws when traveling on public roads.
Clearance. Remember that the drill is wider than the trac-
tor. Allow for safe clearance.
Transporting with Optional Pull Package
Your pull hitch has a 90-degree-turn valve at the rod-end
port of the hydraulic cylinder. For transport, raise drill, then
turn valve to stop oil from the lift cylinder.
Check that your hitch is securely attached to the tractor
drawbar and that the hitch safety chain has been securely
attached to the tractor.
Check that the transport tires on the hitch are properly in-
flated as listed on the Tire Inflation Chart, “Appendix,”
page 39.
Transporting with Markers
Always transport the markers in the folded position.
Parking
See Storage, “Maintenance and Lubrication,” page 28
for additional information on long-term storage.
1.
Park drill on a level, solid area.
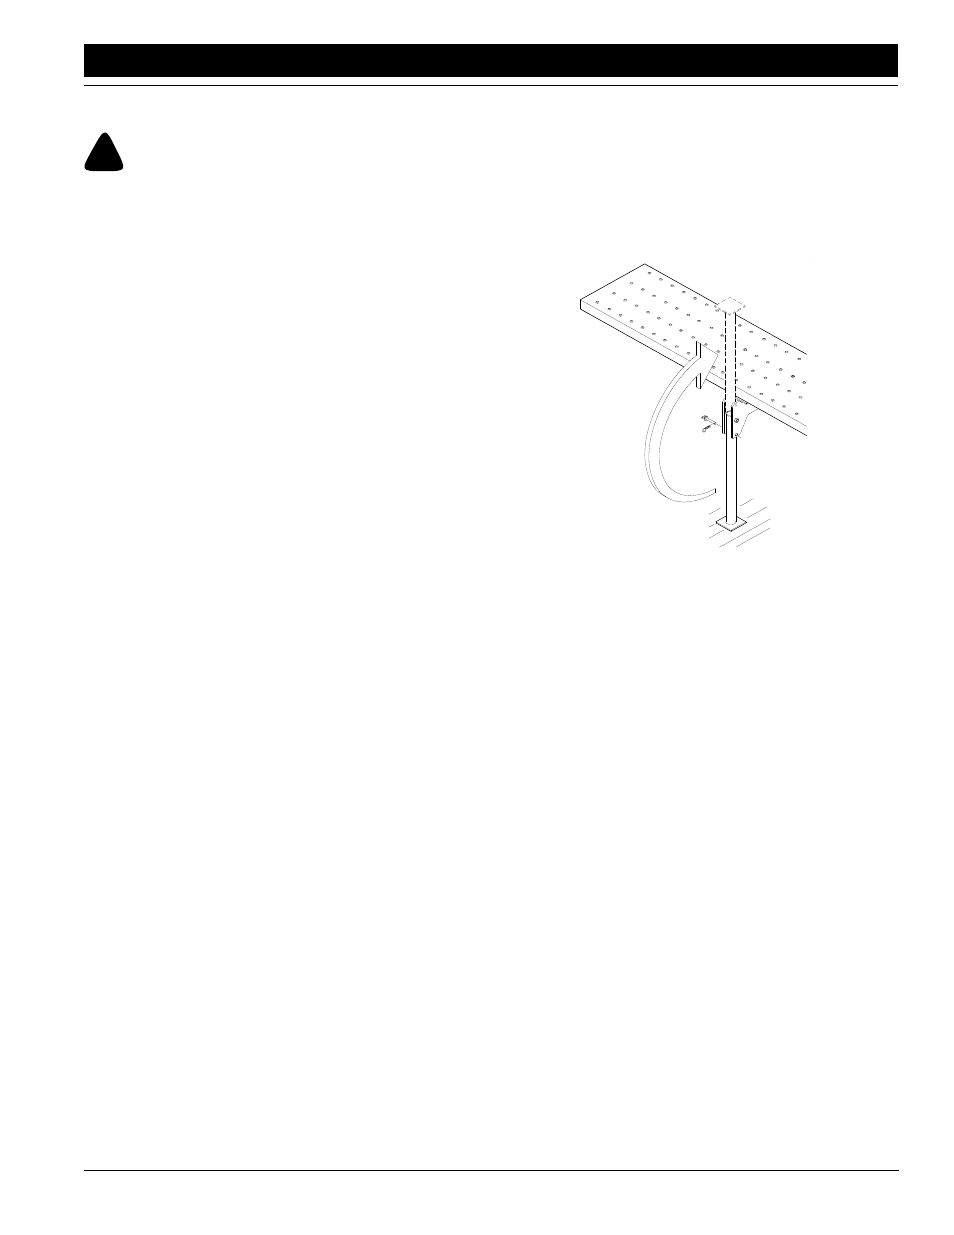
2.
Unpin and rotate optional parking stands down into
parking position. See Figure 2. Replace pins. If
ground is soft, place a board or plate under stand to in-
crease contact area.
Figure 2
Optional Parking Stand
3.
Lower three-point hitch until drill is on the ground.
4.
Extend or retract top three-point link until top three-
point pin is free. Remove pin.
5.
Remove pins from lower three-point links.
12151