12 parking the machine, 10 depth control, 11 work instructions – Great Plains SLD600 Operator Manual User Manual
Page 27
27
Simba SLD
602-227M-ENG
2013-02-05
4.12 Parking the machine
In order to avoid damage as a result of
moisture, the machine should be parked, if
possible, indoors or under cover.
When manoeuvring the machine,
pay attention to your surroundings.
Ensure that nobody is in the
manoeuvring area (watch for
children!).
• Park the machine on level and solid ground.
• Fit chocks under the wheels
• Raise the machine and remove shims from
the lift axle cylinders.
• Lower the machine to the ground, ensuring
that it is stable.
• Remove the drawbar pin and drive forward
slowly until hitch is clear of tractor drawbar.
• Lower the drawbar to the ground.
• Switch off the tractor.
• Disconnect hydraulic lines from the tractor.
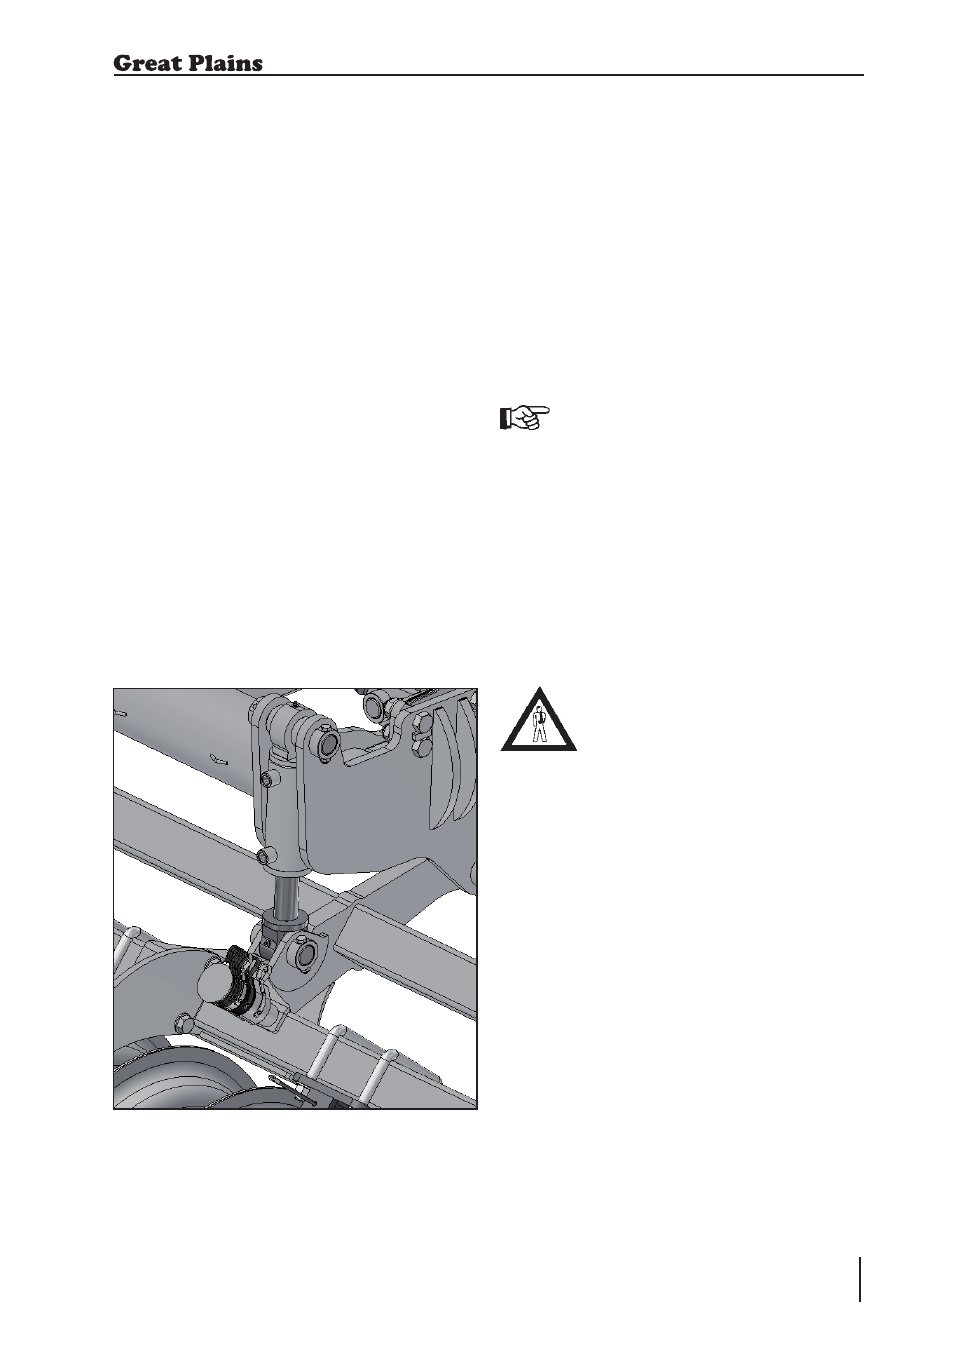
4.10 Depth Control
Working depth can be set by mid or rear roll
and/or by transport wheels. Under normal
conditions the weight of the machine will be
carried on the roll and the drawbar of the
tractor, with the main lift wheels fully raised.
Depth is set using the depth control cylinders
situated on the roll unit with shims added and
removed as appropriate. The front to rear
pitch of the machine should be adjusted as
appropriate to compensate for changes in
working depth by adjusting the amount of
shims on the drawbar cylinder.
Some conditions or finished effects may
dictate that depth control is carried out using
both the roll and the lift wheels.
Rear Roll
Use roll depth cylinder to set machine
working depth - ensure wheels are lifted
clear of ground. Use shims in the drawbar
cylinders to set chassis pitch level.
4.11 Work Instructions
Driving speed
The Simba SLD can be driven at speeds of
up to 12 km/h.
This depends on the field conditions (type
of soil, surface trash, etc.).
Drive more slowly if the conditions are diffi-
cult or a firmer finish is required.
Turning:
Before turning, the machine should
be eased out of work onto the
transport wheels while driving.
Likewise, it should eased back
into work once the turn has been
completed.
4. Adjustment / Operation
Fig. 4.05: Depth Control