Unhitching nurse tank, Final nurse tank unhitch, Exchanging nurse tanks – Great Plains NH3 Safety User Manual
Page 35: Folding and unfolding, Final nurse tank unhitch exchanging nurse tanks
Great Plains Manufacturing, Inc.
Anhydrous Application
31
2013-07-15
407-551M
Unhitching Nurse Tank
The procedure is different for exchanging tanks vs.
concluding application.
Exchanging Nurse Tanks
Consult with the nurse tank supplier, and all nurse tank
documents, before unhitching or exchanging tanks.
a.
Suspend NH
3
The purpose of this step is minimize atmospheric
NH
3
vapor while working at the rear hitch, because
you may not be able to conduct all unhitching and
re-hitching steps from up-wind of all the tines or
knives.
b.
Position the implement cross-wind, with the wind
from the right, tines or knives in ground.
c.
Use the rope to close the emergency shut-off
valve
d.
Put on your goggle and rubber gloves.
e.
Shut off the nurse tank withdrawal
valve
(page 16). Leave the nurse tank hose
valves (
(page 13), if any), open.
f.
From up-wind, and with the orifice facing away from
you, slowly open the breakaway coupler inlet bleed
valve
g.
Stand clear and wait for the hoses to discharge.
h.
From the up-wind side, unscrew the nurse tank hose
outlet coupler
(page 11).
i.
Secure the nurse tank outlet coupler.
j.
Close all opened bleed valves.
k.
Release the nurse tank safety chains.
l.
Remove the nurse tank hitch pin.
Folding and Unfolding
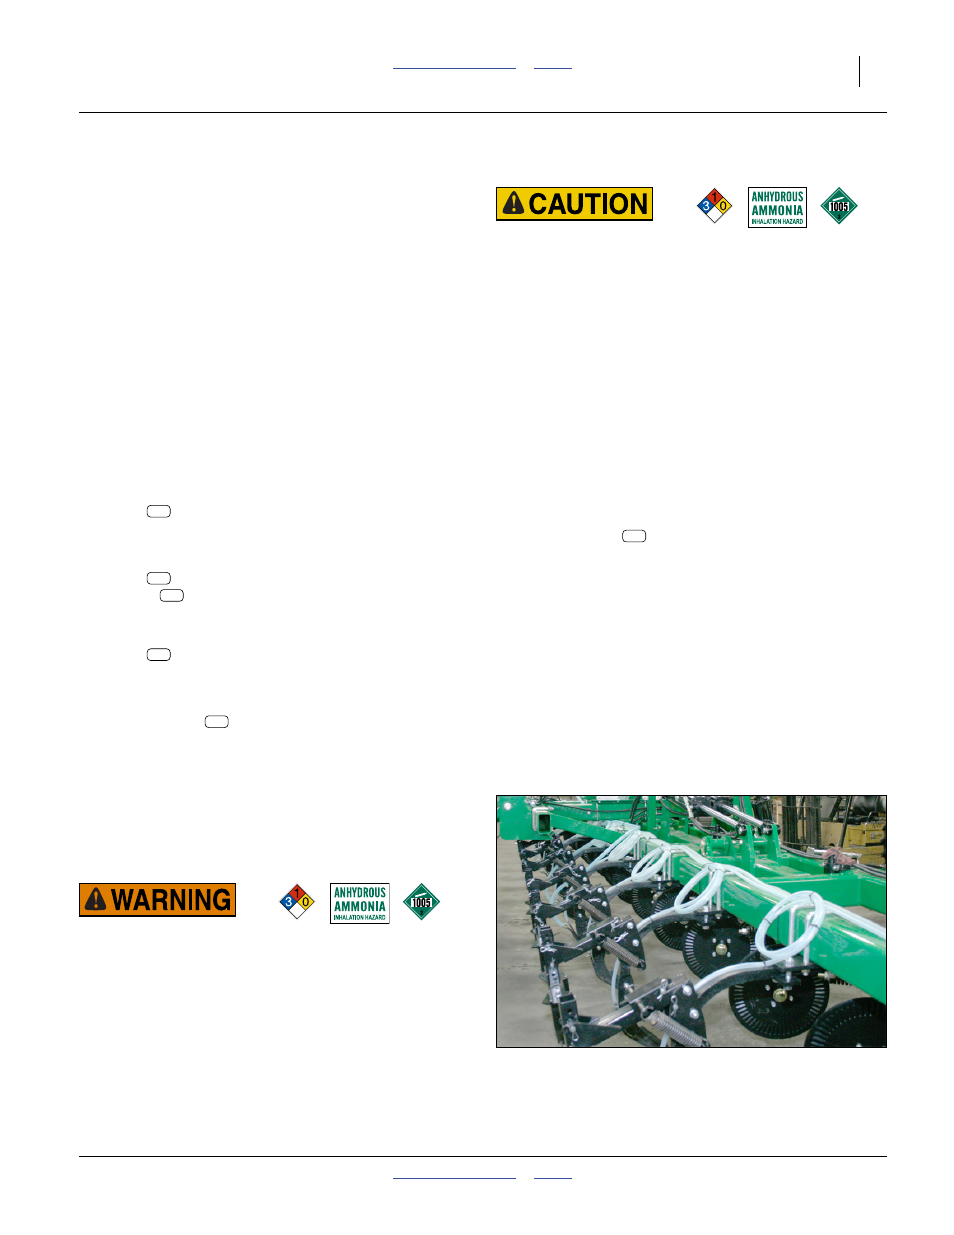
Loop Ammonia Exposure Hazard:
Allow no one down-wind of the implement when folding and
unfolding. Applicator tubing loops may contain liquid NH
3
that can drain out of tines or knives during wing movement.
This liquid can remain in the loops long after application has
ended.
After parking overnight or longer, any liquid present may be
highly caustic ammonium hydroxide (concentrated NH
4
OH, a
solution of NH
3
and atmospheric moisture) rather than pure
NH
3
. Assume any liquid in loops is extremely hazardous.
Take full NH
3
field precautions.
Control Variation Hazard:
If you are using multiple nurse tanks, study each one
separately. Unless they are owned by you, and known to be
identical, there is a high probability that there are differences
between them, even if they are all from the same terminal.
Final Nurse Tank Unhitch
a. Conclude NH
3
The purpose of this step is minimize atmospheric NH
3
vapor while working at the rear hitch, because you
may not be able to conduct all unhitching steps from
up-wind of all the tines or knives.
f.
From the up-wind side, unscrew the nurse tank hose
outlet coupler
(page 11).
g.
Secure the outlet coupler with the nurse tank’s Acme
parking plug.
h.
Close all opened bleed valves.
i.
Release the nurse tank safety chains.
j.
Remove the nurse tank hitch pin.
k.
Remove nurse tank from behind implement.
A58
Figure 27
Applicator Loops
31617
A18
A66
A61
A13
A58