Hiding barcode text, Adding symbols, Inserting symbols – Dymo Rhino 5200 User Manual
Page 15: Using the text library, Adding my library text, Inserting library text, Deleting my library text, Creating a series of labels
15
Hiding Barcode Text
You can choose to hide the human-readable text
for the barcode.
To hide barcode text
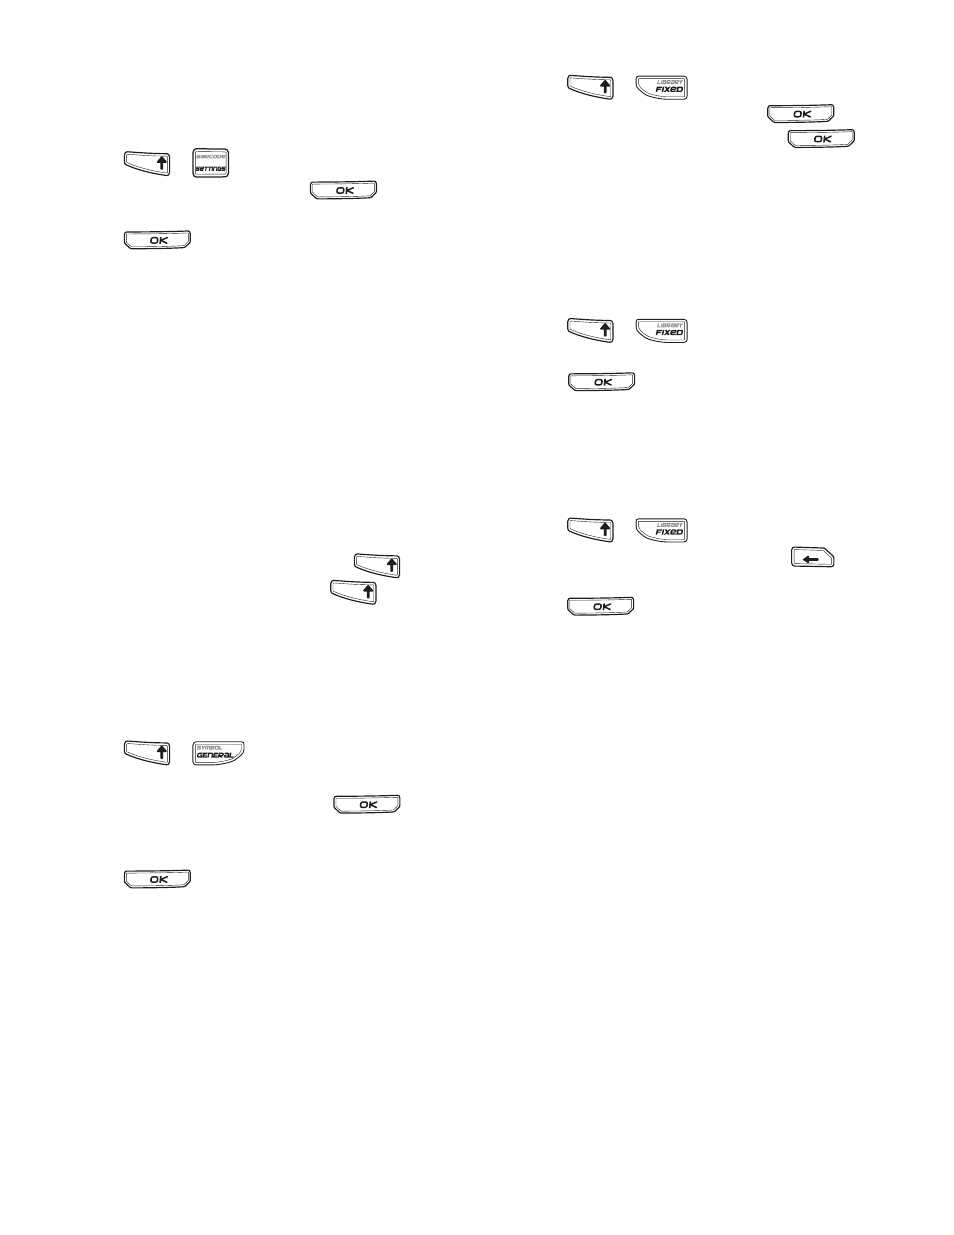
1. Press
+
.
2. Select Barcode HR and press
.
3. Select Off.
4. Press
and then select Done (OK).
Adding Symbols
Your printer includes a set of default symbols to
use on your labels. The symbols are separated into
several categories:
A complete list of the default symbols can be found
beginning on page 19.
Some of the more popular symbols can be
accessed from the number keys using
plus
the number. For example, pressing
+ 1
inserts an open bracket ([).
Inserting Symbols
Symbols added to a label can be formatted or
deleted just like any other character you enter.
To insert a symbol
1. Press
+ .
2. Select a category of symbols or select All to
view all symbols, and then press
.
3. Use the arrow keys to select the symbol
you want.
4. Press
to insert the symbol on the label.
Using the Text Library
Your printer includes a text library, called My
Library. You can add custom text to the library
and then use the library to quickly add text to
your labels.
Adding My Library Text
Text entries appear in the library list in the order in
which they were added to the library.
To add custom text
1. Press
+ .
2. Select Add new text and press
.
3. Enter the text you want and press
.
The text is added to My Library.
Inserting Library Text
Library text added to a label is the same as text
entered from thekeypad. Library text can be edited,
formatted, or deleted.
To add text to a label
1. Press
+ .
2. Select the text to add to your label and
press .
The text is added to your label.
Deleting My Library Text
You can delete custom text from My Library.
To delete My Library text
1. Press
+ .
2. Select the text to delete and press
.
A confirmation message appears.
3. Press
to delete the text.
Creating a Series of Labels
You can automatically generate labels by creating a
series. You create a starting pattern, and then set
the increment and count for the series.
You can serialize any number or letter by selecting
the position to be incremented, such as the
number 2 in 123 or the letter B in ABC. For example,
when the 2 is selected in 123 and the increment
#=3, the resulting labels would print as 123, 153,
and 183.
Letters can be incremented from A to Z and a to z,
and numbers from 1 to 9. When the letter Z or the
number 9 is reached during serialization, a letter or
number is added to increase the increment. For
example, Az increments to Aaa, AZ increments to
BA, and A9 increments to A10.
Three methods of serialization are available: simple,
simultaneous, and advanced.
Electrical
Arrows
Voice/Data
Numbers
Warning
Home Electrical
Punctuation
Currency
Brackets
T
F
I
H
S
T
F
I
H
S
T
F
I
H
S
T
F
I
H
S
T
F
I
H
S
T
F
I
H
S
T
F
I
H
S
BKSP