Connecting a usb camera, Connecting the ptz camera (ptz kit only) – ClearOne Collaborate Desktop Quick-Start User Manual
Page 14
14 Collaborate Desktop: Getting Started Guide
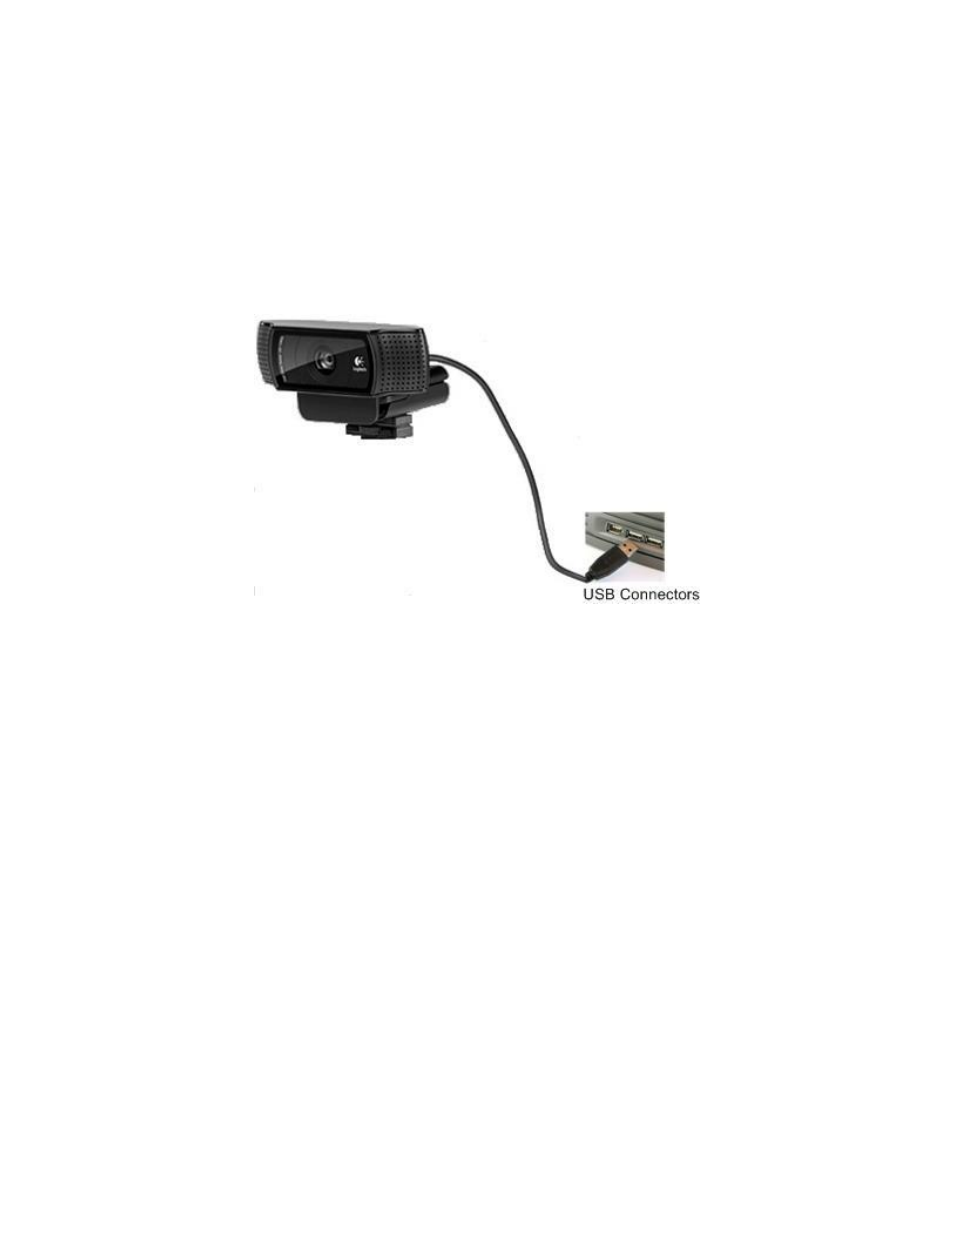
CONNECTING A USB CAMERA
For a list of USB camera models which, according to testing in ClearOne’s labs, have
yielded the highest quality video results, see the Collaborate Desktop data sheet or the
ClearOne website
http://www.clearone.com).
To set up a USB camera:
1. Connect the camera to a free USB port on the rear of your computer.
2. Install the camera’s software from the CD supplied with it.
CONNECTING THE PTZ CAMERA (PTZ KIT ONLY)
A controllable Pan/Tilt/Zoom (PTZ) camera is the standard supplied camera of the
Collaborate Desktop Executive model. The PTZ camera can be controlled from the
Collaborate Desktop application.
The supplied USB video adapter enables connection of the camera to a PC or laptop.
To connect the camera to the computer:
1. Connect the video adapter’s black S-Video connector (4-pin mini- DIN) to the S-Video
port of the camera.
2. Connect the video adapter’s USB connector to a USB 2.0 port on the rear panel of the
computer.
3. Connect the camera’s control cable between the VISCA IN port of the camera and a
COM port on the rear panel of the computer.
NOTE: If you connect the camera to a port other than the last one used
(or in a new installation, other than COM 1, you will need to reload.