7 clean-up, 8 disassembly, 9 assembly – Trebor PC7 User Manual
Page 12: Clean-up, Disassembly, Assembly
4.7 CLEAN-UP
Due to possible contamination all components must be flushed clean and
neutralized before disassembly to prevent fluid contact with personnel.
4.8 DISASSEMBLY
To disassemble PC7 pump controller for service, remove controller from pump by
disconnecting the flare fittings on the PC7 from the transfer tubes connecting it to
the pump.
Caution: For safety make sure air supply to PC7 has been shut off prior to
removal of supply line.
• Unscrew Adjustment Cap from controller body and carefully twist shuttle
spool from sleeve by rotating cap assembly.
• Gently remove the cap seal from the seat inside the cap to prevent any
damage or possible scratches to sealing surface. Replacement of seal is
recommended after service.
• Use a straight blade screwdriver to remove the two retaining screws from the
support plate. Next loosen compression nut and ferrule from adjustment
screw and gently push the adjustment screw out of the cap by pressing on
the end. This assembly contains the only serviceable items. See exploded
assembly for part numbers and part locations.
• Inspect parts for wear and replace if necessary.
4.9 ASSEMBLY
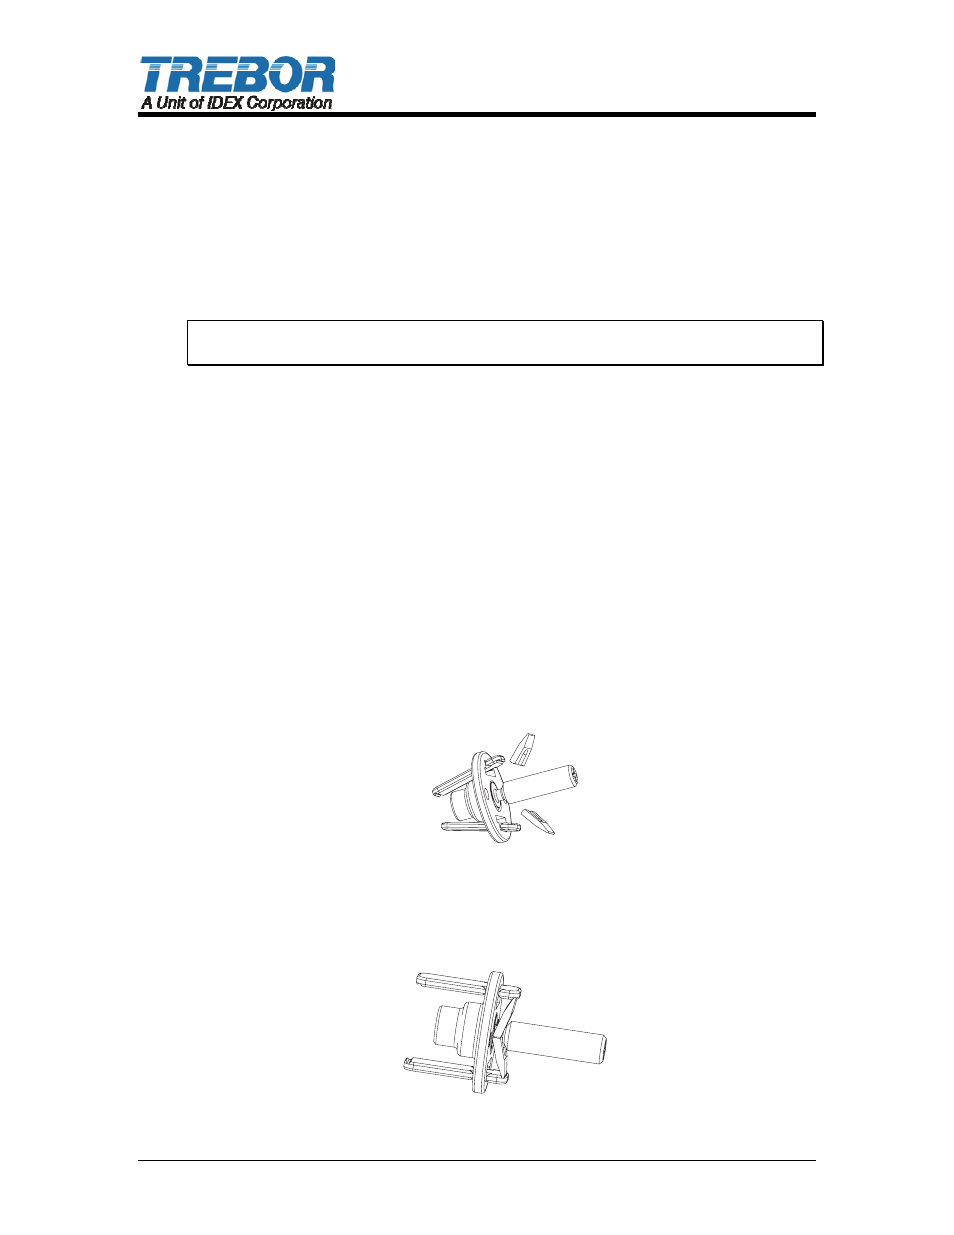
• To reassemble detent, twist the adjustment screw into the support plate and
then insert 2 each spring bars into slots as per figure 1.
MTD0 3
6 0
Figure 1
• Next insert 2 each detent legs as shown in Figure 1 and open spring bars to
lock assembly as shown in Figure 2.
MTD06 1
3
Figure 2
PAGE 12
PC7 CONTROLLER OPERATION / MAINTENANCE MANUAL