Stealth Cam STC-U732K UNIT-7 User Manual
Page 6
WWW.STEALTHCAM.NET
Toll Free 877-269-8490
21
Setting the Time and Date in PIR operation mode:
Your Stealth Cam uses the 24hr military time format.
• Switch the camera to the ON position.
¾ LCD screen will display the camera status screen.
• Press the [MENU] button within 30 seconds to enter the
programming mode.
• The word PIR will be blinking, press OK to confirm the camera
operation by PIR detection.
• Press [DOWN] button TWO times to enter Time and Date mode.
• The word TIME will be blinking.
• Press [OK] to enter Minute setting first.
• The MINUTE digits will be blinking.
• Press [UP] or [DN] to increase or decrease the minute value
(00 – 59).
• Press [OK] to save your selection and enter Hour setting.
• The HOUR digits will be blinking.
• Press [UP] or [DN] to increase or decrease the hour value
(00 – 23).
• Press [OK] to save your selection and enter Month setting.
• The Month digits will be blinking.
• Press [UP] or [DN] to increase or decrease the Month value.
(1 ‐ 12).
WWW.STEALTHCAM.NET
Toll Free 877-269-8490
22
• Press [OK] to save your selection and enter Day setting.
• The Day digits will be blinking.
• Press [UP] or [DN] to increase or decrease the Day value.
(01 – 31).
• Press [OK] to confirm the Date setting and enter Year setting.
• The YEAR digits will be blinking.
• Press [UP] or [DN] to increase or decrease the Year value.
(01 – 99).
• Once this is all done, press [OK].
• You’ll then see the word ‐ dEL ‐ blinking.
• Press [MENU] button to exit the program setting and back to the
status screen.
WWW.STEALTHCAM.NET
Toll Free 877-269-8490
23
Setting the Time Lapse Mode:
FIRST, you need to make sure the Program Control Switch is in the
CUSTOM position. The Time Lapse Default setting value is from 18:00
to 8:00 the next day. When the camera is set to time lapse mode, the
program setting will bypass any PIR activation. Instead, the user can
set the program for a pre‐determined time period [such as 6:00 to
18:00]. The user then sets the frequency of pictures only (NOT videos)
during this time period [such as one picture every 10 seconds]. The
camera will remain in Time Lapse mode until the program setting has
been changed by the user.
• Switch the camera to the ON position.
¾ LCD screen will display the camera status screen.
• Press the [MENU] button once within 30 seconds to enter the
programming mode.
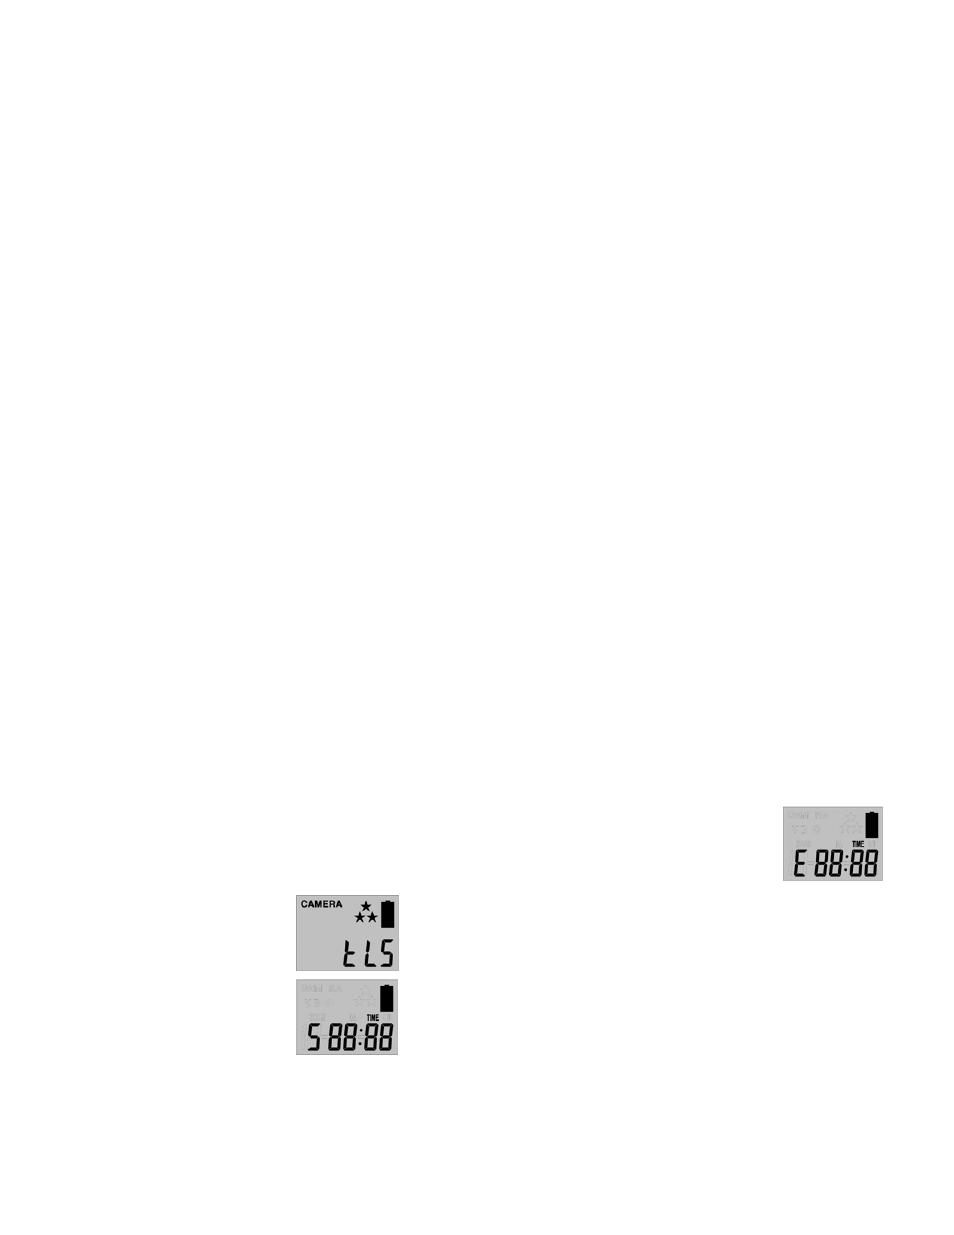
• Press [UP] button until you see the
word tLS blinking.
• Press [OK] to confirm and go into TLS
Mode "Start Time" setting.
• The display will show TIME + S 88:88
(S = Start, 88:88 = time in HH:MM)
• Press [OK] to set the “Start Time”
setting. At this point you can adjust the
time from 00:00 to 23:59.
• The MINUTE digits will be blinking.
WWW.STEALTHCAM.NET
Toll Free 877-269-8490
24
• Press [UP] or [DN] to increase or decrease the minute value
(00 – 59).
• Press [OK] to save your selection and enter Hour setting.
• The HOUR digits will be blinking.
• Press [UP] or [DN] to increase or decrease the hour value
(00 – 23).
• Press [OK] to save the “Start Time” setting and move to the “End
Time” setting.
• After completing the start time setting,
camera will go into TLS Mode "End Time"
setting.
• The display will show TIME + E 88:88
(E = End, 88:88 = time in HH:MM)
• At this point you can adjust the time from 00:00 to 23:59 by
pressing the [UP/DN/OK] buttons same as Start Time settings.
• Press [OK] to save the “End Time” settings and move directly to
the TIME OUT setting.
• Please complete the TIME OUT, Still image resolution, Burst Mode,
Zoom settings like the settings on the PIR operation mode.
• Then press [MENU] button to exit.
EXAMPLE:
#1: If a user selected the Time Lapse mode, and set the start time from
08:00 and end time at 20:30, and then selected the timeout to be
00:05 with a burst shot of 3P, this means the camera will keep taking
burst shots of 3 pictures for every 5 seconds within time interval of